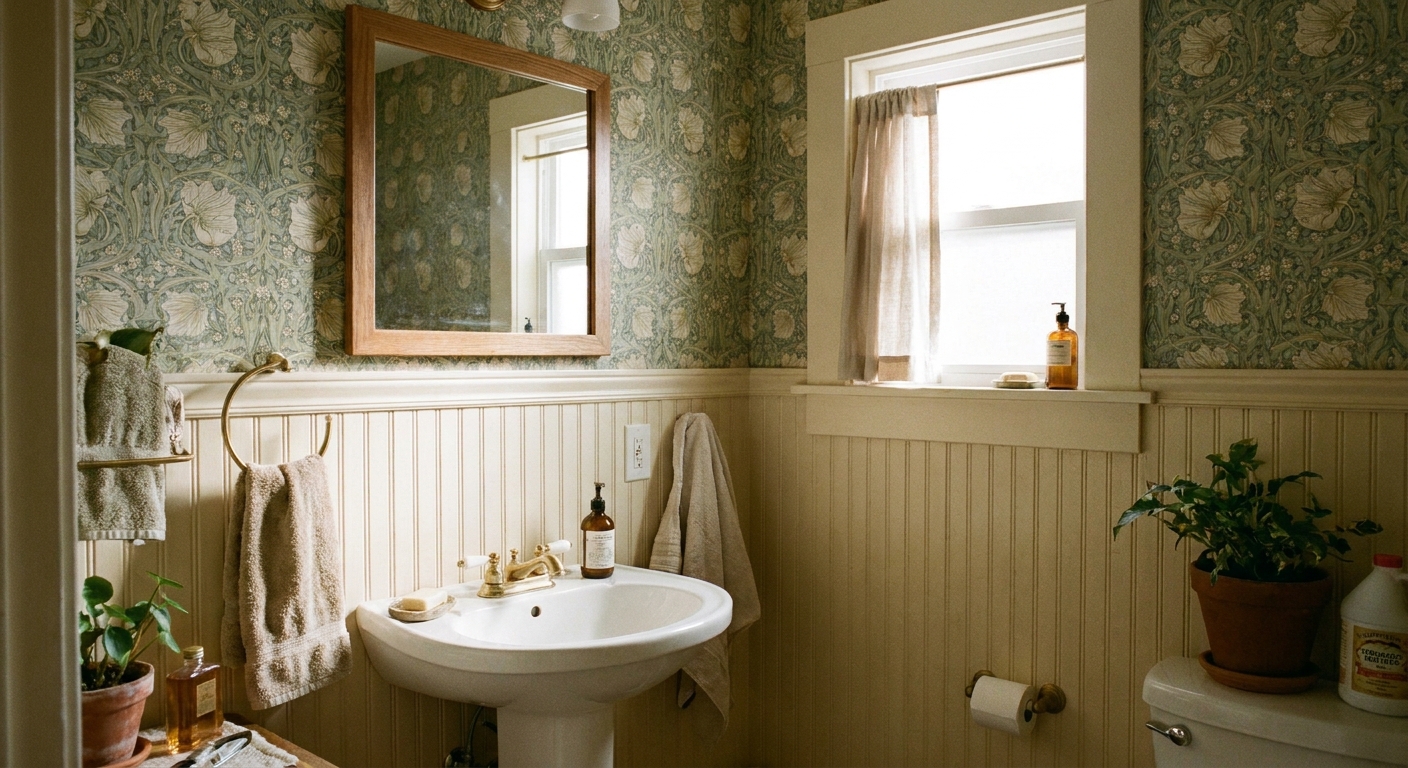
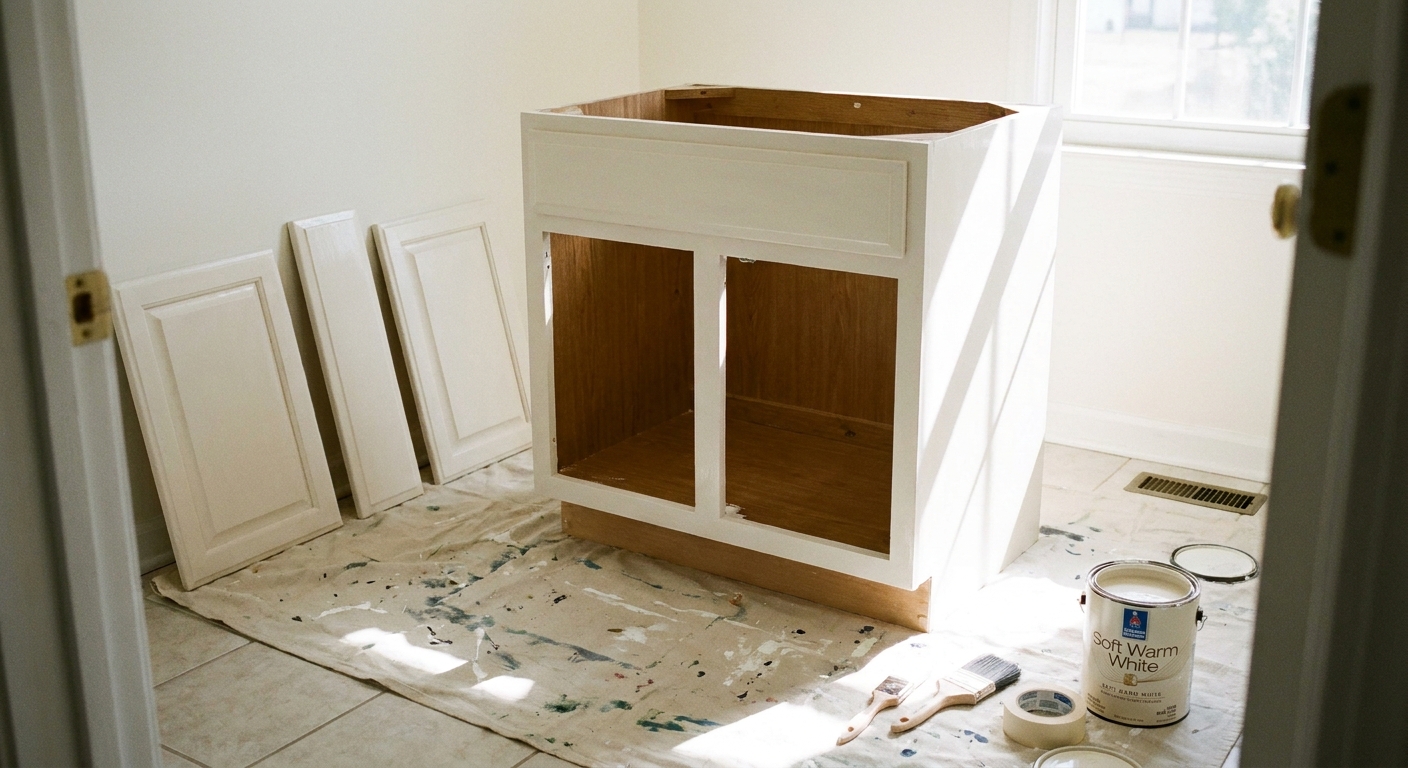
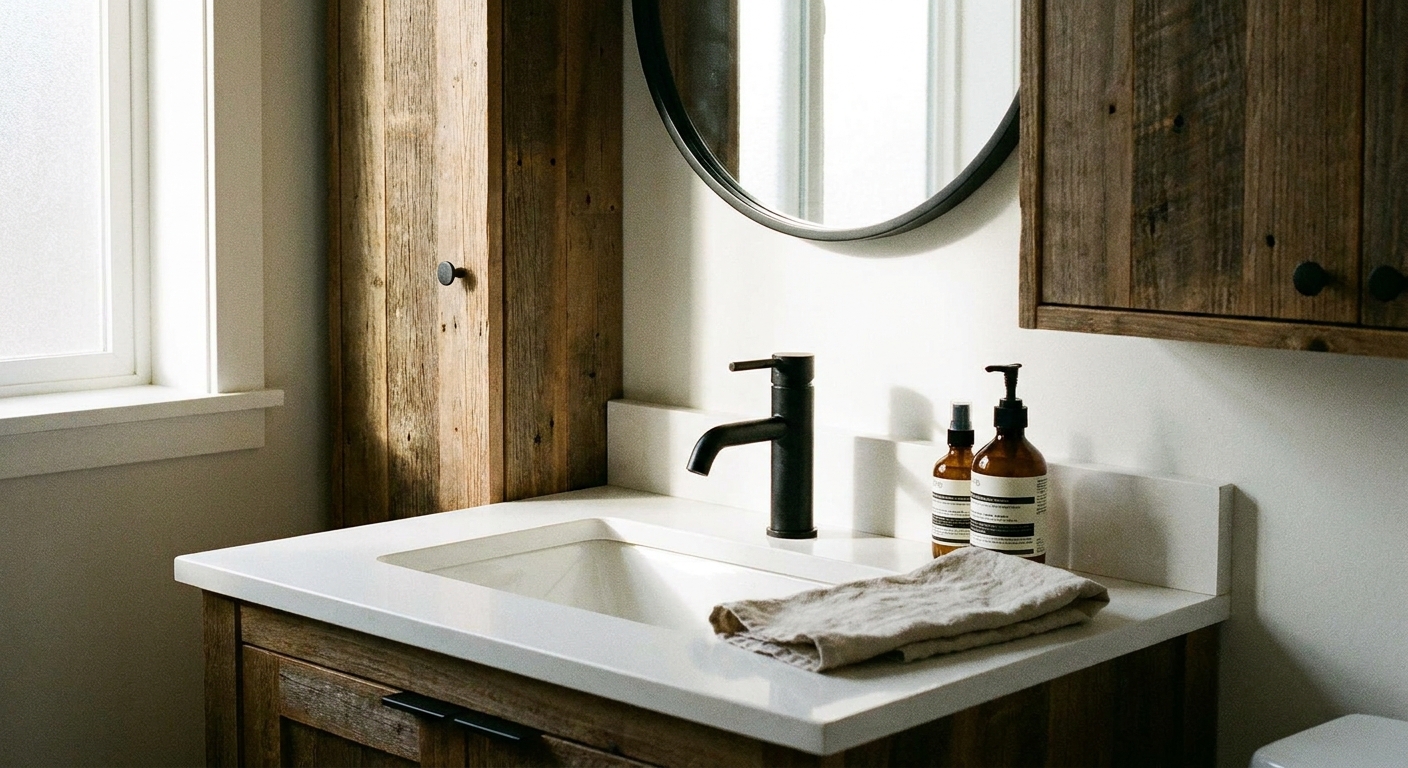
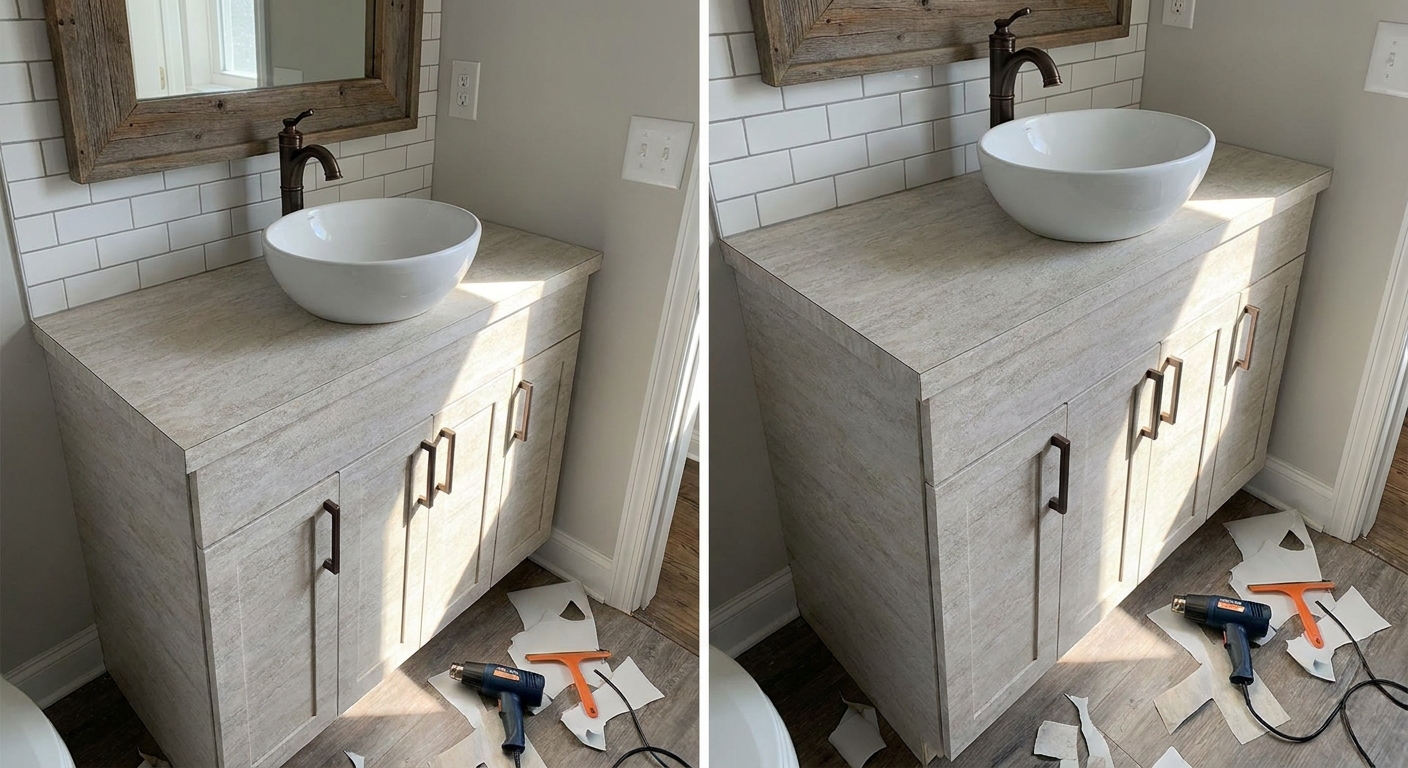
The first apartment bathroom I ever “decorated” was basically a tiled phone booth with one lonely strip of drywall above it. Every splash showed, every scuff stuck around forever, and the whole room felt unfinished. Faux wainscoting was the first upgrade that made it feel like a real, intentional space. It looks custom, it gives you a more wipeable lower wall for everyday scuffs and splashes, and you can often pull it off in a weekend on a small wall if you keep the design simple and already have basics like a caulk gun and some paint.
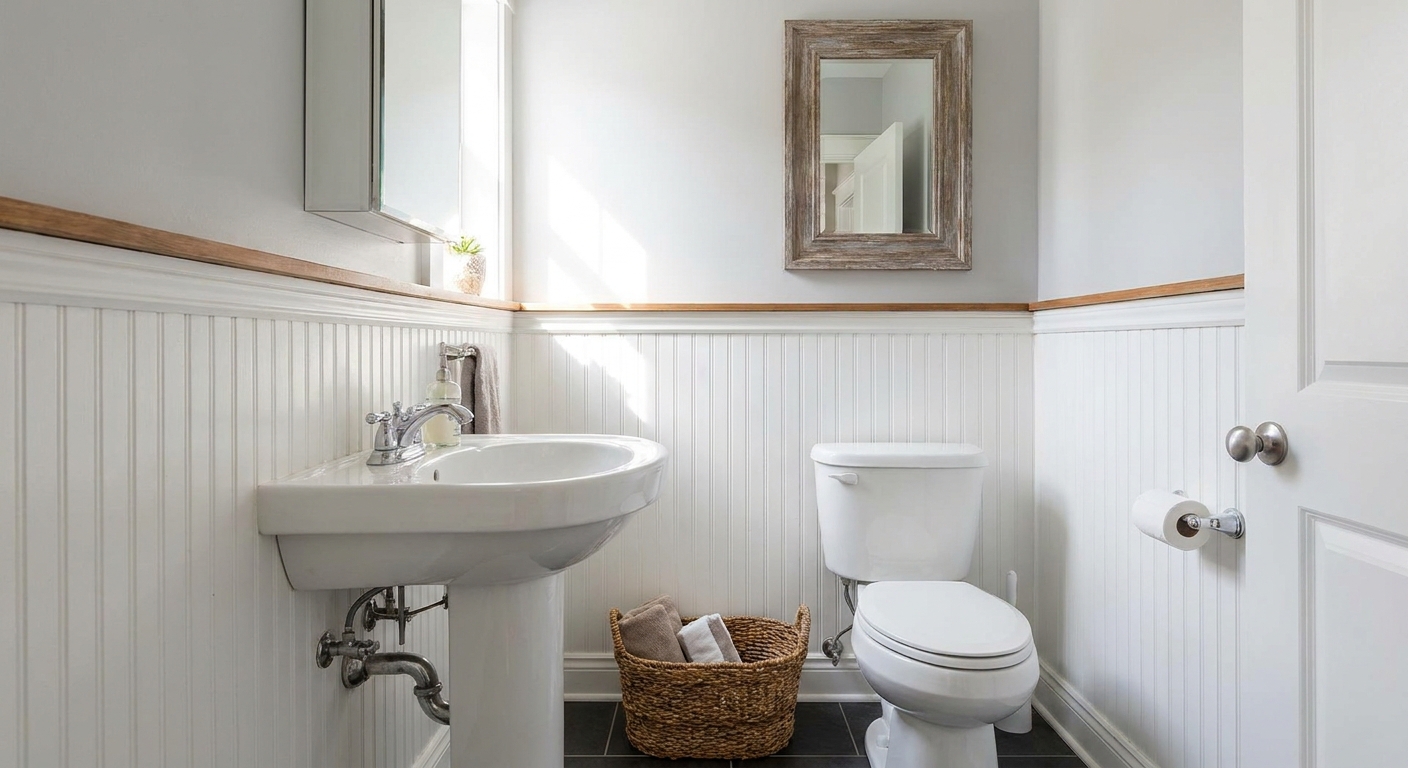
Below are two budget-friendly ways to get the look: real beadboard (the thin kind) or painted faux paneling made from trim. I will walk you through both, with renter-conscious notes so you can decide how permanent you want to go.
Before you start
- Keep it on dry walls: Wainscoting is not a waterproofing system. Skip the direct tub and shower wet zone where it gets frequent spray.
- Fix moisture first: If you see peeling paint, soft drywall, or any hint of mold, solve that before you cover it up.
- Prep the surface: Wash the wall to remove hair spray, soap residue, and oils, then let it fully dry. If the paint is glossy, a quick scuff-sand helps adhesive and paint grip.
- Outlet safety: If you remove outlet or switch covers, turn off power at the breaker. Do not cover electrical boxes with paneling or trim.
Pick your method: beadboard vs faux paneling
Both options give you that classic lower-wall architecture that makes small bathrooms feel more finished. The difference is cost, thickness, and how “real” it looks up close.
- Thin beadboard panels (more texture): Great if you want vertical grooves and a traditional look. Use the thinnest paneling you can find so it does not crowd a tight room.
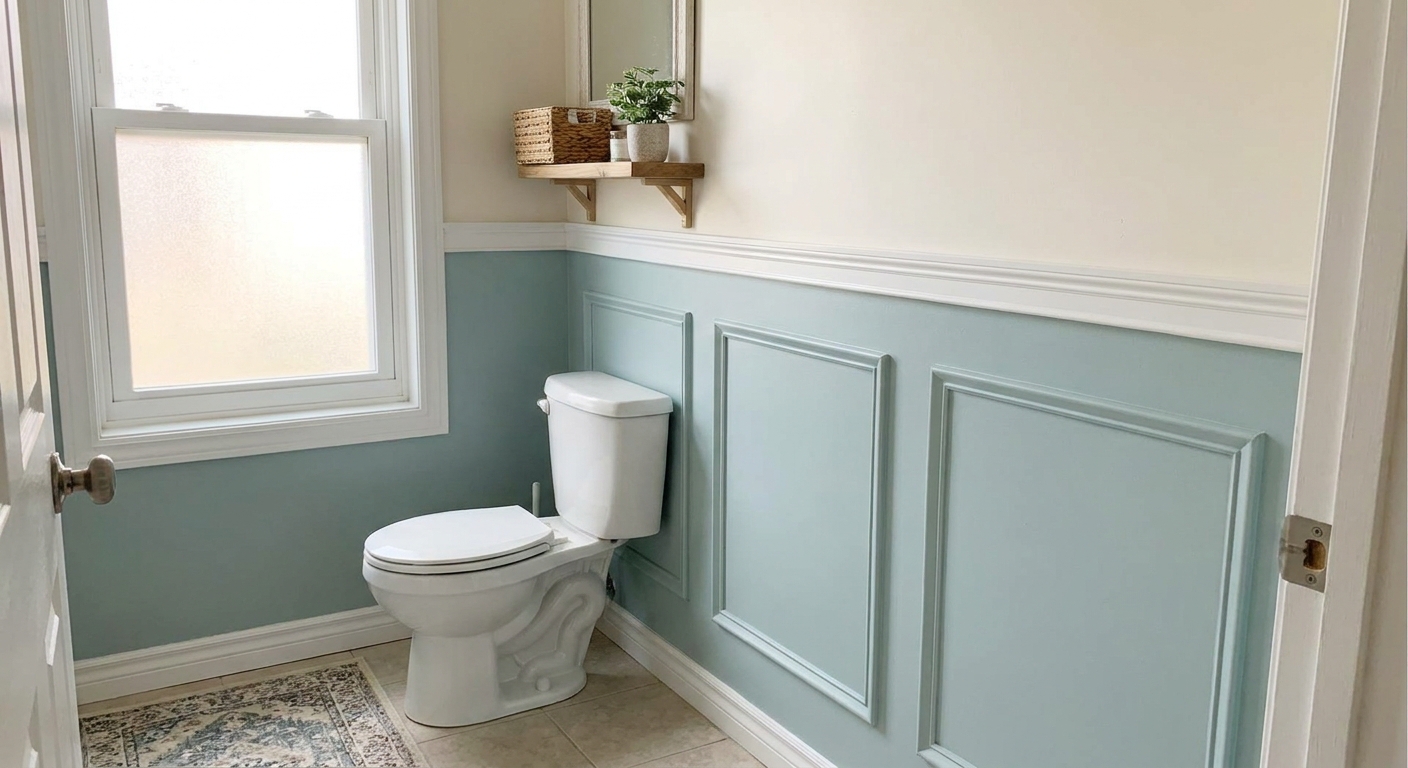
- Painted faux paneling with trim (best budget control): You create rectangles (or vertical stiles) with inexpensive trim pieces, then paint everything the same color for a seamless, built-in look.
If your bathroom has weird angles, a pedestal sink, or a lot of obstacles, trim-based faux paneling is usually easier because you are cutting smaller pieces instead of wrestling full sheets.
The budget supply list
You can absolutely spend more. This is the realistic “budget lane,” especially if you are doing one focal wall or you already have paint, primer, or tools on hand.
- One wall option:
- 1 to 2 thin beadboard panels (often 4 ft x 8 ft), or
- Budget trim for boxes: lattice moulding or basic screen mould (enough for your layout)
- Adhesive: paneling or construction adhesive (rated for the surface) plus a caulk gun
- Fasteners: finishing nails or brad nails (optional, but helpful to hold pieces tight while adhesive cures)
- Caulk: paintable, mildew-resistant
- Spackle or wood filler: for nail holes
- Paint: interior satin or semi-gloss
- Primer: if you are painting raw MDF or wood, or going from dark to light
- Optional top rail: 1x2 or 1x3 board, or a simple chair rail profile
Tool basics: tape measure, pencil, level, miter box and hand saw, sanding block, a damp rag, and a small roller. If you already have a caulk gun and a saw, you are halfway there.
Already planning other budget upgrades? Faux wainscoting pairs especially well with a mirror refresh like upgrading a builder-grade mirror without removing it.
Step 1: Choose the height
In a small bathroom, the right height is the difference between “airy and tailored” and “why does the room feel shorter?”
- Safe, flattering range: 32 to 42 inches high
- Classic rule of thumb: about one-third of the wall height often looks right
- Easy way to make it feel intentional: align the top rail with something already in the room, like the vanity countertop or the top of a backsplash
My shortcut: Painter’s tape a level line around the room at 36 inches and live with it for an hour. If it feels right in the mirror, it is right.
Step 2: Baseboards and edges
This is the question everyone has, so here is the real-world answer.
- Best finished look: Remove the baseboards, install the paneling or trim, then reinstall or replace baseboards so everything sits flush.
- Most beginner-friendly: Leave baseboards in place and stop the wainscoting just above them. Add a bottom trim strip if you want it to look more intentional.
In rentals, I lean toward leaving baseboards alone unless they are already coming off for another reason.
Step 3: Map your layout
This is where tiny bathrooms get quirky. Outlets, toilet tanks, radiator pipes, and tight corners can make “perfect symmetry” impossible. That is okay. The goal is balance, not mathematical perfection.
- Mark studs (if you plan to nail).
- Decide where seams will land (hide them behind a vertical trim piece if possible).
- Plan how you will treat the toilet wall. I like a simpler pattern there because it is visually busy already.
If your bathroom also suffers from “stuff on every surface,” do yourself a favor and handle storage first so the new detail can actually shine. My go-to is hidden storage on the back of your bathroom door.
Option A: Install thin beadboard
This is the fastest path to texture. It also adds thickness, so pay attention around outlets, door casing, and tight corners.
Step 1: Plan orientation
Most beadboard runs vertically. Before you cut anything, decide where you want full grooves to land so you do not end up with an awkward skinny strip in a high-visibility spot.
Step 2: Cut panels to height
Measure from the floor to your planned top line in multiple spots. Old bathrooms love old floors, which means the floor may not be level.
- Cut the beadboard to the shortest measurement so it does not bind.
- Leave a tiny gap at the bottom (about 1/8 inch) so the panel does not sit in moisture. Do not let beadboard touch a puddle-prone floor edge.
Step 3: Dry fit, then attach
Dry fit each panel first, especially behind the toilet and near the vanity.
- Apply adhesive in vertical beads. Use an adhesive appropriate for paneling and your wall surface.
- Press the panel in place and hold for a moment so it grabs.
- Add a few brad or finish nails if you can, mainly to keep everything tight while the adhesive cures.
Quick reality check: Adhesive is strong, but it can tear drywall paper if you remove it later, and it can fail if the wall is dirty or the paint is shedding. That is why surface prep matters, and why I treat this as “some patching likely” if you ever undo it.
Step 4: Handle outlets and covers
- Remove cover plates before installing.
- Do not cover the electrical box opening.
- If the panel thickness makes the outlet sit too recessed, you may need a box extender so the finished surface is safe and code-friendly.
Step 5: Add a simple top rail
A top rail is what makes beadboard look finished. You can use a basic 1x2, 1x3, or chair rail. Keep it simple in small rooms.
- Miter inside and outside corners if you can.
- If miter cuts stress you out, butt joints work fine when you caulk carefully.
Step 6: Fill and caulk
Caulk is mostly about the built-in look and easy wipe-downs, not “sealing out vapor.”
- Caulk along the top rail, corner seams, and any small gaps that cast shadows.
- Fill nail holes with spackle or wood filler.
- Lightly sand once dry.
Option B: Faux paneling with trim
This is the method that saved me in a bathroom where nothing was square and every wall had an obstacle. You build a grid of trim rectangles, then paint it all one color so it reads like paneling.
Step 1: Choose an easy pattern
- Classic rectangles: 2 to 3 boxes per wall section
- Vertical look: evenly spaced vertical stiles for a subtle beadboard vibe
In a small bathroom, fewer, larger boxes look calmer than lots of tiny ones.
Step 2: Mark the top line and guides
Use a level and lightly mark your layout in pencil. Stand back and check it from the doorway and in the mirror.
- Keep spacing consistent (2 to 4 inches between trim pieces is a nice range).
- Avoid placing a skinny “leftover” sliver right next to the door casing if you can.
Step 3: Cut trim, then attach
A basic miter box is enough for clean 45-degree corners on rectangles. If you prefer simpler cuts, you can do square butt joints and rely on caulk.
- Attach trim with adhesive.
- Add a few nails if needed for hold while the adhesive cures.
- Work one wall section at a time so your spacing stays consistent.
Step 4: Add the top rail
A top rail hides trim ends and makes the whole treatment feel deliberate. Even a simple flat board does the job.
Step 5: Caulk for the built-in look
This is the secret sauce. Caulk along the edges of every trim piece where it meets the wall. Smooth it with a damp finger or a caulk tool, then wipe excess with a damp rag.
When you paint, those seams disappear and the wall suddenly looks expensive.
Paint and finish
Bathrooms are humid, splashy, and full of temperature swings. The finish you choose matters.
- Prime raw MDF or wood: Especially cut ends. Priming helps prevent fuzzy swelling and paint flashing.
- Pick a sheen that wipes clean: Satin is my sweet spot. Semi-gloss is tougher but can highlight wall texture.
- Do not use MDF in high-splash spots: If it will get direct spray or frequent puddling, choose PVC trim or keep the treatment away from that area.
- Use a small foam roller: It keeps the finish smooth on trim without heavy brush marks.
- Let it cure before scrubbing: Paint dries fast, but curing takes longer. Be gentle for the first week.
If your walls are already rough or stained, painting first can make a big difference. I like pairing faux wainscoting with other “surface fixes” like DIY painted bathroom wall tiles for a full reset without a full renovation.
Budget reality check
The “$50 weekend” version usually works when you are doing one small wall, keeping the height modest, and not buying every supply from scratch. If you need to purchase primer, paint, caulk, adhesive, and trim all at once, your total will likely climb.
- Most affordable approach: Do one focal wall first (often behind the vanity), then add others later.
- Skip fancy profiles: Flat stock or lattice trim looks crisp once painted.
- Use what you have: Leftover satin or semi-gloss paint from another room is fair game.
- Keep the height modest: Shorter wainscoting uses less material and keeps the room feeling taller.
If you want the room to feel even more elevated afterward, swap in inexpensive hardware. Start here: reversible ways to upgrade cheap bathroom cabinet hardware.
Renter notes
This depends on your lease and your landlord, so I am going to be very honest: trim-and-panel treatments are usually considered a modification because adhesive can damage paint and drywall paper when removed. Even small nails mean patching.
- Lowest-commitment approach: Painted faux paneling with lightweight trim, minimal nails, and installed only on the most protected wall (often behind the vanity).
- Most reversible look-alike: Paint-only color blocking. Paint the lower third of the wall a durable satin and add a crisp horizontal line. It is not dimensional, but it scratches the same itch.
- If you do install trim: Save leftover paint so you can touch up when you move. Small nail holes are easy to fill.
If you are aiming for truly temporary upgrades, browse Renter-Friendly Upgrades for ideas that lean lighter-touch.
Common mistakes
- Skipping caulk: Un-caulked edges look like craft time. Caulk is what makes it look built-in.
- Too many tiny boxes: In small bathrooms, busy layouts read cluttered fast.
- Not accounting for unlevel floors: Measure in multiple spots and plan for small gaps you can trim or caulk.
- Using flat paint: It scuffs and absorbs grime. Save flat paint for ceilings.
- Using thick materials in a tiny room: Thin panels and slim trim keep the proportions right.
Mini FAQ
What height works best in a small bathroom?
Most tiny bathrooms look best around 32 to 42 inches. If you are unsure, 36 inches is a safe, classic starting point. Aligning the top rail with the vanity height can also look very intentional.
Can I put faux wainscoting behind the toilet?
Yes. It is a great wall for it because it is a scuff-prone area and easy to wipe down. Keep the pattern simple there so the tank and accessories do not visually compete.
Will MDF swell in a bathroom?
MDF can swell if it is left raw or if water repeatedly hits unsealed edges. If you use MDF trim, prime it well (especially cut ends), caulk seams, and use a durable paint finish. Avoid MDF where it will get direct spray or sit against a damp floor.
What if my bathroom has ugly floors too?
Wainscoting helps distract, but pairing it with a floor refresh can be a full glow-up. If you need a budget fix, I have a full guide to covering ugly bathroom floors with peel-and-stick tile.
The payoff
Small bathrooms are usually all function and no charm. Faux wainscoting is one of those rare projects that looks high-end, makes the room feel finished, and gives you a more durable surface for everyday life. Put on a podcast, take your time with the layout, and do not rush the caulk. That is the difference between “I tried a thing” and “wait, did you renovate?”