The first bathroom I ever tried to “upgrade” was a tiny vintage rental with glossy beige wall tile that made the whole room feel like a cafeteria. Demolition was not happening, and I was not about to lose my deposit. Painting the tile felt like the only middle ground between “live with it” and “tear it out.”
It can work beautifully, but tile paint is picky. The best results come from choosing the right type of paint (a true two-part epoxy kit or tile-specific acrylic), doing the unglamorous prep, and being honest about where painted tile belongs (usually walls, not shower floors, and not constantly soaked zones).
Is painting ceramic wall tile a good idea?
For outdated ceramic wall tile in a small bathroom, painting is one of the fastest ways to brighten the room without changing the footprint. In tight spaces, light-reflective surfaces matter, and fresh paint can make tile look cleaner, calmer, and more intentional.
Best places for painted tile
- Bathroom walls outside the shower spray zone
- Half baths and powder rooms
- Backsplashes behind a vanity (light splashes, not daily soaking)
- Low texture tile that is firmly bonded to the wall
Risky places for painted tile
- Shower interiors and tub surrounds that get direct daily water, especially where water sits in corners
- Tile floors (foot traffic plus water is brutal on coatings)
- Cracked, hollow-sounding, or shifting tile
- Tiles with heavy texture, deep pits, or failing glaze
If what’s bothering you most is the grout, you may not need paint at all. I’ve broken down the realities of recoloring grout here: Grout pens in rental bathrooms: what to know before you color.
Epoxy vs acrylic tile paint
This is the big fork in the road. Both can look great on day one. The difference is how they handle moisture, cleaning, and time.
One important note before you shop: a lot of cans say “epoxy,” but not all “epoxy” products are the same. A true two-part epoxy (you mix Part A and Part B) typically cures harder than a one-part “epoxy fortified” or “epoxy-like” paint. Labels matter here, especially anywhere near water.
Epoxy
Epoxy coatings are typically a two-part system (resin plus hardener) that cures into a harder, more chemical-resistant surface than standard paint. This is why true two-part epoxies show up in some tub and tile refinishing kits and other high-wear coating systems.
- Pros: Strong adhesion, better moisture and chemical resistance, more durable for wipe-down cleaning.
- Cons: Strong odor and ventilation needs, limited working time once mixed, harder to touch up seamlessly, finish can feel thicker and show roller texture if you rush.
- Best for: Wall tile that gets occasional splashes, vanity backsplash tile, and situations where you want maximum durability without removing tile.
Acrylic
Acrylic tile paints are usually water-based coatings formulated to grip slick surfaces. Some are marketed specifically for tile, and some are high-adhesion interior paints used with bonding primers.
- Pros: Easier cleanup, lower odor, longer open time, simpler touch-ups, often available in more colors and sheens.
- Cons: Generally less resistant to standing water and aggressive cleaners, may need a compatible topcoat in splash zones.
- Best for: Powder rooms, wall tile outside the shower, and rentals where you want a manageable weekend project.
Quick pick
- If the tile is in a humidity-heavy bathroom and you wipe it often, go true two-part epoxy.
- If it’s a low-splash wall and you want the easiest DIY, go tile-specific acrylic with excellent prep.
What to look for in tile paint
Ignore marketing first and look for these signals on the can and in the technical notes.
- Surface compatibility: Must list tile, ceramic, porcelain, or “glossy surfaces.”
- Moisture resistance: Look for bathroom, kitchen, or high-humidity use.
- Adhesion claims: Words like “bonding,” “high adhesion,” or “direct-to-tile” are what you want.
- Cure time (not just dry time): “Dry” means you can touch it lightly. “Cured” means it has hardened enough to handle moisture and cleaning without getting damaged.
- Cleaner resistance: Avoid coatings that warn against common bathroom cleaners if this is a main bath.
- Sheen choice: Satin or semi-gloss cleans easier. Matte is moodier but shows scuffs and can hold onto soap haze.
If you are pairing painted tile with other quick upgrades, you can get a surprisingly polished “new bathroom” feeling without a renovation budget. Two of my favorite companions are upgrading a builder-grade mirror without removing it and swapping in better cabinet hardware.
Quick checks and a test patch
I know the urge is to start immediately. These fast checks take about 20 minutes. Then there’s one extra step that takes longer, but it can save you from a peeling disaster.
Quick check 1) Water behavior
Spritz water on the tile. If it beads and runs like a freshly waxed car, the surface is very slick and will need thorough deglossing and a bonding primer, or a system designed specifically for glossy surfaces.
Quick check 2) Tap test
Tap tiles with your knuckle. Hollow sounds can mean poor adhesion behind the tile. Paint will not fix a tile that wants to pop off later.
Longer check) Tape test on a small patch
Pick an out-of-the-way spot. Clean, lightly scuff, apply your primer and paint system, then let it cure for the full time on the label (often days, not hours). Press painter’s tape down firmly and pull it off sharply. If paint lifts, that system is not bonding well enough for your tile or your cleaning habits.
Supplies that matter
You can absolutely do this without a garage full of tools. These are the non-negotiables for a finish that doesn’t peel the first time you steam up the room.
- Degreasing cleaner (something that cuts soap film)
- Plenty of clean water for rinsing, plus clean microfiber cloths (you want zero cleaner residue)
- Fine sanding sponge or sandpaper (think gentle scuff, not gouge)
- Bonding primer or the primer required by your system
- Epoxy or tile-specific acrylic paint
- Small foam rollers (to reduce heavy texture) and an angled brush for edges
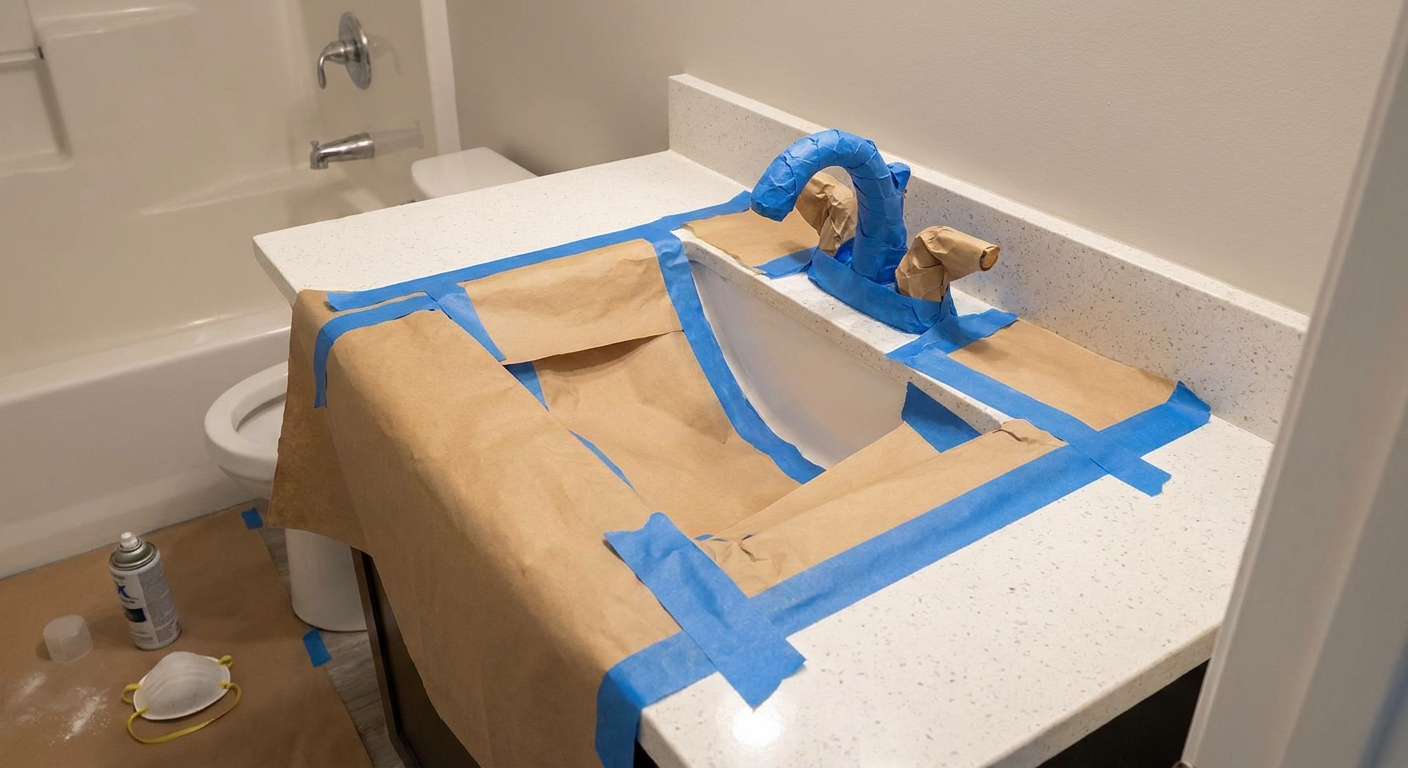
- Painter’s tape and plastic to protect fixtures
- Ventilation setup (fan plus open window if you have one)
Safety note: Two-part epoxies can be intense in a small bathroom. Follow the label for ventilation and protective gear, and pay attention to the required temperature and humidity range so the coating cures properly.
If your bathroom is short on ventilation and you are already battling humidity, you may also like my notes on moisture-friendly wall finishes: Peel-and-stick wallpaper in small bathrooms: will it survive humidity?
How to paint wall tiles
This is the workflow I follow when I want paint to stick to glossy ceramic.
1) Clean like you are prepping for surgery
Soap scum is sneaky. Wash with a degreasing cleaner, paying special attention to the “hand zone” around towel hooks and the sink. Rinse thoroughly and let everything dry completely.
2) Deal with mildew and failing caulk
Paint does not play nicely with failing caulk. If caulk is moldy, peeling, or gummy, remove it. In most cases, it’s easiest to paint first and then recaulk with a paintable caulk where needed. If you use 100% silicone, assume paint will not stick to it. For corners that flex, caulk belongs there, not paint.
3) Scuff sand
You’re not trying to remove the tile glaze. You’re trying to dull the shine so primer has tooth. Wipe away dust with a damp cloth and let dry.
4) Prime for adhesion
Use the bonding primer recommended for slick surfaces, or the primer included in your tile refinishing kit. Cut in edges with a brush and roll the field with a foam roller for a smoother finish. Let it dry as directed.
5) Paint in thin coats
Thin coats cure better and look less “painted.” Roll lightly and avoid overworking the paint as it starts to set.
- Most systems look best at 2 to 3 coats.
- Let each coat dry the full time, not the “I think it’s fine” time.
6) Respect cure time
This is where most bathroom paint jobs fail. Bathrooms are humid, and many coatings cure more slowly in cool, damp conditions. Follow the product’s temperature and humidity range, keep the room ventilated, and avoid steamy showers until the coating is fully cured.
7) Topcoat only if compatible
Some systems do not require a topcoat. Some acrylic systems benefit from a compatible clear coat in splash zones. Only use a topcoat that the manufacturer says is compatible.
Tile and grout reality
Tile and grout behave differently, and paint makes that contrast more obvious. Glazed ceramic is slick and non-porous, which is why you need sanding and primer for grip. Grout is porous and drinks in moisture, which is why painted grout lines can wear or discolor differently than the tile faces.
If crisp grout lines are your main goal, you may get a cleaner look by keeping the tile as-is and focusing on grout color instead: Grout pens in rental bathrooms: what to know before you color.
Color and sheen tips
Painted tile looks most believable when it looks like a design choice, not a rescue mission.
My small bathroom picks
- Soft warm white: Hides water spots better than bright blue-white and makes cramped bathrooms feel calmer.
- Light greige: A forgiving neutral that pairs well with brass or black hardware.
- Muted green-gray: Gorgeous with vintage tile shapes and makes white fixtures look fresh.
Sheen tips
- Satin: My sweet spot for walls. Wipes clean without screaming “shiny paint.”
- Semi-gloss: Great for splash zones and durability, but shows texture more.
- Matte: Pretty in photos, higher maintenance in real life bathrooms.
Want the room to feel taller? Keep the tile color light and pull the same color up onto the wall above it. A continuous light column is a tiny bathroom magic trick.
How long will it last?
It depends on three things: prep, product choice, and how wet the area gets.
- Powder room wall tile: Often holds up for years with minimal drama.
- Main bath wall tile (outside shower spray): Can last well when cleaned gently and allowed to cure fully.
- Constantly wet zones: Even great coatings can chip, peel at corners, or soften if water sits.
The most common failure points are corners, caulk lines, and areas that get scrubbed hard. If you tend to use abrasive sponges or harsh cleaners, plan for more touch-ups.
Cleaning and maintenance
- Use a soft cloth or non-scratch sponge.
- Avoid abrasive powders and aggressive scouring pads.
- Skip bleach soaks on painted surfaces unless the coating specifically allows it.
- Wipe down condensation when possible, especially around corners.
- Touch up chips early to prevent water from creeping under the coating.
Rental reality check
Painting tile is usually not considered reversible the way peel-and-stick products are. If you rent, this is the moment to pause and check your lease and your landlord’s expectations.
- If you have permission in writing, great. Keep leftover paint for touch-ups.
- If you do not have permission, consider alternatives that are easier to undo, like temporary bathroom backsplashes or other renter-friendly upgrades.
If your main issue is ugly flooring tile, I’d start here instead of paint: How to cover ugly bathroom floors with peel-and-stick tile.
Troubleshooting
My paint is peeling in sheets
Usually a prep or compatibility problem. Soap film, skipped sanding, the wrong primer, or painting over glossy tile without a bonding layer are the usual culprits.
It feels tacky days later
High humidity, thick coats, poor ventilation, or a cure time that is longer than you expected. Keep airflow going and give it time. Double-check the product’s temperature and humidity range, too.
I can see roller texture
Use a high-density foam roller, load less paint, and roll lightly. Two thin coats look smoother than one heavy coat.
The grout lines look messy
Paint tends to settle into grout lines differently than tile. If crisp lines matter to you, consider painting the tile and then refreshing grout color separately. My grout pen guide is here: what to know before you color.
Lower-risk alternatives
If you want a big visual shift but you are nervous about long-term adhesion, here are my lower-stakes favorites for small bathrooms:
- Temporary backsplash decals or peel-and-stick tile sheets for vanity areas: see options here.
- Upgrade lighting to change the whole mood without touching tile: renter-friendly lighting ideas.
- Update the mirror to modernize the wall instantly: builder-grade mirror upgrade.
FAQ
Do I need to seal painted tile?
Only if your paint system calls for it. Some kits are designed as the final surface. Adding a random sealer can cause peeling if it is not compatible.
Can I paint shower wall tile?
You can, but it is the hardest place for paint to survive long-term. If it is a lightly used guest bath and you follow a shower-rated, true two-part epoxy system exactly, it can hold up better than standard paint. For daily-use showers, I treat paint as a temporary refresh, not a forever fix.
Will painted tile look cheap?
It looks best when the surface is smooth, the color choice is simple, and the edges are clean. Thin coats, good ventilation, and avoiding drips do more for the final look than buying the most expensive can.