I have lived through the classic rental bathroom dilemma: the tile is fine, the layout is fine, the shower is… fine. But the grout looks like it has been through five tenants and one haunted humidifier. When you cannot retile and you definitely cannot start chiseling out grout, grout pens and grout colorants start to look like the easiest glow up on earth.
They can be, but they are not a magic marker for every situation. Here is what I would want you to know before you spend your Saturday on your knees tracing little lines.
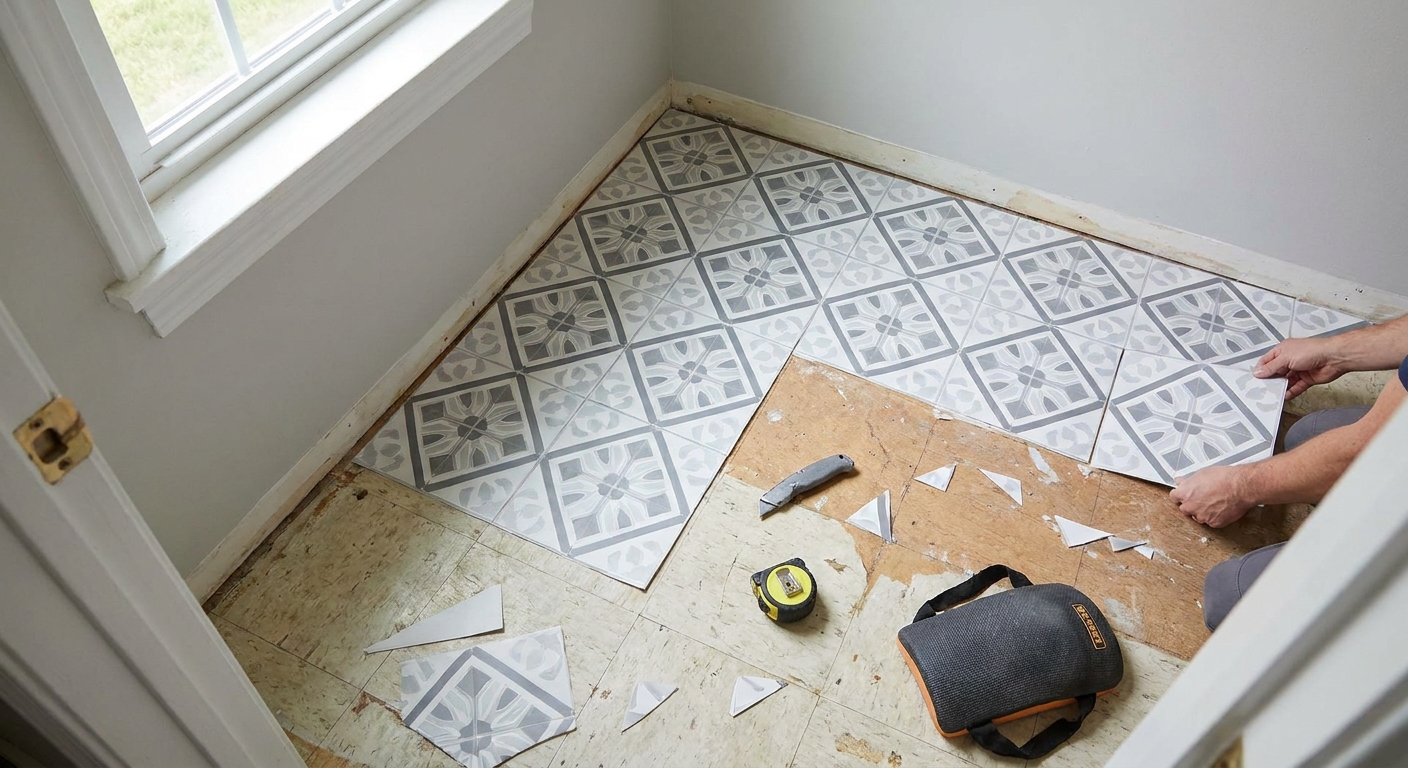
Are grout pens renter-friendly?
Most grout pens are surface-applied colorants. They sit on top of the grout surface more like a thin coating than a repair. That is exactly why renters love them.
But renter-friendly does not always mean landlord-approved. In a landlord’s eyes, a grout pen is still a cosmetic change to a fixed surface, even if your goal is simply “make it look clean again.” Whether it matters depends on your lease and your landlord.
My practical rule of thumb
- Usually OK: You are restoring grout to a neutral, original-looking color (typically white, off-white, light gray) and you are not changing the tile.
- Risky: You are switching grout to a new color for style (black grout on white tile, bright white over intentionally warm beige grout, etc.).
- Not a grout-pen job: The grout is missing, crumbling, moldy through the depth, or the tile is shifting. That needs repair, not color.
If you are nervous about an inspection, keep it boring in the best way. Choose a shade that looks like what should have been there in the first place.
For more truly removable upgrades when you need a quick refresh, browse Renter-Friendly Upgrades.
What you are buying
Products get labeled a few different ways, and the wording matters. Not all “grout pens” are the same chemistry, so durability and removability can vary by brand.
- Grout pen: A marker-style applicator that lays down colorant in the grout line. Best for smaller areas, touch-ups, and neat control.
- Grout colorant or grout paint: Usually a small bottle applied with a brush. Better for larger floors or big showers, but messier.
- Grout sealer: A clear protective coating meant to repel moisture and stains. Sealer does not fix discoloration on its own, but it can help protect freshly cleaned or freshly colored grout.
Some grout pens claim to “seal” as they color. In real bathrooms with daily steam, I still think of it as color first, protection second.
When it works and when it fails
Good candidates
- Grout that is stained or yellowed but still solid.
- Grout that looks darker around the tub line because of old soap film.
- Small-to-medium tile where crisp lines make the whole wall look cleaner.
Skip it if you see this
- Soft, sandy, or missing grout when you rub a finger across it.
- Persistent pink, orange, or black spotting that comes back quickly after cleaning. That suggests microbial growth in porous grout or under failing caulk.
- Cracks at corners and seams where caulk should be doing the waterproofing. Colorant will not fix a failed joint.
- Epoxy grout (used in some newer or higher-end installs). It often looks very uniform and less sandy, and it resists staining. Many colorants do not bond well to epoxy without special prep.
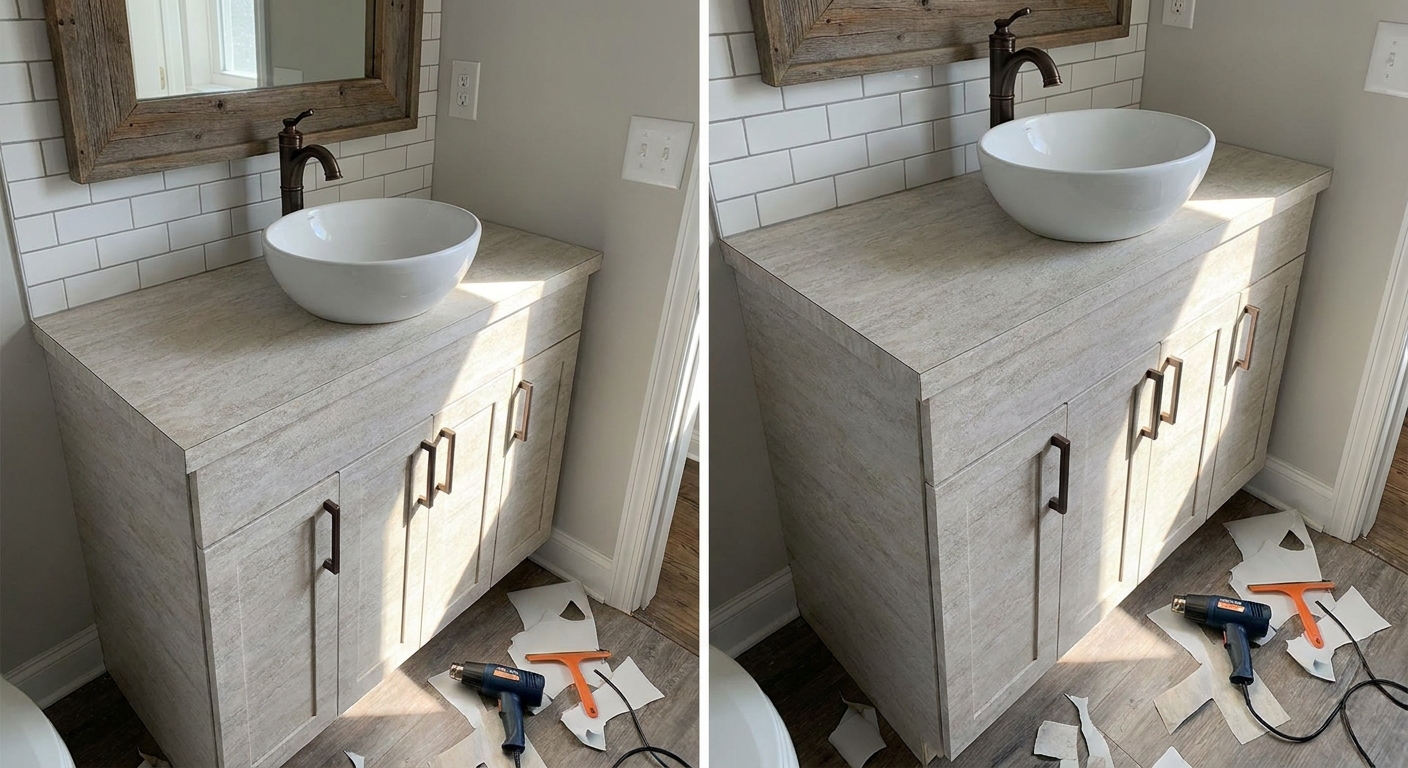
In those cases, your time is better spent cleaning, re-caulking, or asking maintenance for a proper repair. If you need a renter-friendly approach to other bathroom surfaces, you might also like wrapping a vanity with water-resistant contact paper.
Compatibility check
Two quick things can make grout colorants frustrating: what kind of grout you have, and whether someone sealed it.
- Sanded vs unsanded grout: Colorants can work on both, but sanded grout is more textured and can take a little more product (and patience) to look even.
- Previously sealed grout: Some colorants struggle to bond over sealer. If water beads on your grout, assume it has some kind of sealer on it.
If you do nothing else, do a small test patch in a low-visibility spot and let it cure fully. If it scratches off easily with a fingernail after curing, do not commit to the whole shower.
Prep that decides everything
This is the part people rush, and it is also the part that determines whether your grout pen looks fresh for months or starts flaking in a week.
Step 1: Clean the grout, not just the tile
Grout holds onto soap scum and mineral buildup. If you color over that film, the colorant bonds to the film, not the grout.
- Wash tile and grout with a bathroom cleaner that cuts soap scum.
- Use a small grout brush or an old toothbrush to get into the lines.
- Rinse very well so no cleaner residue is left behind.
Step 2: Handle mildew safely
If there is mildew staining, deal with it before you color. You want the grout as clean and dry as possible so you are not sealing in a problem.
- Use a product labeled for mold or mildew on bathroom surfaces, and follow the label dwell time.
- Rinse thoroughly and let the area dry completely.
- Always follow your product’s safety directions and ventilation requirements. Never mix cleaners.
Step 3: Dry longer than you think
Steam and damp grout are the enemies of adhesion. I like to wait at least 24 hours after deep cleaning before using a grout pen in a shower. If your bathroom runs humid, point a fan toward the area and keep the door open.
How long will it take?
It is slower than people expect, mostly because tile size dictates how many lines you have to trace.
- Small shower wall touch-up: about 30 to 60 minutes.
- Standard tub surround: often 2 to 4 hours, sometimes more if the tile is tiny or the grout is extra thirsty.
- Floors: plan for the longest, because there is more linear footage and you will want careful wipe-back.
I plan it like a movie night project: start early, take breaks, and do not schedule a shower right after.
How to apply it cleanly
The goal is an even, opaque line that does not sit on the tile face. Here is my method for clean results without losing your mind.
Supplies
- Grout pen or grout colorant
- Nitrile gloves
- Microfiber cloths or paper towels
- Cotton swabs for tight corners
- A small bowl of water
- Optional: painter’s tape for extra crisp edges on wide grout lines
Step-by-step
- Ventilate. Even low-odor products can be a lot in a small bathroom. Run the fan, crack the door, or open a window if you have one.
- Shake and prime. Most pens need a good shake, then you press the tip until it starts flowing evenly.
- Work in small sections. Think 2 to 4 square feet at a time, especially on shower walls.
- Trace the grout line slowly. Keep the tip centered in the groove. Let the pen do the work.
- Wipe the tile promptly. If you get colorant on the tile, wipe it off right away with a barely damp cloth. This is especially important on textured tile. Do not flood the grout line.
- Do a second pass only if needed. Some grout takes two coats for full coverage. Follow the dry time on the label.
- Keep the shower dry while it cures. Avoid water and steam for the full cure time listed by the manufacturer.
Will it last in a steamy shower?
In my experience, grout pens last best in rentals when:
- The grout was truly clean and fully dry before application.
- The shower has decent ventilation, even if it is just a fan and a cracked door.
- You are gentle with cleaning after, meaning no abrasive powders and no stiff scraping brushes.
Expect more wear on the tub line and in corners where water sits. If your grout near the tub looks bad because the caulk is failing, re-caulking is usually a better use of effort than coloring.
For cure times, plan conservatively. Many products want somewhere in the 24 to 72 hour range before full shower use, but always check your specific label.
Aftercare
If you want your hard work to look good longer, treat the grout like it is freshly painted (because, basically, it is).
- Use a non-abrasive bathroom cleaner for routine cleaning.
- Avoid scouring powders and scratchy scrub pads.
- If you use stronger disinfecting products, spot test first and do not let them sit longer than the label says.
- Keep up with ventilation so moisture is not camping out on the grout lines.
Damage and removal
On many glazed ceramic and porcelain tiles, stray colorant can wipe off during application if you catch it quickly. The bigger concern is the grout itself.
- It is not “peel off later” removable. If a landlord considers it an unauthorized alteration, you may have to scrub it off or pay for professional cleaning. What happens depends on your lease and the landlord’s expectations.
- Porous tile or natural stone is a red flag. If you have unglazed tile, stone, or very textured surfaces, colorant can stain the tile face. Test in an inconspicuous spot first.
If your bathroom has older materials and you are not sure what the tile is, test in a corner behind the toilet or near the back wall of the shower.
Make it inspection-friendly
If you are prepping for an inspection or move-out photos, this is how I would keep it low drama:
- Stick to a neutral shade that matches the era of the bathroom.
- Do the minimum area that looks bad. You do not have to color the entire bathroom floor if only the shower line is stained.
- Take before photos and a couple of progress shots. Not for social media. For your own documentation in case the conversation gets weird later.
- Make it look tidy around the grout by decluttering the space. A clean counter makes grout look cleaner too. If your sink area is always chaotic, start with space-saving counter organization.
Common mistakes
- Coloring over soap scum: It looks great for one day, then starts patching.
- Using the shower too soon: Steam softens fresh colorant before it bonds.
- Choosing bright white in a beige bathroom: It can make the tile look dingier by contrast.
- Not wiping the tile as you go: Dried colorant haze is harder to remove later.
- Trying to “fix” cracked corners: Corners need caulk, not a marker.
- Skipping the test patch: If your grout was sealed, this is how you end up doing the job twice.
Quick FAQ
Is a grout pen the same as regrouting?
No. A grout pen is cosmetic. Regrouting removes and replaces grout, which is a bigger job and usually not rental-friendly without permission.
Can I use a grout pen on floor tile?
You can, but floors get more abrasion. If you do it, prep matters even more and you should expect touch-ups in high-traffic spots.
Should I seal after using a grout pen?
If your product is a colorant that also claims to seal, you may not need an extra sealer. If it is purely color, a compatible sealer can help. Follow the manufacturer’s instructions, especially cure times, so you do not trap moisture.
What if my landlord notices?
If you keep the color close to the original and the work is neat, many landlords will simply see a cleaner shower. If you are making a style change (like black grout), ask first or be prepared to undo it.
Other ways to fake clean lines
If grout pens feel like a gamble in your lease situation, you still have options that visually calm down a busy, stained bathroom.
- Upgrade the lighting so tile looks brighter and cleaner. I love plug-in renter-friendly lighting for this.
- Lean into better storage so fewer bottles live in the shower. Start with rust-resistant shower organizers.
- Refresh other high-impact surfaces like a builder-grade mirror. See how to upgrade a mirror without removing it.
Grout pens are a small thing, but in a tiny rental bathroom, small things are the whole game. If your grout is solid and you prep properly, it can be one of the fastest ways to make the entire shower look cleaner and more cared for.