My first city apartment had a “vanity” that was basically a sliver of laminate squeezed between the sink and the wall. If I set down my makeup bag, there was no room left to wash my hands. The fix was not buying fewer products overnight (let’s be real), it was getting ruthless about vertical storage and giving every category a tiny, repeatable home.
Below are my favorite space-saving makeup organization ideas for small bathroom counters, especially if you are renting and cannot drill into tile.
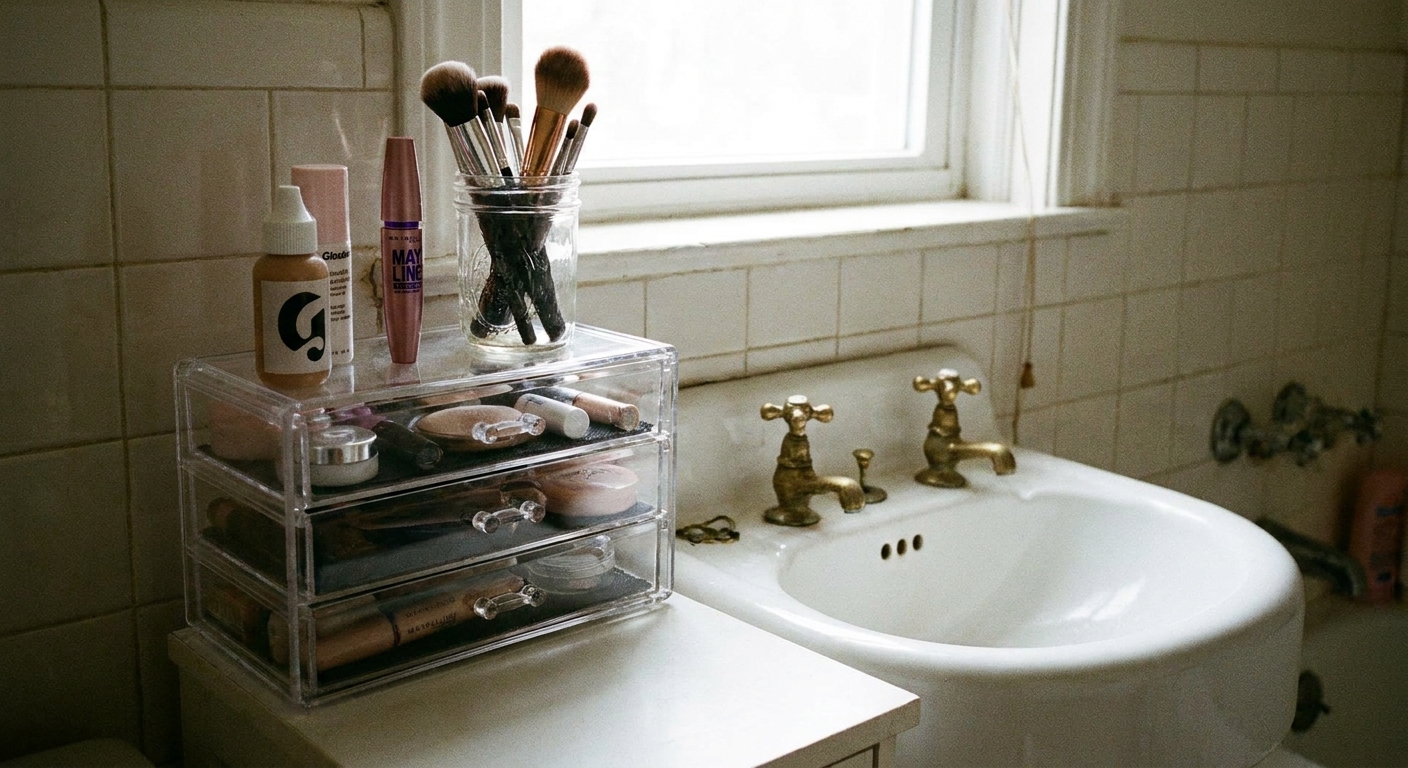
Start with one clear zone
Before you buy anything, choose one small surface that stays clear. In a compact bathroom, that is usually the sink ledge or a few inches next to the faucet. The goal is simple: you should be able to set down a toothbrush cup or wash your face without doing a product shuffle.
My 5-minute reset
- Keep out: hand soap, one daily moisturizer, and one small cup or tray for your top 5 items.
- Store nearby: everything else in a vertical organizer, cabinet, or wall solution.
- Make it automatic: anything that does not fit in its assigned home is a sign the category needs a better container. Not a bigger pile.
If your counter is already overflowing, do a quick pass through your stash first. This pairs perfectly with my step-by-step approach in Declutter and Organize Your Medicine Cabinet, because makeup and skincare tend to compete for the same tiny real estate.
Tiered trays for narrow counters
A tiered tray is the easiest upgrade when you need more storage without taking up more footprint. The trick is choosing the right shape for a bathroom, not a kitchen.
What to look for
- Small base: a narrow, oval, or rectangular footprint fits better than a wide circle.
- Two tiers max: three tiers often feel top-heavy near a sink and can look busy fast.
- Raised edge: so compacts and lip products do not slide off when you wipe the counter.
- Easy-wipe material: acrylic, coated metal, ceramic. Bare wood can get water-stained around sinks.
- Quick fit check: measure your counter depth first, then choose a tray that leaves breathing room so hands are not bumping products every time you turn on the tap.
How I style it so it looks intentional
- Top tier: daily makeup (concealer, brow gel, mascara, one lip).
- Bottom tier: cotton pads in a lidded jar, mini perfume, or a small brush cup.
- One “pretty” anchor: a small bud vase or candle, only if you still have elbow room.
If the tray is starting to look chaotic, it is usually because too many tiny items are loose. Corral small pieces with one shallow dish on a tier, or switch to a divided insert.
Carousels for makeup categories
When your counter is short on width, going vertical is your best friend. A vertical carousel or compact lazy Susan lets you store more while keeping everything reachable.
Where carousels shine
- Skincare plus makeup primers: taller bottles live happily together.
- Hair tools you use daily: heat protectant, hair oil, clips, and a brush, all in one spinning station, as long as you have a dry, safe spot away from the sink.
- “Get ready fast” kits: keep your weekday face in one place so you are not pulling out five different pouches.
Set it up so it does not become a clutter tornado
- Assign quadrants: base makeup, eyes, lips, tools. If one quadrant overflows, edit or re-home.
- Put tall items in back: so shorter compacts do not disappear.
- Add a non-slip liner: keeps glass bottles stable and quiet when you spin.
Hot tool safety: only put heat tools into any organizer once they are fully cool, never store them while plugged in, and do not wrap cords tightly around them. In a tight bathroom, “away from water” is non-negotiable.
If you share a bathroom, consider making the carousel “yours” and keeping shared items elsewhere. It prevents the classic small-bath problem where everything becomes everyone’s pile.
Wall storage for renters
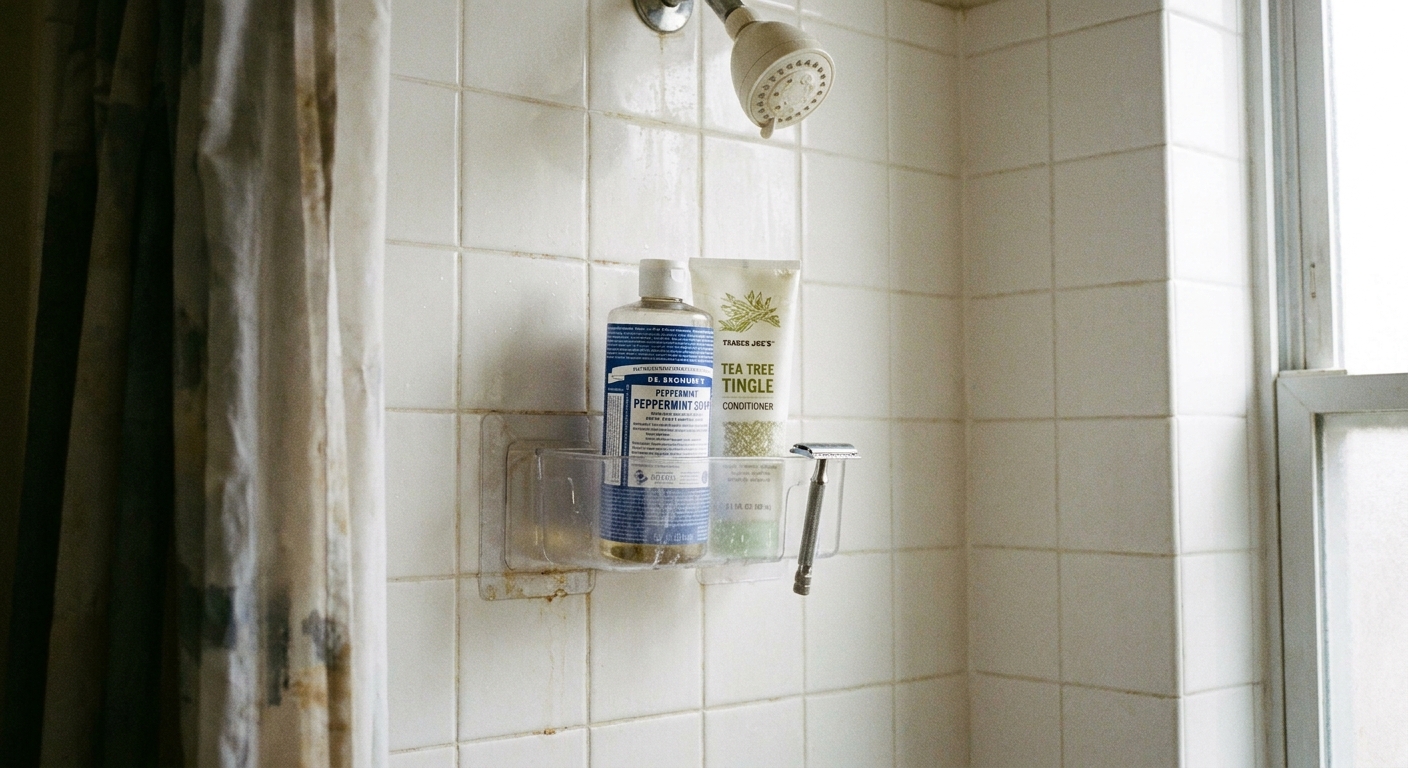
Wall storage is the fastest way to clear a cramped counter, but renters need solutions that come down clean. Think peel-and-stick, suction, or tension-based setups.
Best damage-free wall options
- Adhesive shelves: great for palettes and small bottles if the shelf has a guard rail.
- Mounted cups: for brushes, eyeliner pencils, and mascara. Drain holes help, but you will still want to rinse the cup regularly (makeup residue builds up).
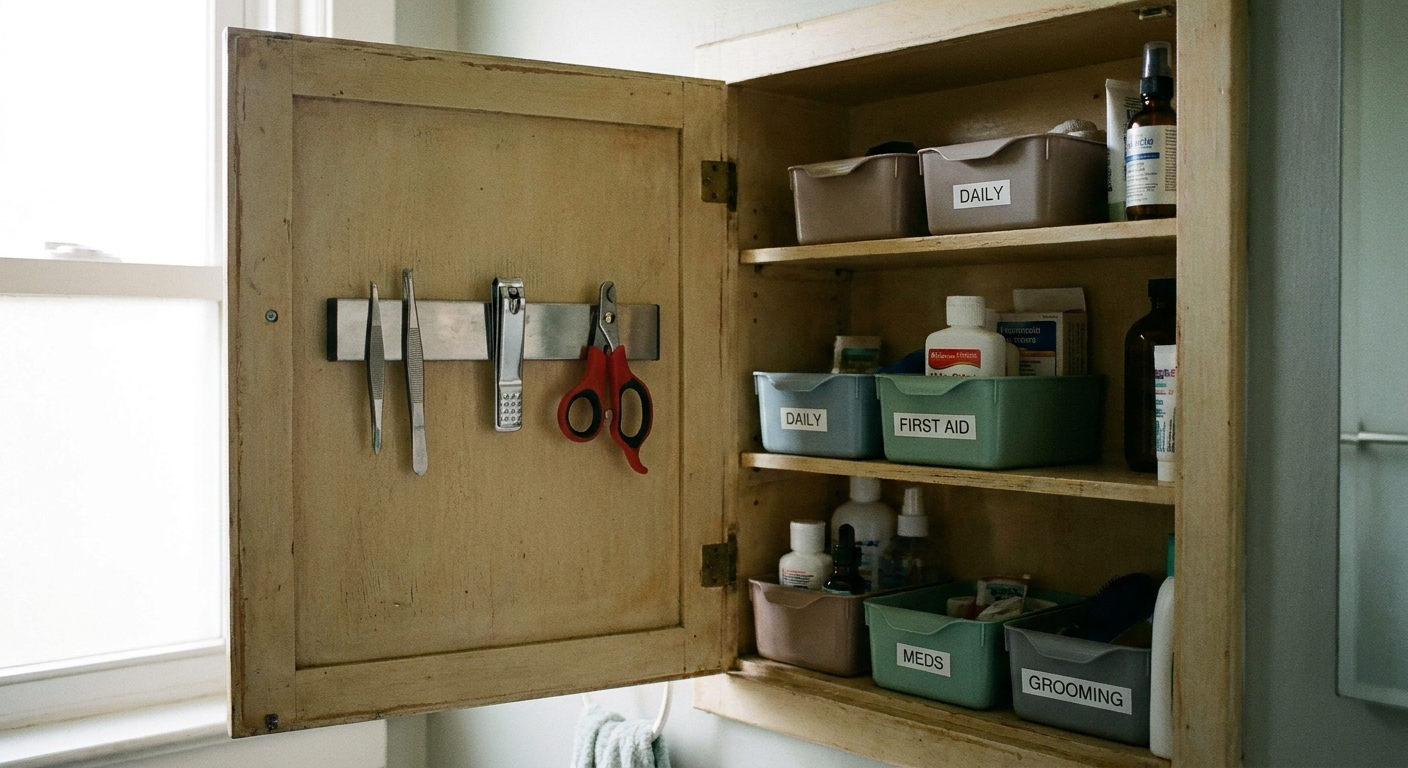
- Magnetic strip plus tiny tins: ideal for bobby pins, sharpeners, tweezers, and nail clippers.
- Mirror-side organizers: narrow shelves that sit beside a mirror and hold daily items.
Real-life caution: adhesive strength varies a lot by surface (paint, texture, tile grout lines) and by humidity. Follow the manufacturer weight limits, let adhesive fully cure, and test with lightweight items before you trust it with glass bottles.
For more ideas that are designed specifically for rentals, I rounded up a bunch of options in 7 Damage-Free Wall Storage Hacks for Rented Bathrooms. It is basically my playbook for getting storage without risking your deposit.
Placement tip: aim for wall space that is easiest to keep dry, usually the side wall next to the vanity, not directly behind the faucet where everything gets splattered.
Cabinet upgrades that calm the counter
If your vanity cabinet exists but feels useless, it often just needs the right layers inside. A tiny cabinet is not a deep pantry. It needs stacking, bins, and dividers.
My under-sink makeup setup
- One small bin per category: face, eyes, lips, backups, tools.
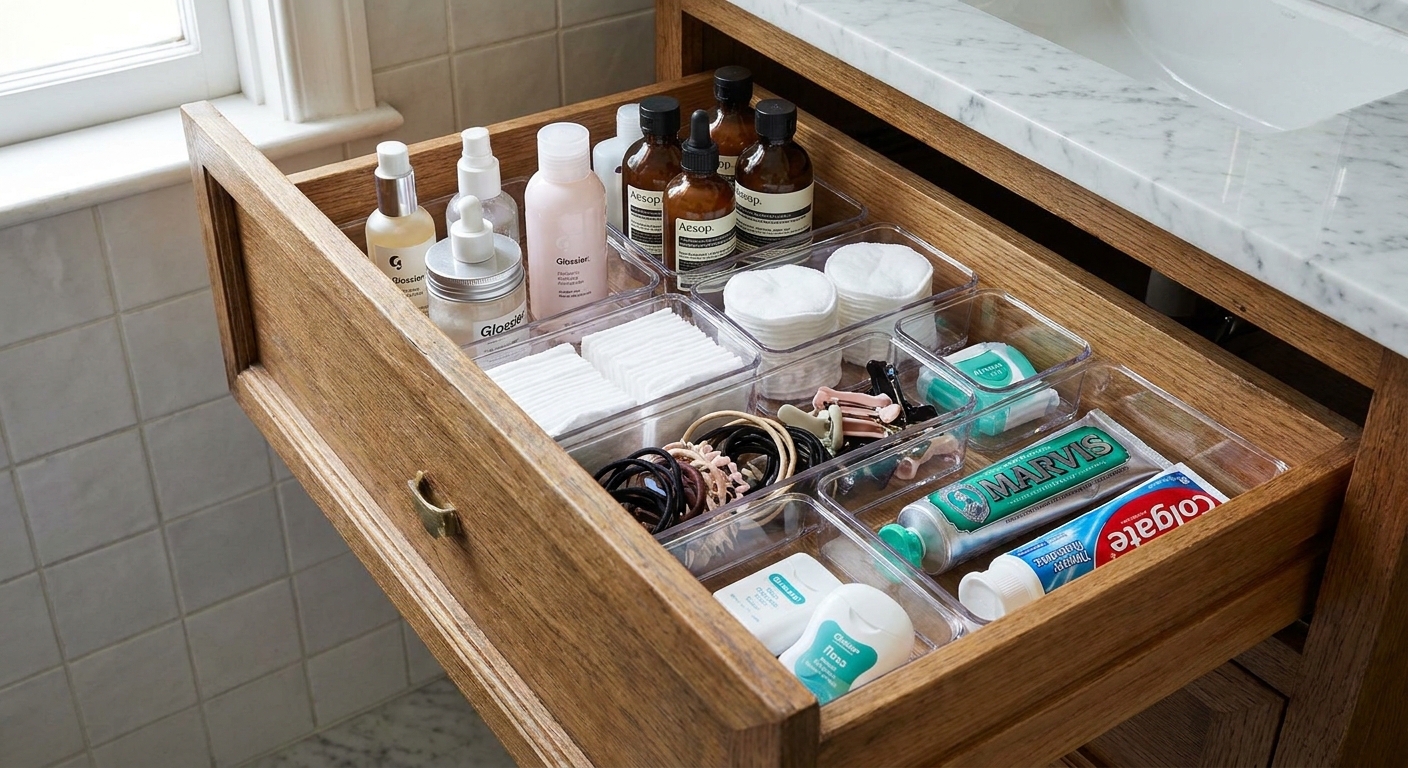
- A narrow drawer unit: for flat items like palettes, blotting papers, and sample packets.
- A lidded container for cotton items: so they stay clean and do not look messy.
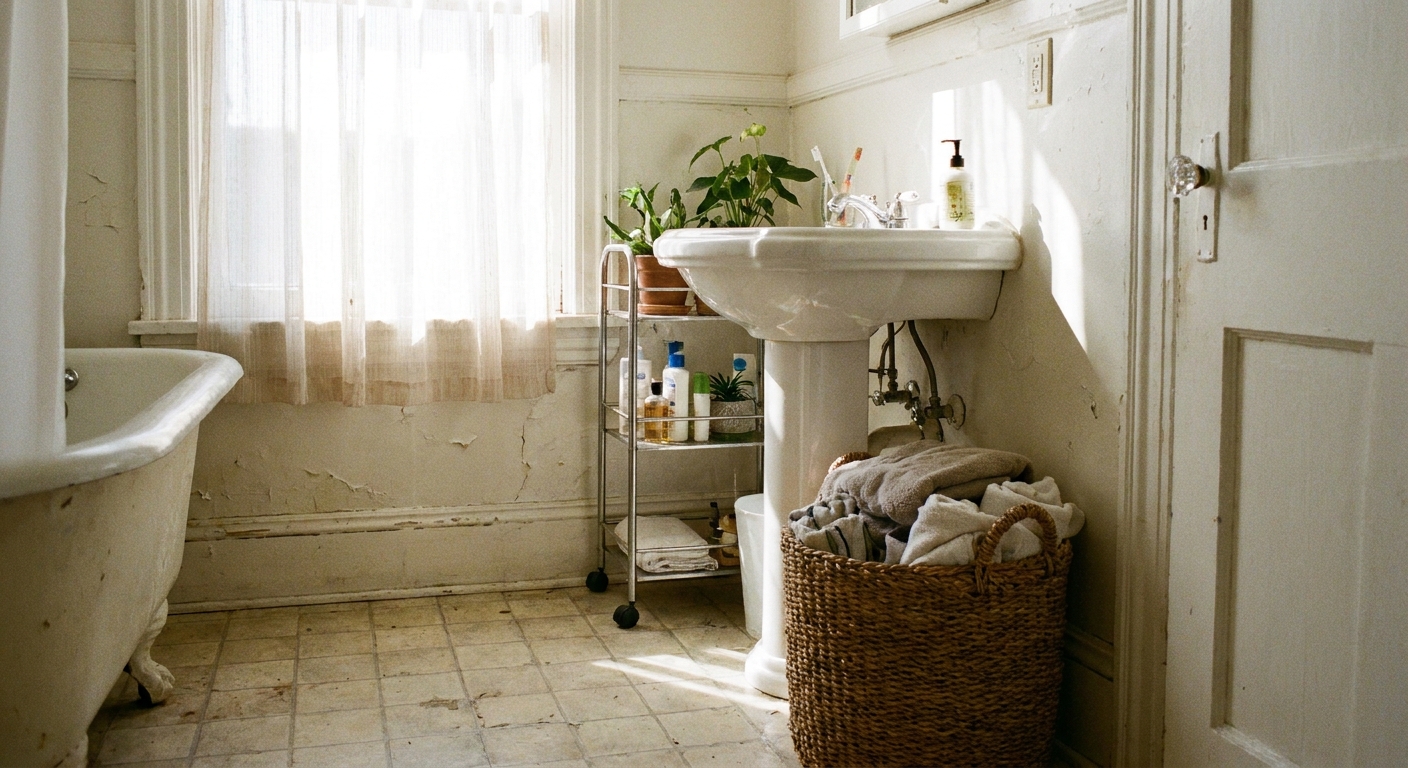
If you have a pedestal sink or open plumbing, you still have options. Start with these pedestal sink storage ideas renters can do and treat your makeup like a capsule wardrobe: daily items accessible, occasional items tucked away but still organized.
Brush storage without visual clutter
Brushes are tricky because they are tall, visually busy, and always end up on the counter in a small bathroom. Here is how to store them so they look tidy.
Three space-saving options
- One slim cup, not three cups: choose a narrow container and limit it to your daily set.
- Wall-mounted brush cup: frees counter space and looks intentional if you keep it minimal.
- Drawer insert with slots: best if you hate counter items entirely.
Cleanliness note I actually follow
If you store brushes in a cup, make sure the cup is easy to rinse and dry. Bathrooms are humid, and anything that stays damp gets funky fast. If your brushes are freshly washed, let them dry fully before they go back into a holder.
Bag system for backups
Not everything deserves prime counter space. I like using small zip pouches or structured makeup bags like mini drawers you can pull out and put back.
Organize by frequency
- Daily: lives in your tiered tray or carousel.
- Weekly: lives in a pouch in the top drawer or cabinet bin.
- Special occasion: lives in a labeled pouch in the back, plus one quick inventory check every season.
This system is also perfect if you get ready outside the bathroom sometimes (bedroom mirror, better lighting, less humidity). Just grab the pouch and go.
Better lighting, better setup
If your bathroom lighting is harsh or dim, you will use more counter space by default because you keep dragging products closer to the mirror. My workaround in small apartments has been simple: store makeup in the bathroom, apply it where the light is better.
- Use a travel pouch: take only your daily face to a bedroom mirror or a spot near a window.
- Keep the bathroom for prep: skincare, brushing teeth, washing hands, then makeup elsewhere if the sink area feels cramped.
Small vanity layouts
When your counter is tiny, the where matters as much as the what. Here are a few layouts that keep things functional.
Layout A: Narrow sink ledge
- On counter: one slim tray with daily essentials.
- On wall: adhesive cup for brushes and mascara.
- In cabinet: bins for categories and backups.
Layout B: Corner vanity
- On counter corner: compact lazy Susan for bottles.
- Next to faucet: clear zone stays empty.
- In drawer: palettes and powders laid flat.
Layout C: Almost no counter
- On wall or over toilet: a shallow organizer for daily makeup.
- In a basket: your full kit that you bring to the mirror when needed.
If you are working with almost no counter, over-toilet storage can carry a surprising amount of the load. I shared options that stay tidy in Over-the-Toilet Storage That Won’t Look Cluttered.
Quick fixes for common problems
My makeup keeps getting wet
- Move daily makeup to the side wall with an adhesive shelf.
- Use a tray with feet so puddles do not sit under items.
- Keep bottles farther from the splash zone, and store powders where they stay dry.
I have nowhere to put products while I clean
- Use a handled caddy under the sink so everything lifts out at once.
- Choose one tray as the landing pad and commit to it.
My organizers still look messy
- Pick one material family (all clear acrylic or all white ceramic) so the mix looks calmer.
- Decant tiny items (hair ties, clips) into one lidded container.
- Limit what is visible. In small spaces, hidden storage reads more spa-like.
What not to do
- Do not store makeup on the toilet tank lid. It gets dusty fast and it is one bump away from the floor.
- Do not keep powders and palettes right behind the faucet or next to the shower spray.
- Do not overload adhesive organizers. If you are unsure, keep glass and heavy bottles in the cabinet.
A tiny counter checklist
- One clear zone you protect like your sanity depends on it.
- One vertical solution (tiered tray or carousel) for daily items.
- One wall or cabinet home for everything else.
- One weekly reset: wipe, toss empties, return strays to their category bin.
Small bathrooms do not need to feel chaotic. With the right vertical tools and a simple daily versus backup system, your counter can stay open and actually look styled.