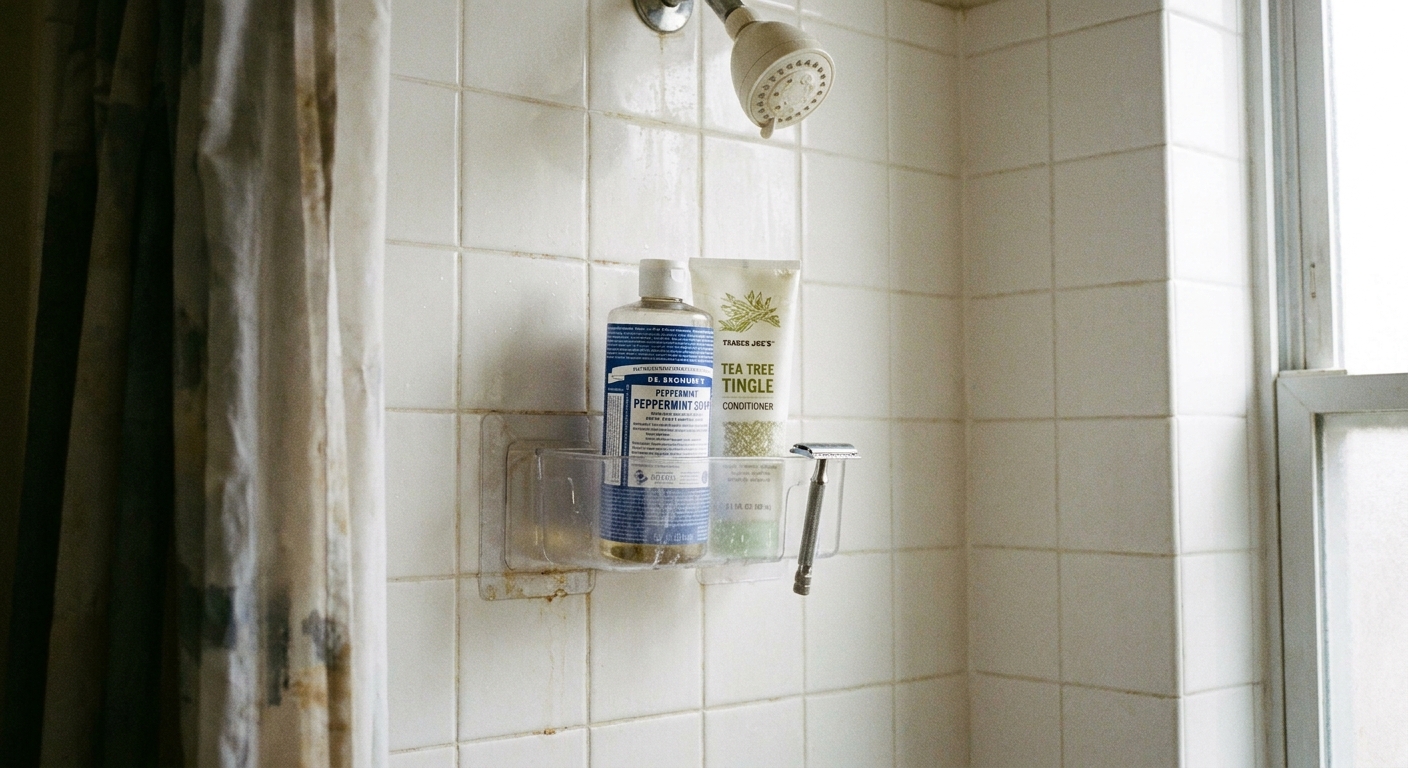
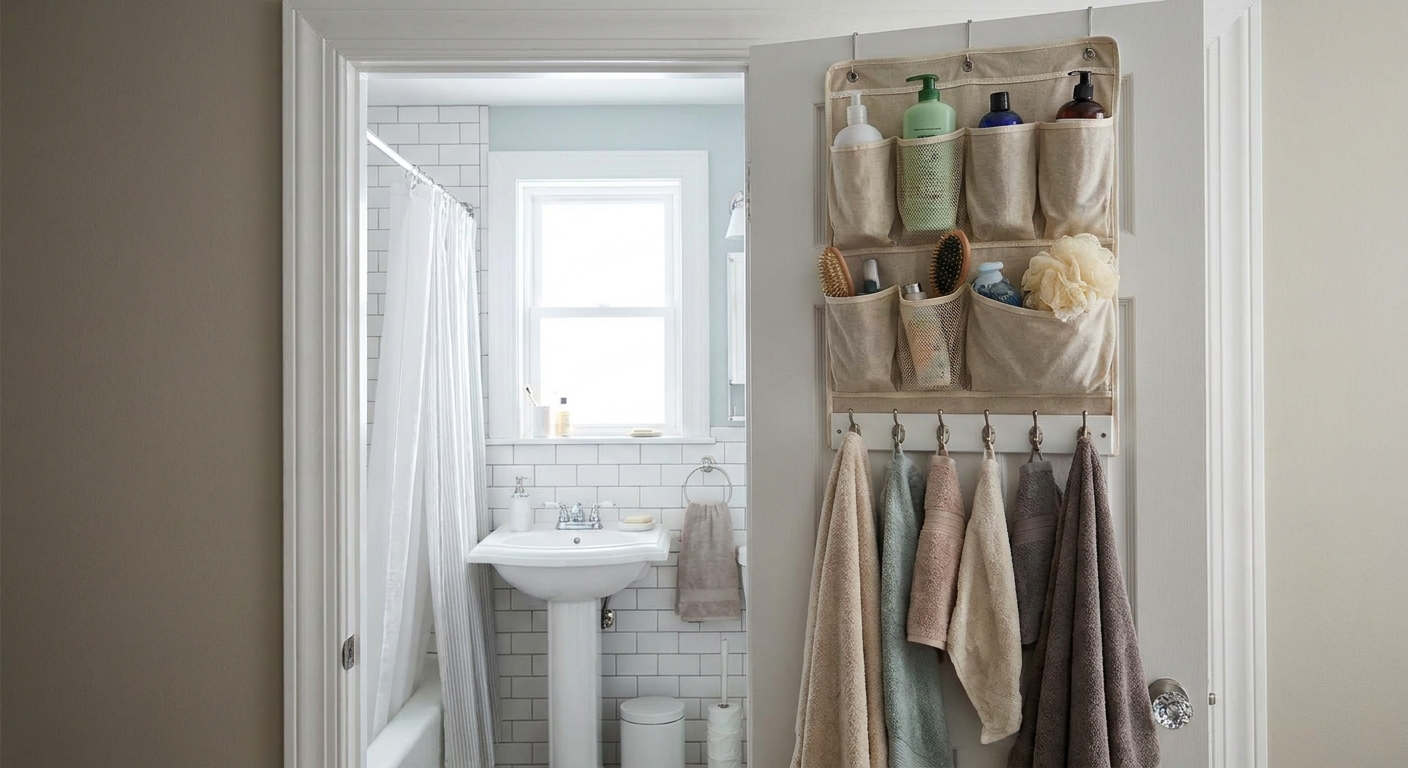
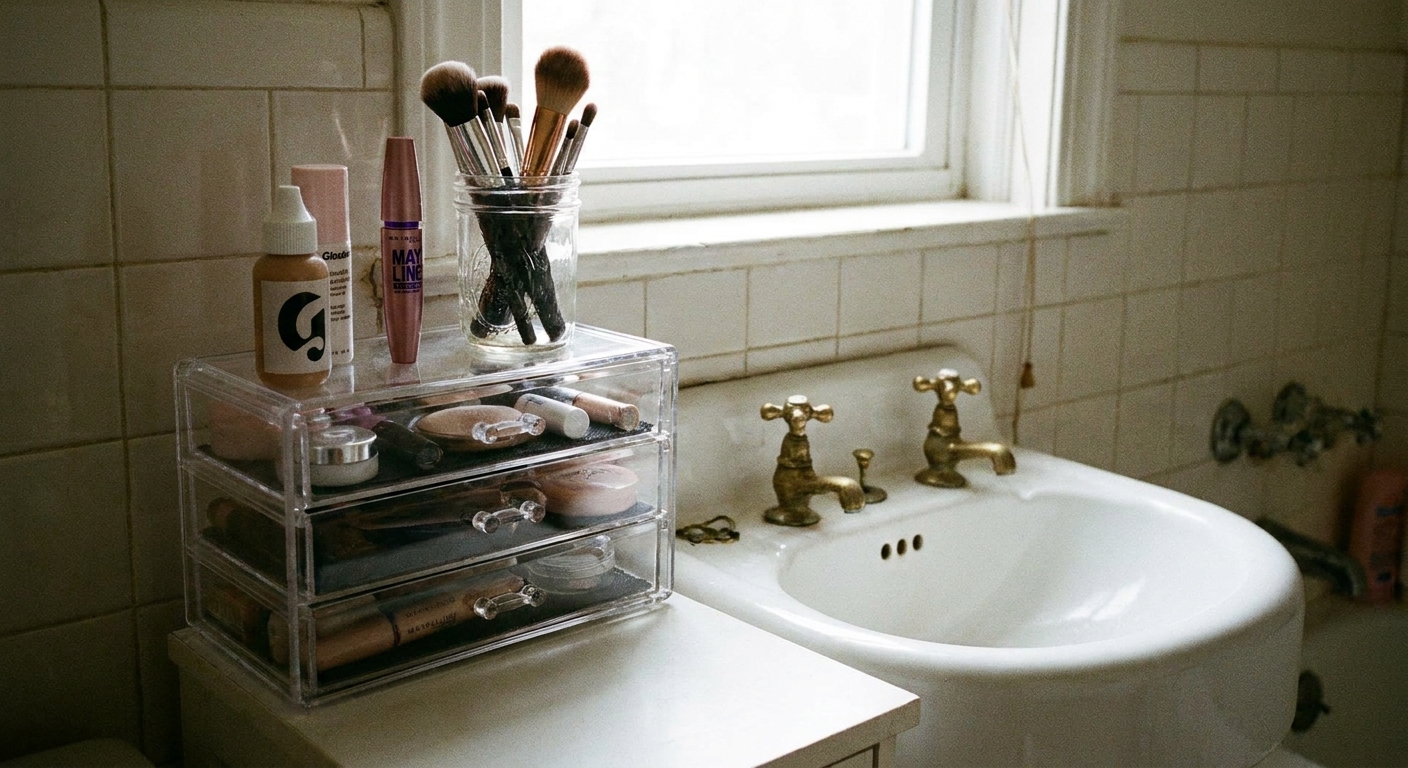
My first apartment bathroom had a mirrored medicine cabinet that looked innocent until you opened it. Then it was a chorus line of half-used tubes, three almost-empty contact solutions, and a mysterious bottle with a label worn clean off. If your cabinet is the spot where tiny clutter goes to multiply, this is your reset.
This step-by-step guide is designed for small bathrooms, where every inch counts and “just shove it back in” always comes back to haunt you.
Before you start: a 15-minute reset zone
You will move fast and make better decisions if you give yourself a simple sorting setup.
Grab these basics
- A small trash bag
- A second bag for recycling (boxes, paper inserts)
- One “relocate” bin (a shoebox is perfect)
- A damp cloth or disinfecting wipe
- A marker and a piece of painter’s tape for quick labels
Create five piles on the counter
- Keep daily (things you use weekly or more)
- Keep occasional (sick day, first aid, travel extras)
- Relocate (belongs elsewhere)
- Toss (expired, questionable, empty)
- Ask (anything you are unsure about)
If your counter space is tiny, pop the towel on the closed toilet lid, or use the top of a lidded laundry hamper as a temporary surface. If you have a pet who likes to investigate, close the bathroom door so nothing turns into a chew toy.
Step 1: Empty everything
Take every item out. Pull the shelf out if it comes out. This is the only way to stop the “I did a quick tidy but nothing changed” cycle.
Wipe the cabinet inside and out, including the door edges where toothpaste dust loves to settle. If you have an outlet inside the cabinet, keep wipes away from it and use a barely damp cloth instead.
Step 2: Toss expired products
This is where you get the most space back, fastest. The goal is not to build a perfect stockpile. The goal is to keep what is safe, usable, and actually part of your life.
What to remove immediately
- Expired medications (prescription and over-the-counter)
- Old sunscreen (especially anything that is separated, watery, or past its date)
- Eye products past their safe window (contact solution, eye drops, ointments)
- Anything unlabeled or that you cannot identify
- Products that changed (smell, texture, color)
How to dispose of medications safely
Many pharmacies and police departments offer medication take-back drop boxes. If you are in the US, the FDA has guidance on disposal and drug take-back options here: https://www.fda.gov/consumers/consumer-updates/where-and-how-dispose-unused-medicines.
If you are not sure whether something is expired but it is in the “Ask” pile, look up the manufacturer’s recommendations or call your pharmacist. For anything you put back, write the open date on the bottle with a marker. Future you will love you for this.
If you store anything pet-related in the cabinet (like styptic powder for a quick nail nick, or paw balm), treat it the same way: if it is expired, separated, or you cannot identify it, it goes.
Step 3: Sort into categories
In a tiny bathroom, the medicine cabinet works best when it holds small, high-priority items that you want near the sink. Everything else should live elsewhere so your cabinet can breathe.
My favorite cabinet categories
- Daily essentials: deodorant, skincare you use daily, contacts, toothbrush heads, floss
- Oral care: toothpaste, floss, whitening strips, mouthwash minis
- First aid: bandages, antiseptic, tweezers, small thermometer
- Cold and allergy: allergy meds, pain reliever, cough drops, nasal spray
- Travel and backups: only if you limit this on purpose
- Pet basics: a flea comb, pet-safe wipes, paw balm, a tick remover tool
What usually should not live in the medicine cabinet
- Bulk refills (extra shampoo, giant lotion bottles)
- Hair tools (unless your cabinet is unusually large)
- Perfume (heat and humidity can degrade it faster)
- Makeup you use at a vanity (better near where you apply it)
- Loose pet treats (save those for the kitchen, not the humid bathroom)
Need a better “elsewhere”? If your bathroom is short on storage, I have a bunch of renter-friendly ideas that do not require drilling in Storage & Organization, and wall-friendly options in 7 Damage-Free Wall Storage Hacks for Rented Bathrooms.
Step 4: Make a daily zone
Put your Keep daily items on the most accessible shelf, typically the middle. This is the shelf you want to be able to use half-awake.
Rules that prevent instant re-clutter
- One of each: keep one open toothpaste, one floss, one face wash. Backups go elsewhere.
- Front row only: if an item needs to hide behind another, it does not belong in daily.
- Stand items upright: use a small bin so tubes do not slump into a pile.
If you share the bathroom, split the daily zone into left and right bins. It sounds silly, but it stops the “your stuff migrated into my stuff” spiral.
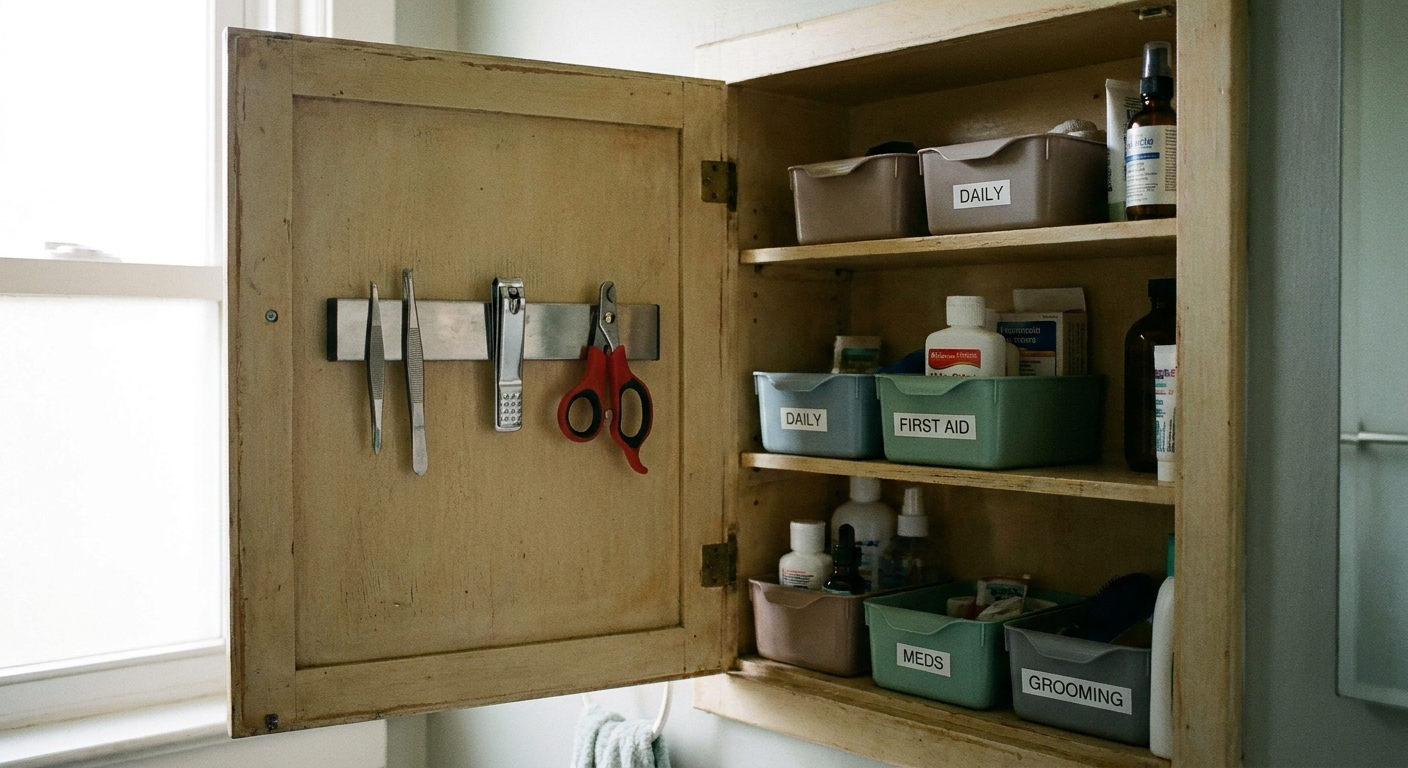
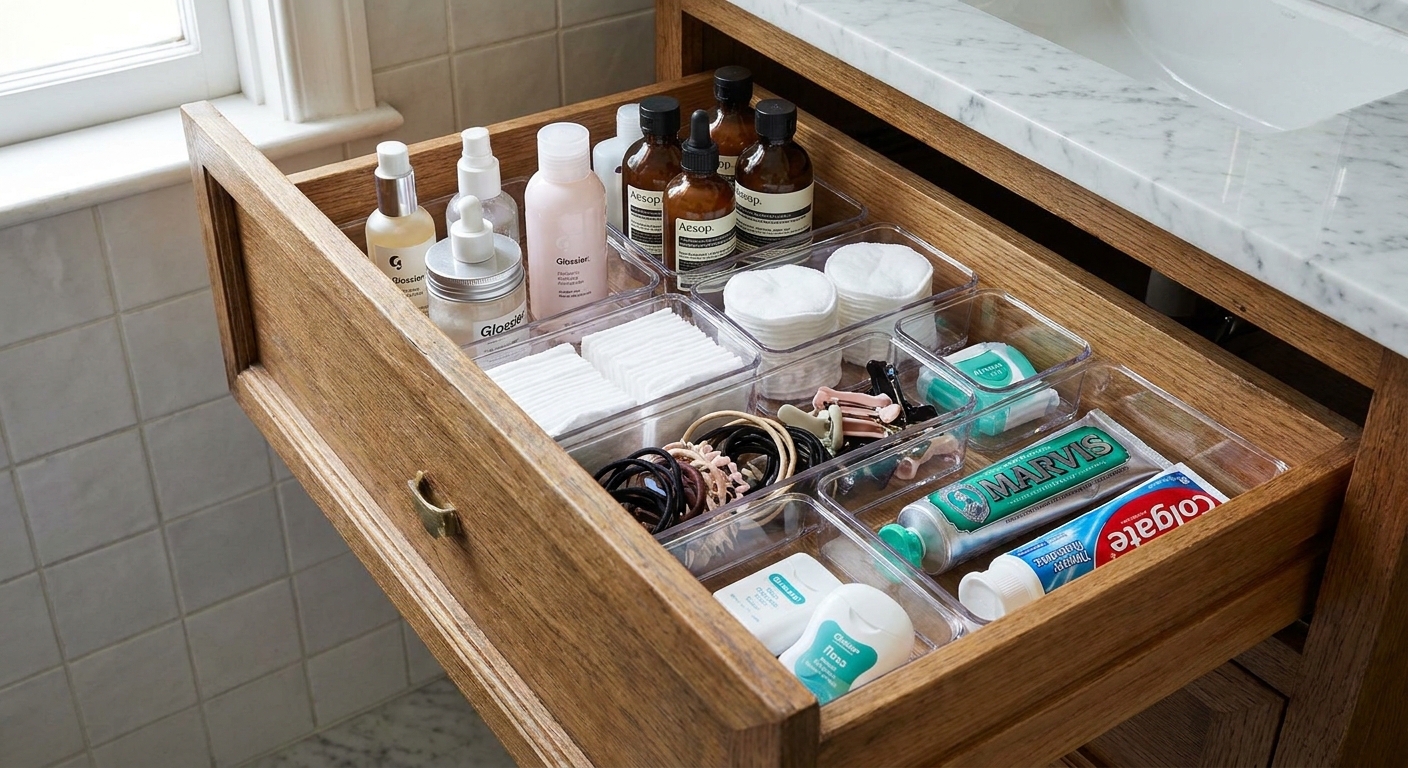
Step 5: Use bins
The secret to a tidy medicine cabinet is not more shelves. It is containment. When you pull one category out, nothing else should topple like dominoes.
What works best in narrow cabinets
- Clear, low bins so you can see everything without digging
- Small lidded cups for cotton swabs or hair ties
- A slim lazy Susan only if your cabinet is deep enough for it to spin without hitting the door
Labeling can be minimal and still helpful. A small piece of painter’s tape on the bin edge is enough.
Step 6: Add magnetic storage
This is my favorite tiny-bathroom trick because it uses the space you already have: the inside walls of the cabinet or the back of the door.
What to use
Look for an adhesive-backed magnetic strip or magnetic bar designed for home organization. You want something strong enough to hold small metal items, and slim enough to fit without interfering with the door closing.
Best items to store magnetically
- Tweezers
- Nail clippers
- Small scissors
- Bobby pins (stick them to a small metal tin, then magnetize the tin)
- Metal cuticle tools
- Pet nail clippers (if you use a small metal pair)
Installation tips
- Clean first: wipe the spot with rubbing alcohol and let it dry fully.
- Pick a flat area: avoid placing over seams or curved edges inside the cabinet.
- Mind the swing: open and close the door a few times before committing to placement, especially if your shelves are tight.
- Keep it dry: avoid the very bottom edge where water drips can collect.
If your cabinet interior is glossy and adhesive does not stick well, you can still use magnet storage by placing a small metal cup or tray on a shelf for your mini tools. It is not as space-saving as the wall strip, but it keeps sharp little items from floating around.
Quick safety note if you have curious pets: keep anything sharp or swallowable (clippers, bobby pins, tiny scissors) high and secure. A closed bin beats “I will remember to shut the door” every time.
Step 7: Use a simple layout
Here is a layout that works in most standard mirrored cabinets.
Top shelf: rarely used
- Travel sizes
- Backups you are actively using soon (one backup per item max)
- Seasonal items (like allergy meds) in a small bin
Middle shelf: daily zone
- Daily skincare and oral care
- Contacts and eye care that you use daily
- Your “grab and go” bin
Bottom shelf: heavier and taller
- First aid bin
- Cold and pain relief bin
- Taller bottles that fit comfortably
- Pet basics bin if you keep one (paw balm, wipes, flea comb)
Keep a small amount of open space. Empty space is not wasted space in a small bathroom. It is breathing room that makes the cabinet feel calm.
Step 8: A one-minute routine
Your medicine cabinet should not require monthly overhauls. A tiny routine keeps it from sliding back into chaos.
Once a week
- Put strays back in their bin
- Wipe toothpaste drips before they harden
Once a month
- Check for duplicates and nearly-empty bottles
- Do a quick “is this still part of my routine?” scan
Twice a year
- Do a full expiration check
- Refresh your first aid basics
Tiny bathroom fixes
My cabinet is too shallow
Decant what you can into slimmer packaging (within safe storage guidelines), and prioritize flat items. A low bin for tubes laid horizontally can be cleaner than forcing everything upright.
I have a pedestal sink and no drawers
Then the medicine cabinet ends up doing too much. Try moving backstock and bulky items out of the cabinet with a slim organizer elsewhere. These ideas help: Pedestal Sink Storage Ideas Renters Can Do.
It still looks cluttered
Visual clutter usually comes from mixed packaging and too many categories. Combine similar items into fewer bins, and aim for “one bin per function.” For more small-space styling tricks that keep storage looking intentional, browse over-the-toilet storage that will not look cluttered.
The goal: calm, not perfect
A medicine cabinet is one of those tiny spaces that can make your whole bathroom feel either stressful or serene. When the daily shelf is easy and the extras are contained, you get that boutique-hotel feeling without changing a single tile.
Give yourself 30 to 45 minutes once, then protect it with the one-minute weekly reset. Your future self, standing at the sink on a rushed morning, will feel the difference immediately.