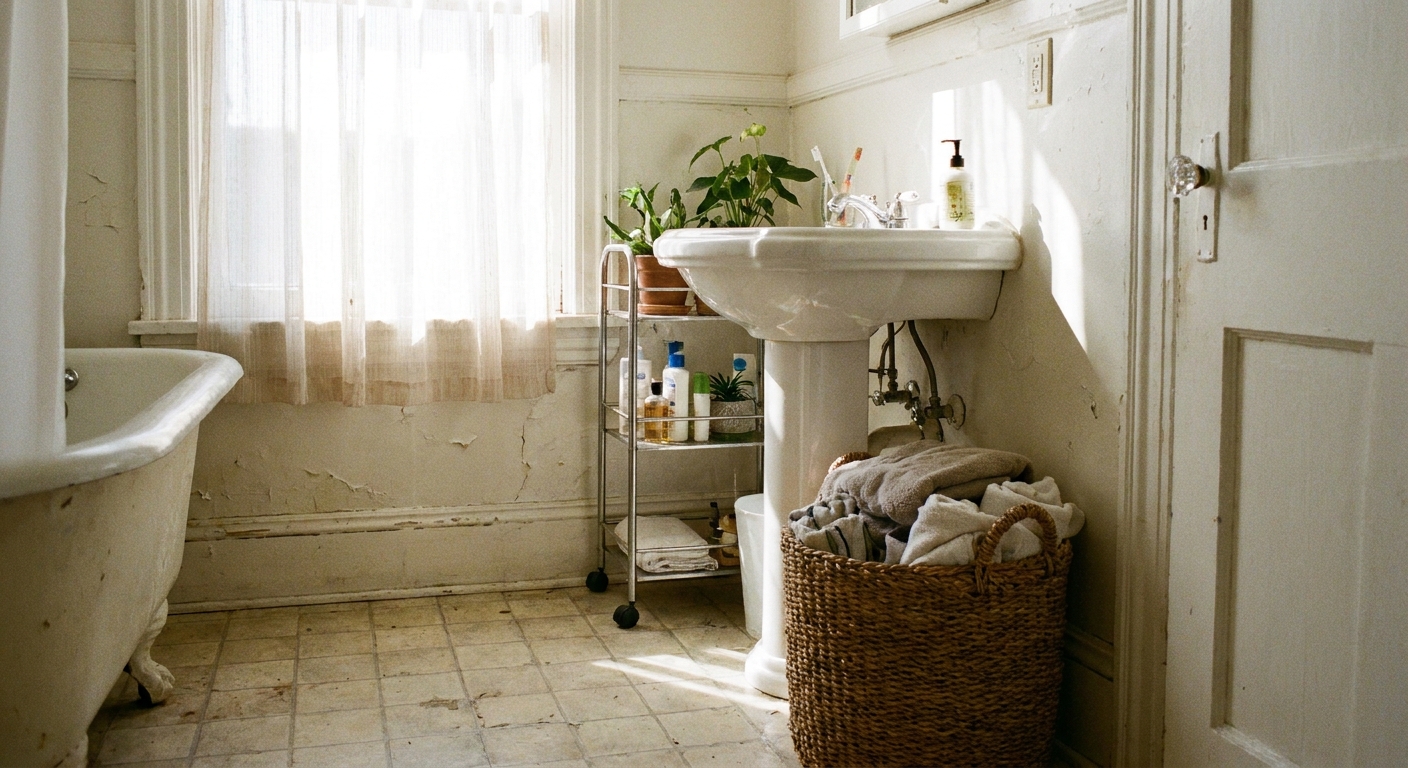
The first apartment I lived in with a pedestal sink felt like a prank. Beautiful vintage porcelain, zero storage, and a layout so tight I could dry my hair while brushing my teeth. If you are renting and cannot drill or swap the vanity, you can still get your daily essentials off the floor and out of makeup bags. The trick is to treat the pedestal sink like a “no storage zone” and build a little storage ecosystem around it.
Start with a quick measuring plan
Before you buy anything, grab a tape measure and jot down a few numbers. This keeps you from ordering a cart that blocks the door or a shelf that crashes into the sink curve.
- Sink footprint: measure the widest point of the basin and the pedestal base.
- Side clearance: how many inches you have on the left and right before you hit a wall, tub, or toilet.
- Front clearance: how much space you can spare in front of the sink without turning the room into an obstacle course.
- Door swing and walkway: open the door fully and note where it lands, plus the narrowest walking path you need to keep clear.
- Height targets: rim height of the sink and the height to any mirror or medicine cabinet above.
My rule: in a tight bathroom, prioritize storage that is vertical or slim. If it sticks out too far, you will hate it daily.
No-drill shelving that works near a pedestal sink
1) Tension pole corner shelves (the best “no holes” upgrade)
If you have even a few inches of breathing room beside the pedestal, a tension pole with corner shelves is a renter miracle. It uses pressure between floor and ceiling, so no drilling is required.
- Best for: toiletries, extra hand towels, backup soap, hair tools in a bin.
- Placement tip: offset it slightly behind the sink line so you do not shoulder-check it while washing your face.
- Safety note: ceilings and floors are not always perfectly flat (hello, old plaster). Tighten it firmly, re-check it occasionally, and do not overload the top shelves.
- Make it prettier: decant cotton swabs and pads into matching containers, then corral smaller items in a tray so the shelves do not look busy.
2) Over-the-toilet freestanding unit (if your sink wall is cramped)
Sometimes the sink wall is impossible, especially in older rentals where the toilet and sink practically share a zip code. In that case, borrow vertical storage over the toilet instead and store sink supplies there.
- Best for: bulk items, extra toilet paper, cleaning supplies in a lidded bin.
- Renter safety: choose a sturdy, freestanding style and add non-slip pads under the feet so it does not wander.
3) Adhesive shelves for the side wall (choose “lightweight daily” items)
Adhesive shelves can be great if you keep expectations realistic. Use them for items you reach for often, but that are not heavy.
- Best for: face wash, lotion, a small plant, a toothbrush cup.
- Where to place: on a smooth wall near the sink, not directly where splashes soak it all day.
- What actually matters: follow the manufacturer weight limit and cure time. Many need 12 to 24 hours (sometimes longer) before you load them.
- Pro tip: wipe the wall with rubbing alcohol and let it dry fully before sticking anything up.
Freestanding pieces that replace under-sink storage
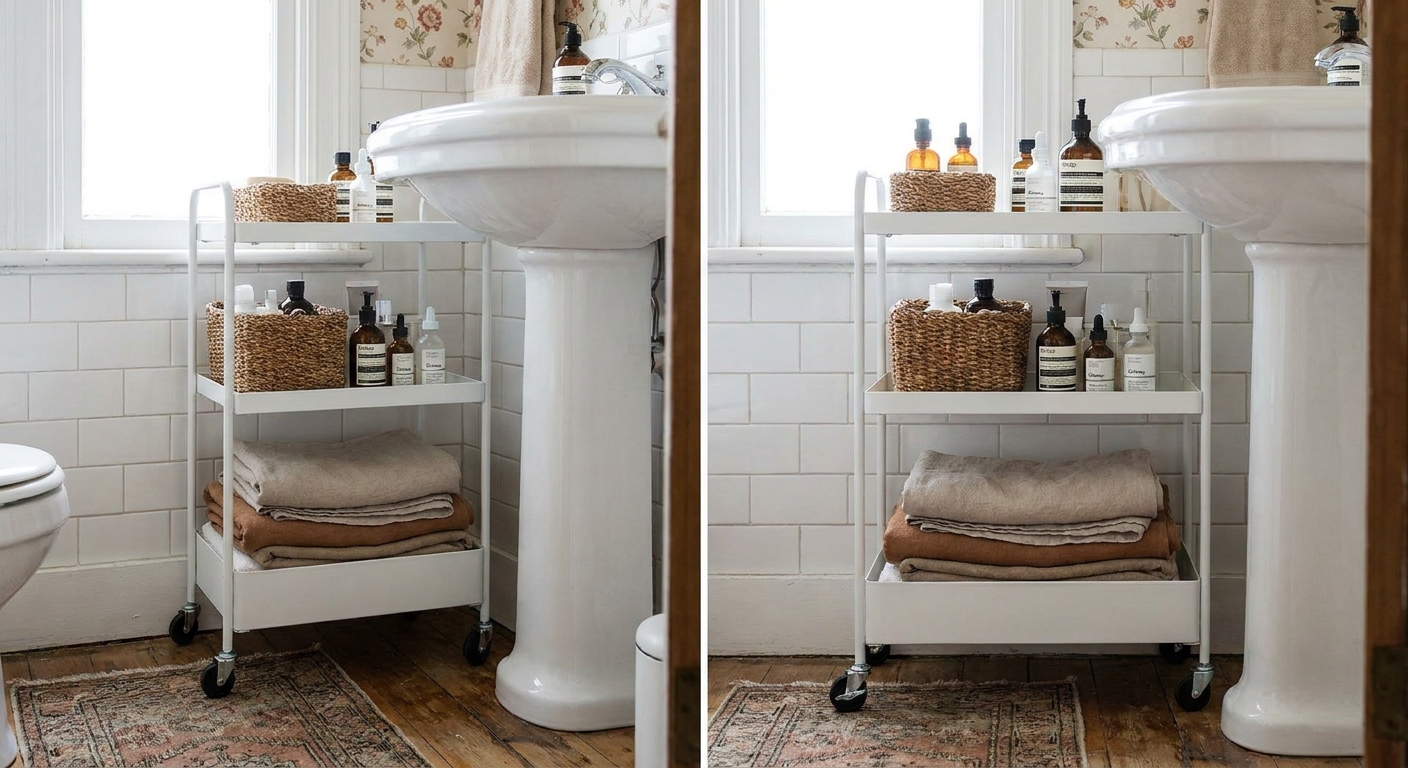
4) Slim rolling cart (my go-to for pedestal sinks)
A 3-tier slim cart is basically under-sink storage that can move. Tuck it beside the pedestal, or park it a few inches away if the sink curves outward.
- Top tier: daily skincare and hand soap refills in a small tray.
- Middle tier: hair products in a bin, plus a cup for brushes and combs.
- Bottom tier: extra towels, toilet paper, or a small lidded trash bin.
Material tip: bathrooms run humid, so look for powder-coated metal, plastic, or sealed wood that will not get gross fast.
Noise note: if your floors are old and creaky, add felt pads under the wheels or use a cart with locking casters.
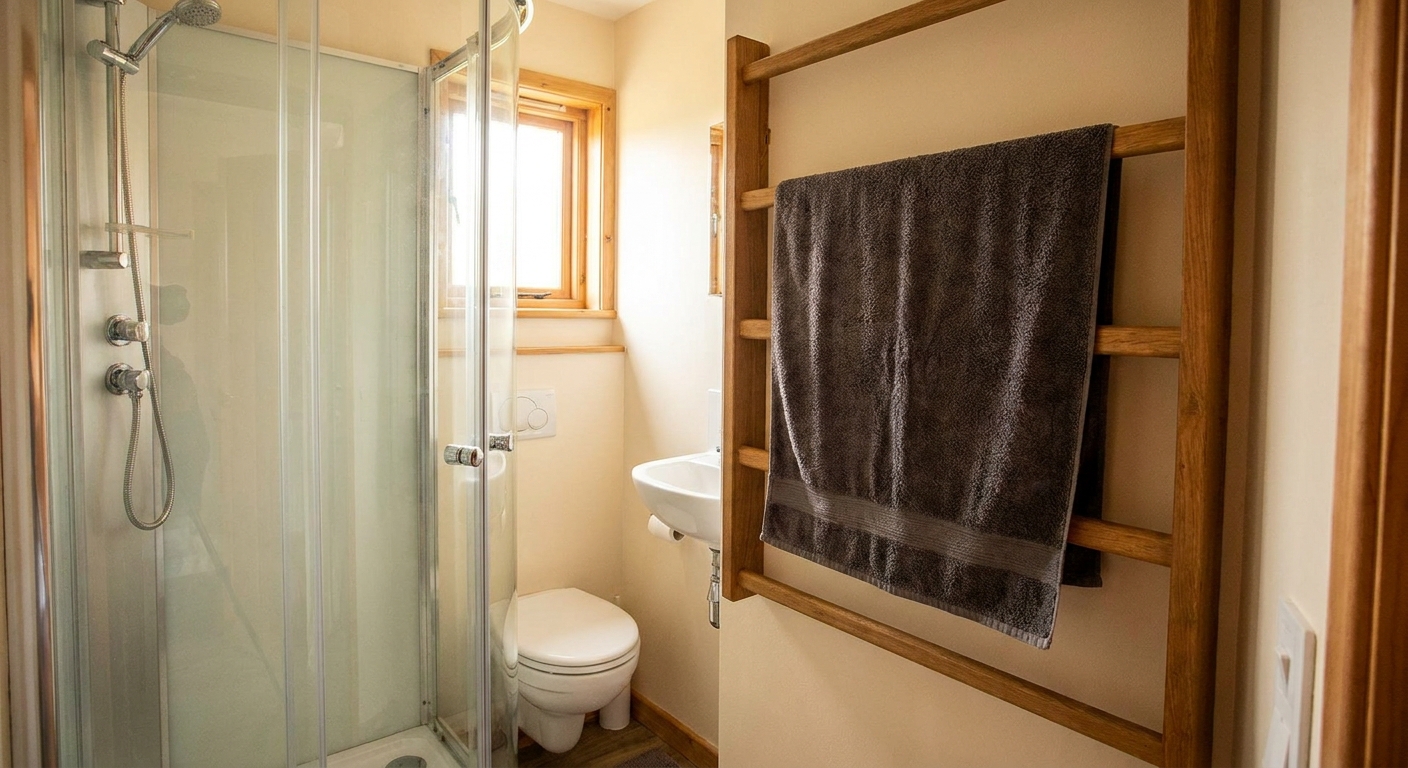
5) A small etagere or ladder shelf behind the sink
If your pedestal sink is centered on a wall with a little space behind it, a shallow ladder shelf or slim etagere can add height without depth. It also makes the sink look more styled, less floating-and-alone.
- Best for: folded washcloths, baskets, a candle, a cute box for spare razors.
- Depth target: shallow enough that you can still stand comfortably at the sink.
- Styling trick: keep the bottom shelf for functional items and the top shelf for one decorative moment so it feels intentional.
6) A lidded hamper or basket that does double duty
When storage is limited, I love anything that looks like decor but hides clutter. A lidded basket can store extra toilet paper, backups, or even a hair dryer you do not want on display.
- Best for: bulky, not-daily items.
- Placement: under a towel bar, between sink and tub, or tucked in a corner.
- Upgrade: add a smaller basket inside for little items so you are not digging around.
Make the pedestal area work harder (without replacing it)
7) Add a sink skirt to hide storage
A pedestal sink does not have under-sink space, but you can still hide around the pedestal. A tailored sink skirt softens the look and lets you store a small bin or two behind it. This is also a lifesaver when the plumbing is visually messy.
- How to do it renter-friendly: use removable, renter-rated hook-and-loop tape to attach the skirt to the underside of the sink edge.
- Quick caution: heat and humidity can weaken adhesives and removal can leave residue. Test a small spot first, keep it out of direct splash, and follow the product removal directions.
- What to store: extra hand towels, toilet paper, cleaning sprays in a caddy, period supplies in a lidded box.
- Moisture tip: choose a washable fabric and keep storage items in bins so they do not touch damp floors.
8) A wraparound pedestal organizer (freestanding)
Some freestanding organizers are designed to wrap around the pedestal base, adding one or two shelves at the lowest level. If you go this route, look for a stable frame that does not wobble when you bump it.
- Best for: rolled washcloths, extra soap, a small basket of backups.
- Avoid: anything that blocks access to shutoff valves if yours are near the sink.
9) Add a small sink caddy or rim tray
Pedestal sinks usually have limited counter space, so even a tiny caddy can change your day. Look for a small sink caddy that hooks over the basin edge or a narrow tray that fits the back rim.
- Best for: hand soap, daily skincare, rings while you wash your hands.
- Reality check: keep it light and stable. If it wobbles or crowds the faucet, it will annoy you, and you will stop using it.
Wall storage without drilling: what actually holds up
10) Adhesive hooks and rails for daily tools
Hooks are underrated. One hook can get a hair tool off the counter, or keep a toiletry bag accessible without taking up surface area.
- Use for: a hanging toiletry caddy, a small towel, a bathrobe, a cleaning brush.
- Best surfaces: smooth tile, glass, or fully cured, smooth, clean, sealed paint. Matte paint, freshly painted walls, and dusty texture can fail or peel.
- Make it last: respect cure times and weight limits, and keep hooks out of constant splash zones when possible.
- Keep it neat: hang a matching pouch or caddy, not five random items on five different hooks.
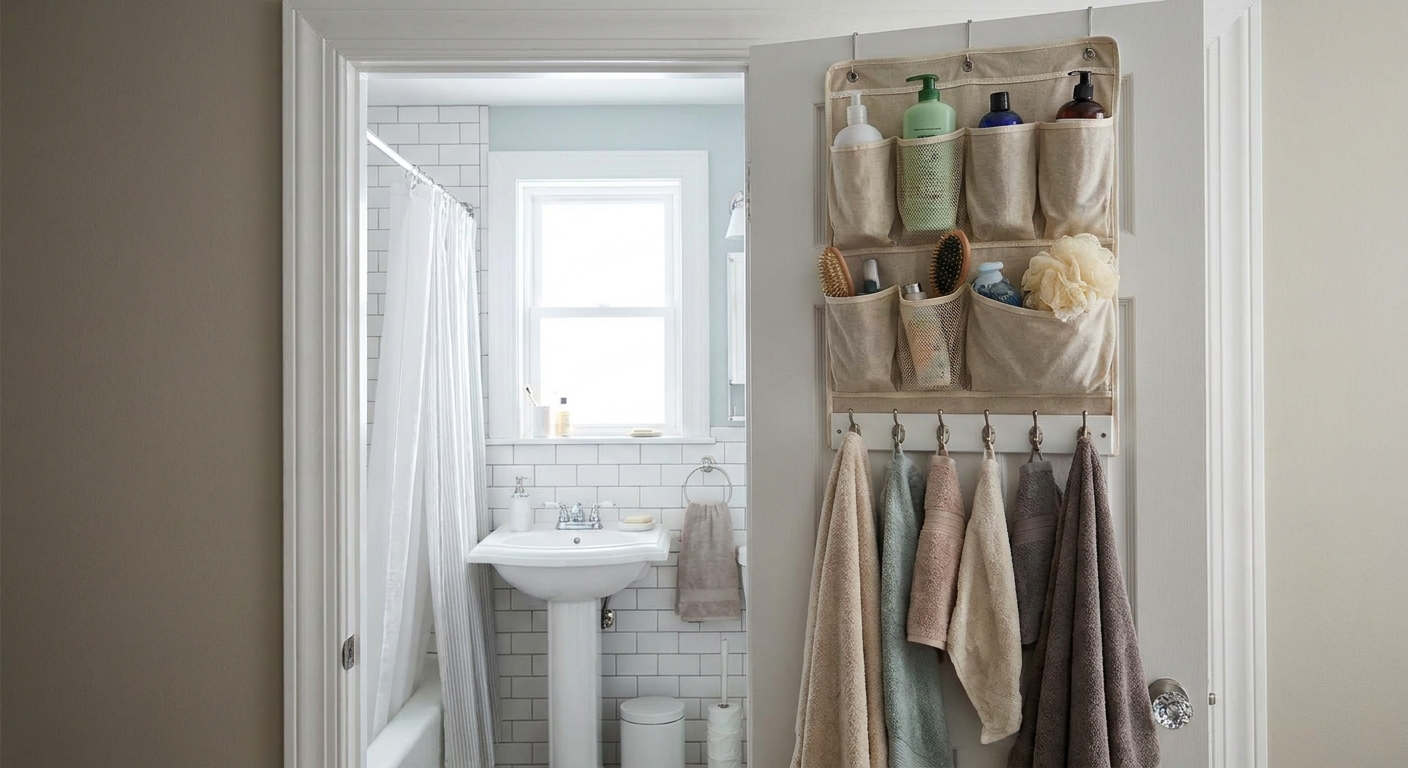
11) Over-the-door organizers (choose the “bathroom-friendly” kind)
An over-the-door organizer is great if your bathroom has a standard swing door and enough clearance. Pick one with solid pockets or shelves that are easy to wipe down.
- Best for: skincare backups, hair accessories, travel items, first-aid basics.
- Noise fix: add felt pads where the organizer touches the door so it does not rattle.
- Space check: make sure the door still closes without scraping trim.
12) Removing adhesives cleanly (so you do not lose your deposit)
I treat adhesive installs like they are temporary from day one. It takes two extra minutes up front and saves a lot of wall drama later.
- Wait to remove: do not yank. Go slow and follow the product directions.
- Use gentle heat if recommended: a warm hair dryer can soften some adhesives for easier release.
- Clean residue carefully: start with warm soapy water, then a little rubbing alcohol if the surface allows. Always spot-test first.
Tiny layout tricks that make storage feel calmer
Group by routine
Instead of “all hair products together,” try “everything I use after a shower” together. In a small bathroom, routines reduce rummaging.
Use matching containers
Pedestal sinks leave your stuff more exposed. A set of two or three matching bins or baskets instantly makes the space feel intentional, even if the contents are chaotic.
Keep the floor as open as possible
If you can choose only one floor item, make it slim and vertical, like a cart or narrow shelf. An open floor makes a small bathroom feel bigger fast.
What to avoid (learned the hard way)
- Oversized carts: if it sticks out past the sink edge, it will feel like a constant obstacle.
- Ignoring door swing: if the door clips your cart or shelf, you will resent it daily.
- Heavy adhesive installs in splash zones: steam and water can loosen adhesives over time.
- Storing directly on the floor: bathrooms get damp. Use bins, a stand, or at least a tray.
- Blocking access to plumbing: keep shutoff valves reachable, especially in older buildings.
A simple pedestal-sink storage setup you can copy
If you want a quick, realistic plan, here is my favorite “one afternoon” setup for a rental bathroom:
- Pick one slim rolling cart for daily items and backups.
- Add one tension pole shelf or over-the-toilet unit for bulk storage.
- Use two matching lidded bins to hide extras like refills, shaving supplies, and cleaning wipes.
- Install two adhesive hooks for a hanging toiletry bag and a hand towel if your towel bar is inconvenient. (Just respect cure times and weight limits.)
The result is storage that feels built-in, but leaves your walls and deposit intact.
If you are working through other no-drill upgrades too, you might like the ideas in Renter-Friendly Upgrades. For more small-space strategies, browse Storage & Organization.