My first “adult” apartment bathroom was essentially a porcelain corner plus a sink you could touch from the toilet. I learned fast that the space above the tank is either a gift or a visual disaster. The difference is not how much you store, it is how you contain it and where your eye lands.
This is my renter-friendly, small-bathroom approach to maximizing over-the-toilet storage so it looks intentional, not like you are auditioning for a bulk paper goods commercial.
Start with three quick measurements
Before you buy anything, measure these three spots. It saves you from the classic problem: a shelf that is technically “over the toilet” but functionally blocks the tank lid, bumps the flush handle, or crowds your head.
- Width: wall-to-wall space behind the toilet (or the clear width you want the piece to occupy).
- Depth: measure from the wall to the front edge of the tank lid, then add a little buffer for the flush handle or button and for lifting the lid off when needed. Think of depth as “tank depth plus clearance,” not a single magic number.
- Height: take two heights, not one: measure from the floor to the top of the tank, and from the top of the tank to the ceiling. This helps you predict where shelves will actually land.
My clutter-proof rule: Plan for at least one clear buffer zone right above the tank where nothing sticks out too far. It keeps the whole setup from feeling like it is looming over you.
Quick reality check: If your toilet tank “sweats” (condensation), keep towels and open baskets a little higher, or put them in a lidded bin so they do not pick up dampness.
Check for behind-toilet obstacles
Small bathrooms, especially older rentals, love to hide surprises right where you want a nice clean shelf.
- Baseboards and trim: thick baseboards can keep a unit from sitting flush to the wall, which steals depth fast.
- Outlets: do not block an outlet you actually use (or cram cords behind a cabinet).
- Vents and radiator lines: keep airflow clear, and avoid pressing furniture against hot pipes.
- Wavy walls and uneven floors: if your building has “character,” choose something forgiving, and plan for leveling feet or grippers.
Choose the right storage type
Over-the-toilet storage works best when the style matches the amount of stuff you truly need to keep there. Pick the option that fits your reality, not your fantasy.
Ladder shelf
A leaning ladder shelf looks airy and it visually frames the toilet without feeling like a built-in. It is also great for renters because it does not have to be mounted.
- Best for: rolled towels, a lidded basket of extra toilet paper, a candle, a small tray for perfume.
- Avoid if: you need to store lots of mismatched bottles or anything you do not want visible.
- To keep it serene: Make the bottom shelf a single large basket zone. One container reads calm. Ten loose items read chaos.
Floating shelves
Floating shelves keep the floor clear, which is a big deal in bathrooms where the door swing already steals half the room. They can look very styled when done with restraint.
- Best for: a couple of decor moments, daily grab items, small baskets.
- Renter-friendly note: If you cannot drill, stick with a freestanding option. If you can drill, use proper anchors and keep shelves shallow.
- Safety note: Be cautious with “no-drill” adhesive shelves here. Humidity and paint can make adhesives fail, especially with anything heavy.
- Make it look calm: Two shelves usually look better than three. More shelves often become an invitation to overfill.
Enclosed cabinet
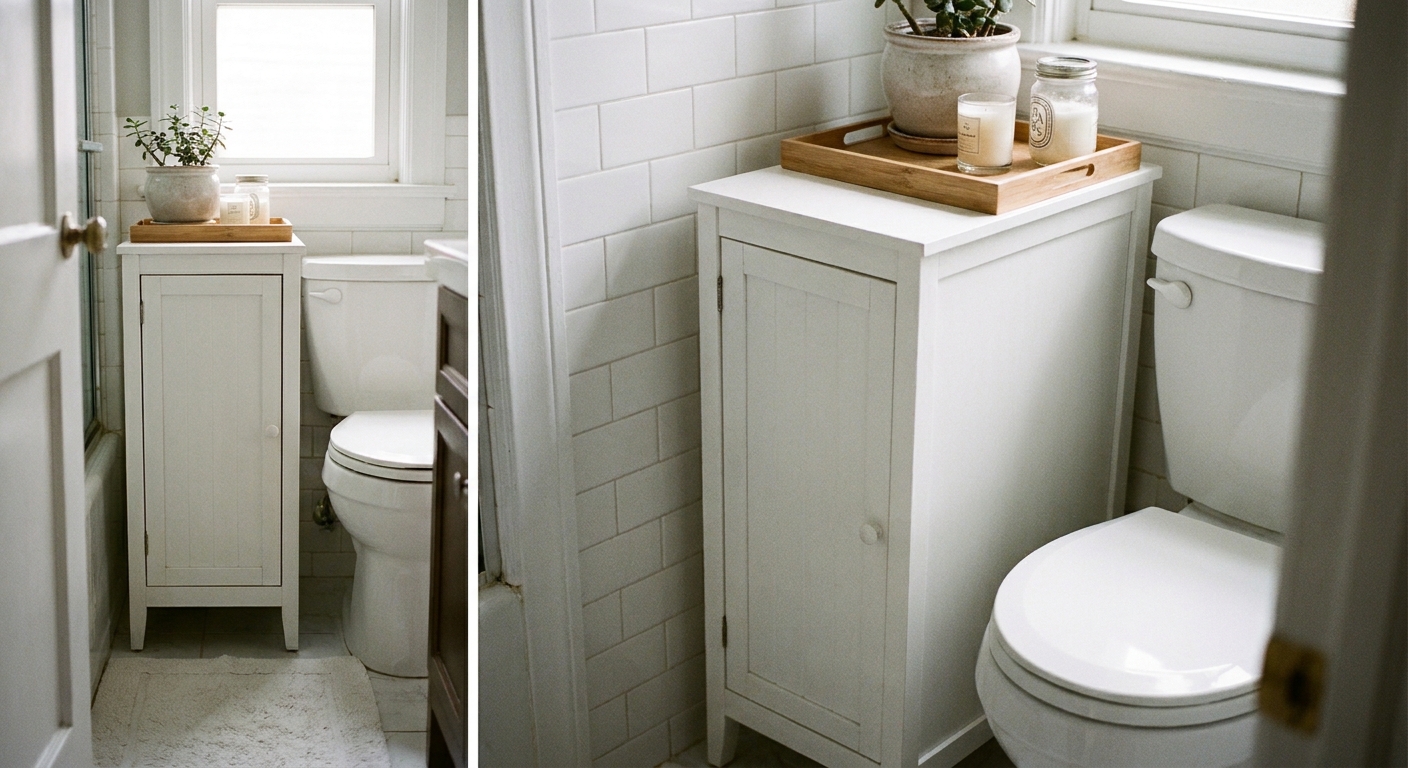
If your bathroom storage includes first-aid items, extra toiletries, hair tools, or anything in loud packaging, an enclosed cabinet is your best friend. Closed doors create instant calm.
- Best for: backstock toiletries, extra hand towels, hair tools, and select cleaning supplies (only if they are stored safely and kept dry).
- Quick medicine note: Bathrooms can run humid, so check labels and store anything moisture-sensitive somewhere drier if needed.
- Quick safety note: If kids or pets can access the bathroom, store any harsh cleaners up high and secured, and never mix products in a closed space.
- Look for: a cabinet that is not too deep. Deep cabinets become clutter caves.
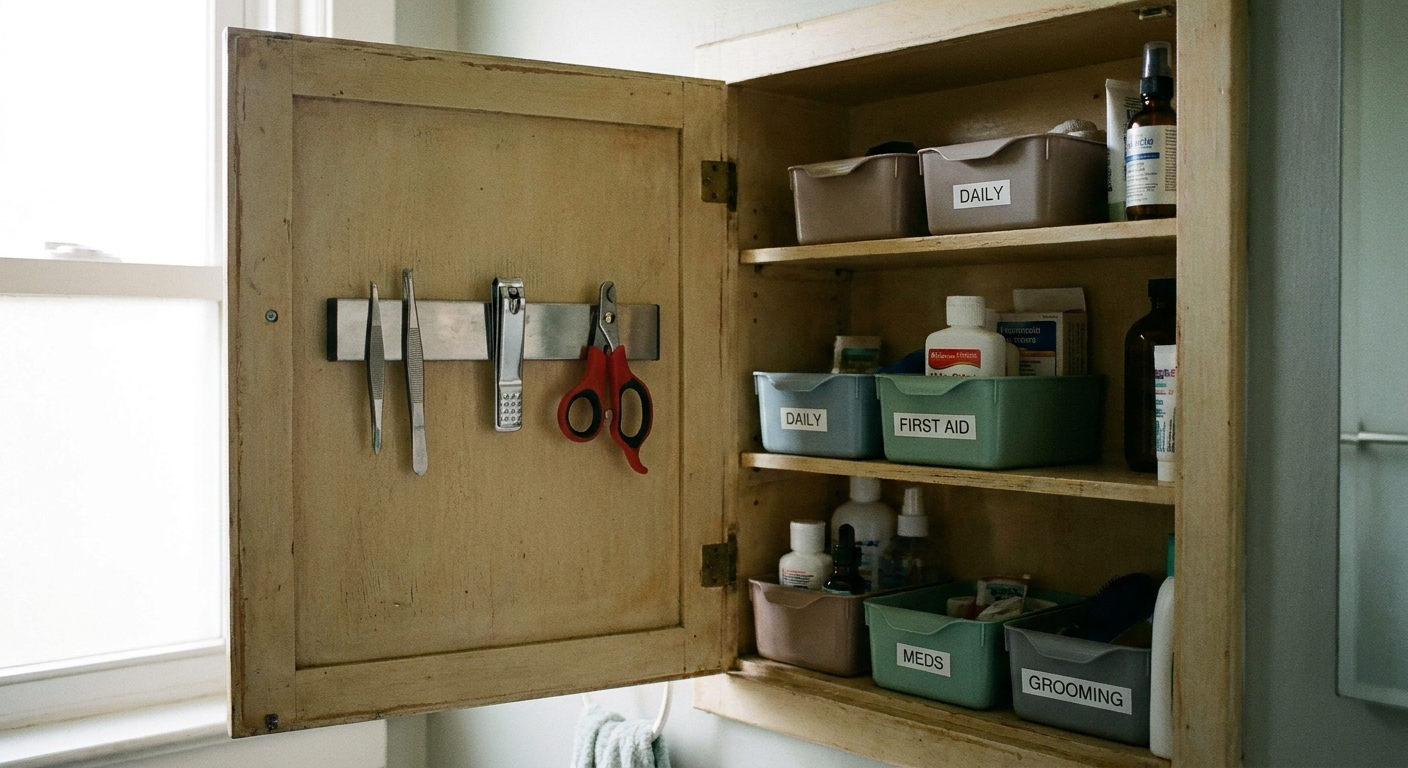
- Make it work long-term: Add bins inside so the cabinet stays organized, not just hidden.
Hybrid
This is my favorite layout for small baths: one closed zone for the unglamorous stuff, plus one small open shelf for something pretty. You get the clean look without sacrificing function.
The quiet shelf formula
Whether you choose a ladder, floating shelves, or a cabinet, use this formula to keep things from looking cluttered.
1) Limit your materials to three
Pick a tight materials palette and repeat it. For example:
- white towels
- light wood or bamboo
- matte black accents
When everything shares a few finishes, your eye reads it as a set, not a pile.
2) Corral small items on trays
A tray is an instant visual boundary. It makes everyday items look intentional, even if they are just mouthwash and hand cream.
- Use one tray per shelf, max.
- Leave a few inches of empty shelf space so it can breathe.
3) Use matching containers for backstock
If extra toilet paper is visible, make it look like it belongs there.
- Put rolls in a lidded basket, a fabric bin, or a simple canister.
- Remove loud plastic packaging whenever possible.
4) Hide labels and loud colors
In a small bathroom, packaging is visual noise. This is where enclosed storage shines, but even on open shelves you can edit the chaos:
- Decant cotton rounds and swabs into neutral containers.
- Store duplicates in a basket so only one of each product is visible.
5) Add one soft element
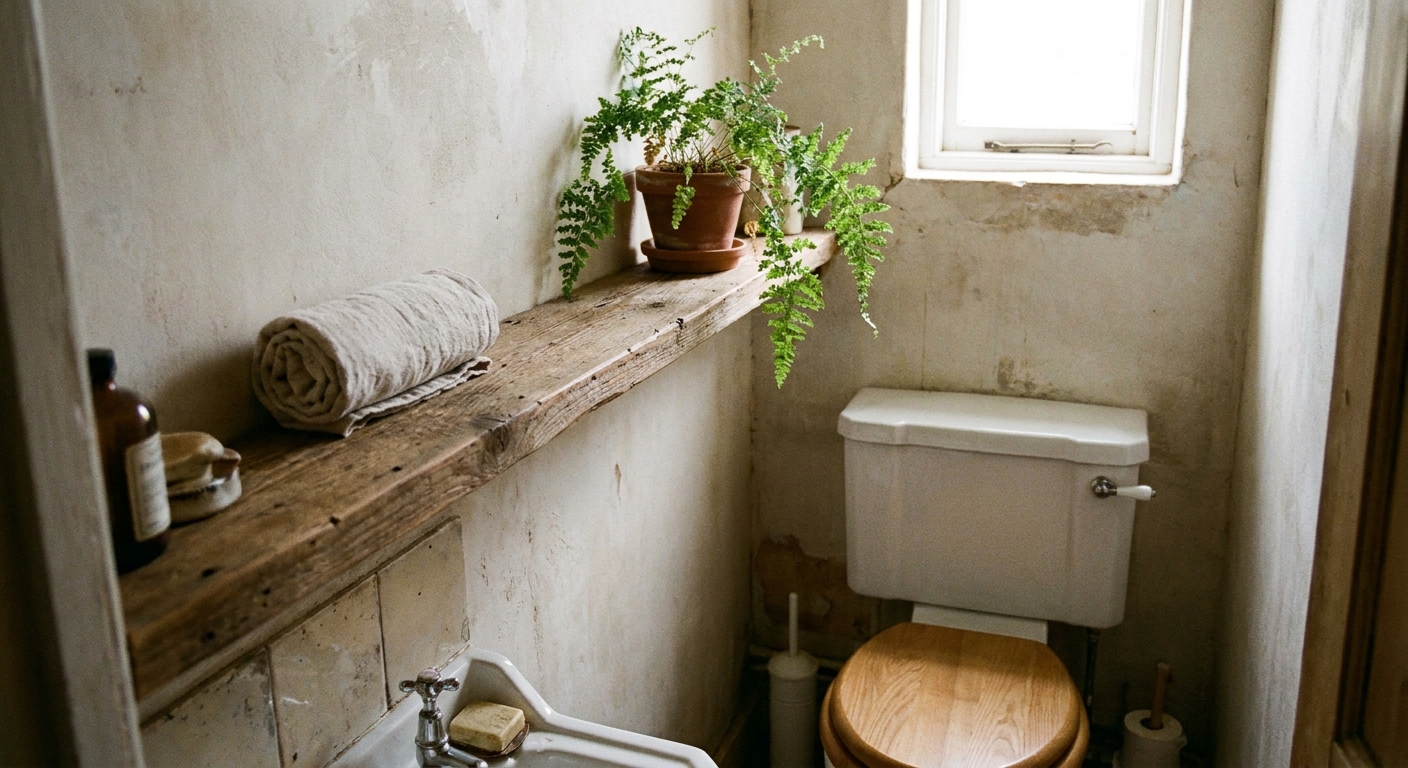
A small plant (realistic faux is fine) or a little piece of art softens the utilitarian look of toilet-adjacent storage.
Rule: one plant, not a jungle. Over-the-toilet greenery can quickly read dusty instead of spa-like.
Layout ideas
Option A: Two shelves
- Top shelf: one framed print or small mirror, plus a tiny plant.
- Lower shelf: one lidded basket (paper goods) and one small tray (hand lotion, spray, matches).
Option B: Ladder shelf zones
- Upper level: decor only (a vase or candle).
- Middle level: folded towels in one color.
- Bottom level: one large basket that hides everything else.
Option C: Cabinet plus a top tray
- Inside: two bins labeled in your head, not on the front. Think “hair” and “extras.” If you share a bathroom, a tiny label inside the cabinet door keeps the peace without adding visual clutter.
- On top: a tray plus one decorative object. Stop there.
If you want more small-bathroom storage ideas that play nicely with rentals, I keep related guides organized in Storage & Organization and Renter-Friendly Upgrades.
Keep it from feeling top-heavy
Over-the-toilet storage can make a bathroom feel visually crowded fast because it sits right at eye level. These tricks keep it light.
- Go shallow: shallower shelves feel calmer and force you to edit.
- Use negative space: as a starting point, aim for roughly one third empty space on each shelf.
- Keep dark colors minimal: dark baskets and bottles pull the eye. Use them sparingly, especially in tiny rooms.
- Match towel colors: mixed towel colors read busy. One color reads spa.
Materials that survive bathrooms
If you have ever watched a cheap shelf puff up like a croissant in humidity, you know why this matters.
- Powder-coated metal: a great choice for steamy bathrooms.
- Solid wood or sealed wood: choose pieces that are already finished and wipeable.
- MDF and particleboard: fine only when well-finished and kept as dry as possible. If edges are exposed, it is a gamble.
Renter-friendly stability and safety
Because so many over-the-toilet pieces are tall and narrow, stability matters, especially in old buildings with uneven floors.
- Use furniture grippers: small, inexpensive pads can help a ladder shelf feel less wobbly on tile.
- Do not overload the top: keep heavier items lower to reduce tipping risk.
- Mind moisture: choose materials that can handle humidity. If you own the piece and it is allowed, sealing raw wood helps, but I usually prefer buying something already sealed.
- Keep clearance for tank access: you may need to remove the tank lid for repairs. Do not block it in with a too-tight frame.
Quick fixes for clutter
- Remove half the items: set a timer and pull off anything you do not use weekly.
- Swap three small baskets for one larger one: fewer containers look cleaner.
- Turn bottles backward: if you cannot decant, hide branding by facing labels toward the wall.
- Create one pretty shelf: make the top shelf decor-only and force everything else into one basket or behind a door.
My buy checklist
- Will this piece let you lift the tank lid without a fight?
- Is there room for the flush handle or button, plus your hand?
- Can you store daily essentials without showing duplicates?
- Do you have a plan for toilet paper that is not a visible tower?
- Are you choosing open storage because it is pretty, or because it is actually right for your stuff?
If you want to learn more about how I approach small-bathroom styling overall, you can read more about me at my author page or peek at our broader decorating ideas in Styling & Decor.