The first time I opened the deep drawer under my vintage apartment sink, I swear it behaved like a magic trick. Cotton rounds vanished, hair tools tangled themselves into a single monster knot, and every bottle rolled to the very back like it had places to be.
Deep bathroom vanity drawers are amazing in theory, but without a plan they turn into a clutter canyon. The fix I come back to again and again is dollar store bins. Not because they are trendy, but because they are modular, easy to rinse clean, and you can reconfigure them when your routine changes.
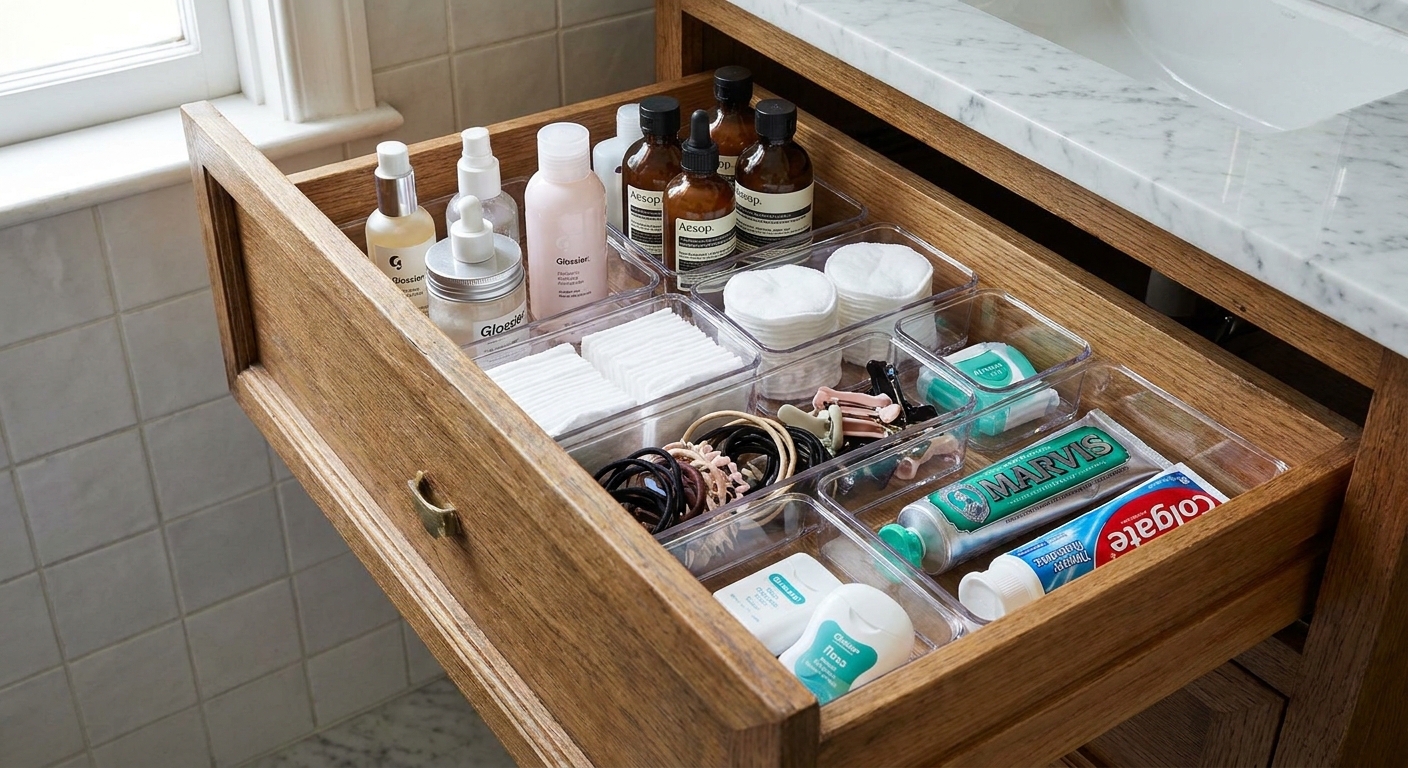
Why dollar store bins work so well
- They create shallow sections inside a deep drawer, so you are not stacking items in unstable piles.
- They help you categorize by routine (morning, night, hair, dental) instead of by random object type.
- They are renter-friendly and completely reversible. No drilling, no adhesive, no permanent dividers.
- They are easy to replace if one cracks or gets stained by makeup.
If you are also tackling the rest of your storage, I keep my small-bathroom organizing ideas collected in Storage & Organization.
What to buy (and what to skip)
My go-to bin types
- Clear rectangular bins (short and medium height): best for skincare, deodorant, backup toothpaste, contact solution.
- Small square bins: perfect for hair ties, bobby pins, floss picks, razor refills.
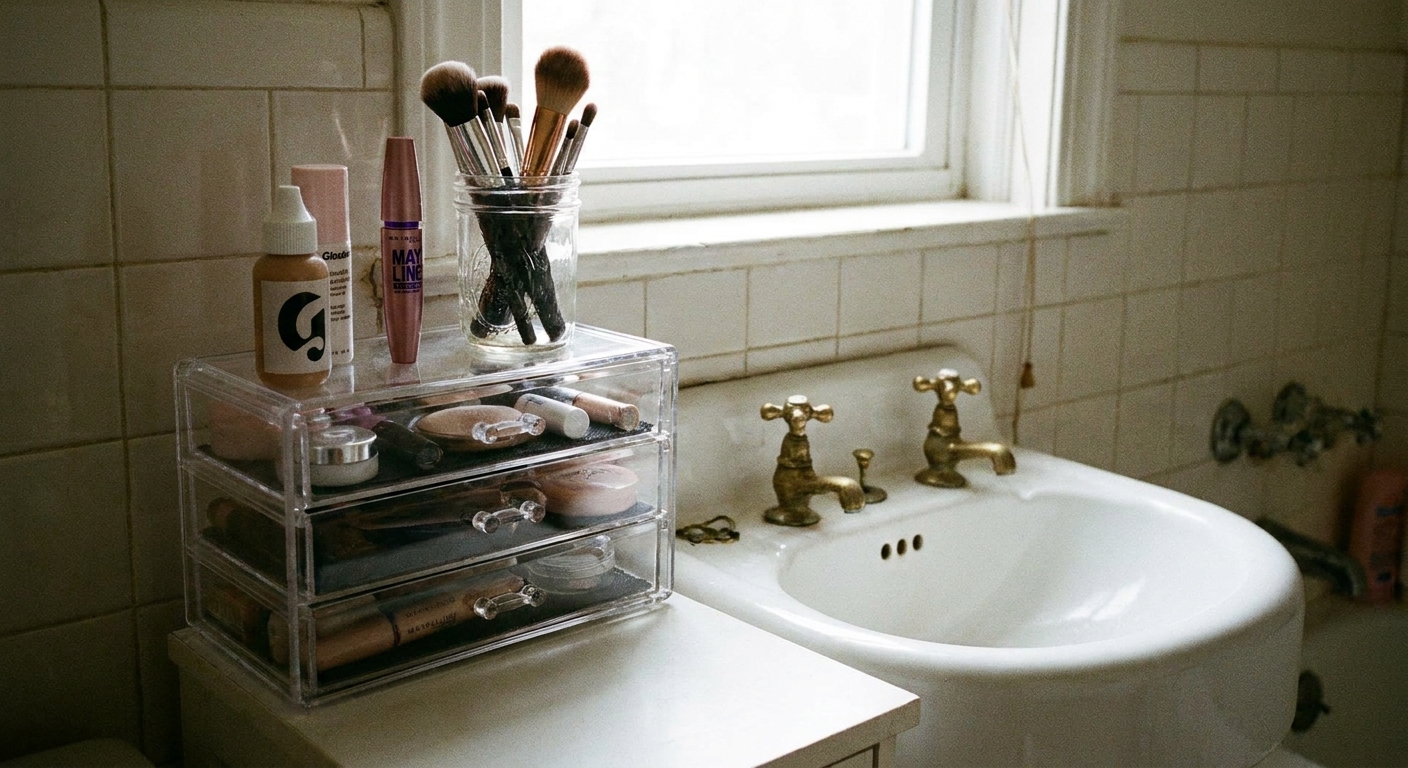
- Long skinny bins: ideal for toothbrushes (with a cover), makeup brushes, eyeliner, combs, nail files.
- Stackable bins or bins with a stacking lip: helpful if you want a second layer for backups in the back half of the drawer.
- One catchall bin: for the oddballs you reach for weekly, like a gua sha tool or travel scissors.
What I usually skip
- Very tall bins unless your drawer is unusually deep. Tall bins waste vertical space and encourage overstuffing.
- Bins with textured bottoms if you can help it. They grab dust and spilled powder.
- Anything flimsy with sharp seams. In bathrooms, you want plastic you can wipe fast.
Tip from too many failed bin hauls: buy fewer bins than you think at first, then go back. Deep drawers are deceptive, and an over-binned drawer feels cramped and annoying to use.
Step 1: Measure the drawer
Before you buy a single bin, do a quick measurement session. This takes five minutes and saves you from the classic “why will this not fit” moment at home.
Measure these four things
- Inside width: left wall to right wall.
- Inside depth: front interior wall to back interior wall.
- Usable height: bottom of drawer to the lowest obstruction (often plumbing or the underside of the counter lip).
- Drawer shape quirks: notches around pipes, curved corners, or a sloped front.
The bin-fitting trick I use
When you look at a bin label in-store (or the sticker on the bottom), leave a little wiggle room. I usually subtract about 1/8 to 1/4 inch from the bin’s width and depth so you can lift bins out without scraping your knuckles. Drawers are rarely perfectly square.
Step 2: Empty, edit, and set zones
Deep drawers get messy when everything is allowed to live everywhere. Zoning is what makes the system feel effortless.
My favorite deep-drawer layout
- Front zone (daily): the things you grab every morning and night.
- Middle zone (weekly): hair masks, shaving supplies, nail care, face tools.
- Back zone (backups): refills and extras you do not want to see every day.
As you empty the drawer, toss anything expired or unused. If you need a gentle nudge for that process, my step-by-step approach for small storage spaces is in Declutter and Organize Your Medicine Cabinet. The same logic works for vanity drawers.
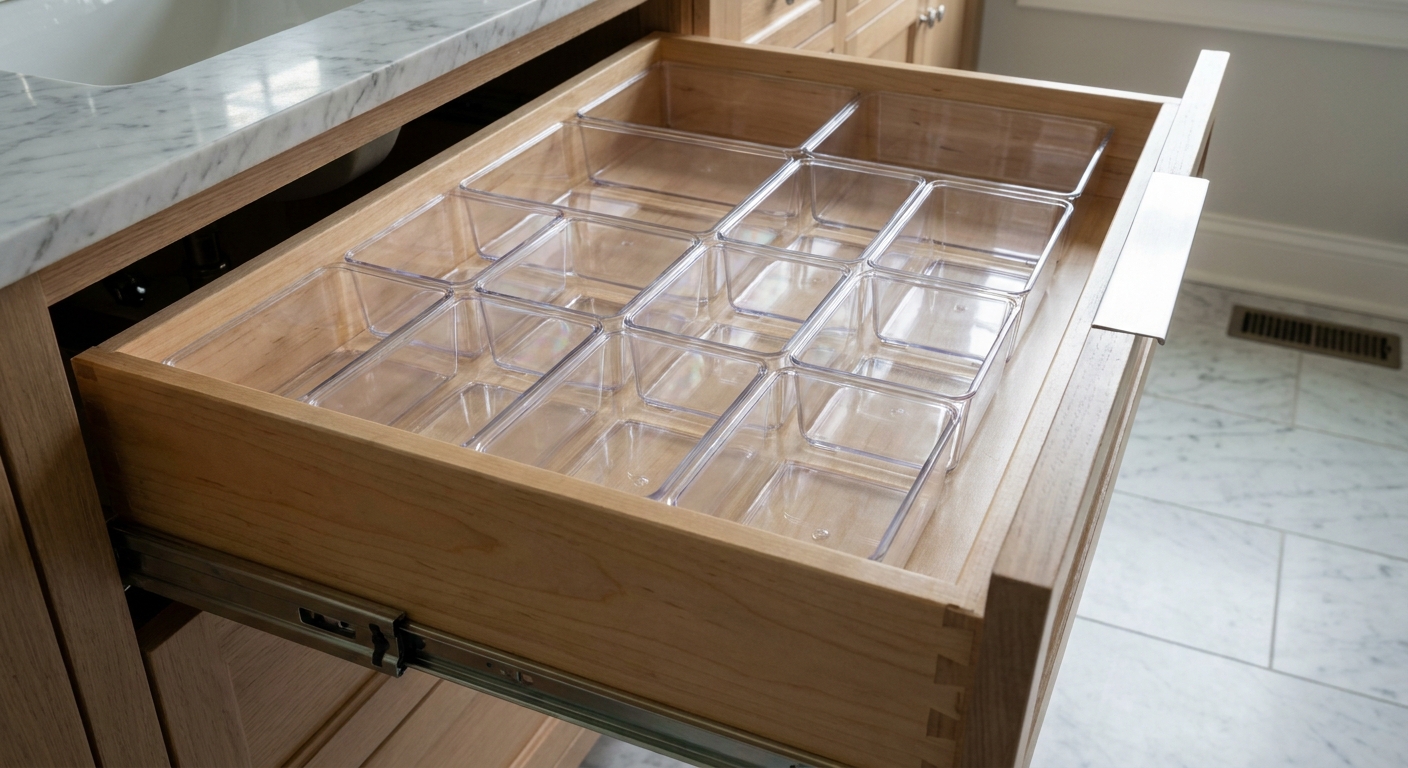
Step 3: Dry fit the bins
Set your bins in the empty drawer without filling them. You are looking for three things:
- Do the bins fill the footprint with minimal dead space?
- Can you still open and close smoothly with the bins in place?
- Can you pull out one bin without moving five others?
I like a grid layout in deep drawers: two or three columns across, then a second row behind it. It creates a natural front and back zone.
Step 4: Stack on purpose
Selective stacking is what makes deep drawers work, but only when you stack the right things.
What I stack
- Backups behind daily items: one layer for everyday, one layer for refills.
- Lightweight soft goods: extra washcloths, hair wraps, unopened cotton rounds.
- Flat items: sheet masks, blister packs, travel-sized samples in a shallow bin.
What I do not stack
- Active daily skincare bottles you use with wet hands. Stacking slows you down and invites spills.
- Glass containers unless they are in a snug bin with high sides.
- Loose tiny items without a lidded bin. One bump and you have a confetti mess of bobby pins.
If your bins are not truly stackable, you can still create a second level by placing a small bin behind a larger front bin, then reserving the hidden back area for refills.
Step 5: Stop the slide
Dollar store bins love to skate around when you open and close a drawer quickly. Two renter-safe fixes:
- Drawer liner: a simple non-adhesive grip liner (cut to size) gives bins traction and protects the drawer base. If the drawer is under a sink, a washable liner also helps protect the wood from minor drips or condensation.
- Micro gaps on purpose: do not cram bins so tightly that they pop upward. A tiny gap keeps everything seated.
If you are organizing in a rental and trying to keep storage damage-free in general, you will also like 7 Damage-Free Wall Storage Hacks for Rented Bathrooms.
Step 6: Match categories to routine
This is the part that keeps your drawer tidy two weeks from now.
Category ideas that stick
- Morning face: SPF, vitamin C, moisturizer, razor, deodorant.
- Night face: cleanser, retinoid, treatment, lip mask, cotton pads.
- Dental: floss, toothpaste backups, whitening strips, tongue scraper.
- Hair: clips, ties, heat protectant, hair oil, brush.
- Body care: lotion, hand cream, self tanner mitt, perfume rollerballs.
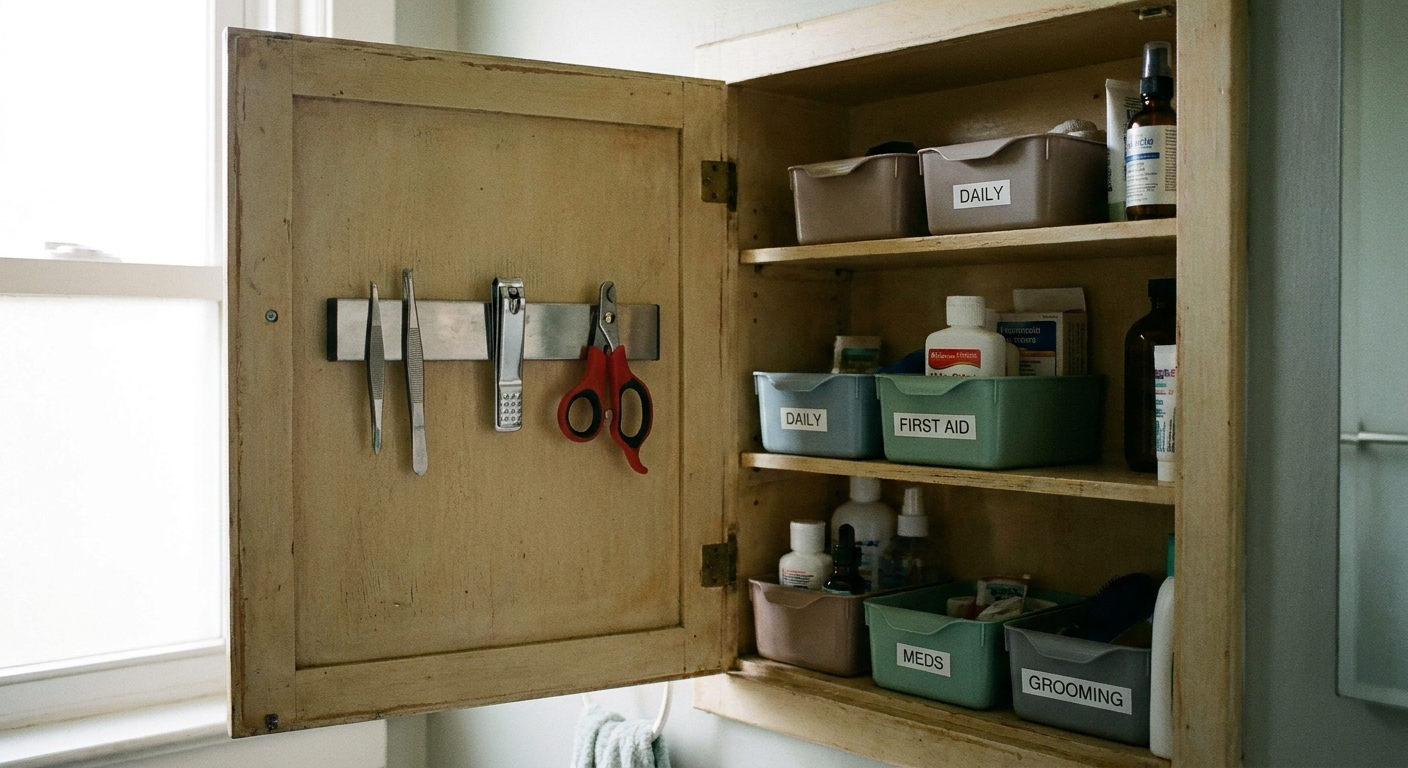
- First aid: bandages, blister pads, tiny scissors, ointment.
My rule: one category per bin. If a bin becomes a miscellaneous catch-all, it is a sign you either need two smaller categories or you need one dedicated catchall bin that you empty weekly.
Deep drawer layouts I use
Layout A: Daily front, backups back
- Front row: 3 to 5 shallow bins for daily skincare, dental, and hair.
- Back row: 2 larger bins for refills and less-used items.
- Optional: 1 lidded bin in the back for travel items and tiny loose pieces.
Layout B: Hair tool lane
- One long bin on one side for a dryer brush, straightener, or curling wand.
- Opposite side: small bins for clips, ties, heat protectant, and brush cleaner.
- Back: a medium bin for cords and attachments.
Safety note from someone who has absolutely rushed this before: only store hot tools when they are fully cool. If you have one, a heat-resistant sleeve adds an extra layer of protection for cords and nearby products.
Layout C: Family drawer
- One bin per person in the front (daily basics).
- Back zone: shared items like floss, extra soap, contact solution, and bandages.
Common problems and quick fixes
My bins fit, but I waste space around the edges
Use one skinny bin as a gap filler for tweezers, nail files, or makeup brushes. Or leave a small gap on purpose and reserve it for tall items that stand upright.
Everything looks organized, but I still cannot find what I need
Your categories may be too broad. Split one bin into two. For example: hair accessories separate from hair products, or cotton pads separate from cotton swabs.
The drawer smells like old products
Wipe the drawer with warm soapy water, let it dry completely, then add fresh liner. Deep drawers can hold onto humidity, especially under sinks where condensation or small leaks sometimes happen.
I have plumbing under my sink drawer
Choose shorter bins and build a layout that works around the pipe zone, then reserve that awkward pocket for flexible items like washcloths or refill pouches.
Keep it tidy in two minutes a week
- One-minute reset: put anything sitting outside a bin back into its category.
- Thirty-second toss: throw empty boxes and near-empty samples you will not use.
- Quick wipe: if you see powder or toothpaste residue, wipe it immediately.
I also like a simple cleaning rhythm: rinse or wipe bins when you spot a spill, and do a deeper wash about once a month (or whenever your liner starts looking tired).
If your bathroom storage is a bigger puzzle than just drawers, you might also like Over-the-Toilet Storage That Won’t Look Cluttered and How to Hide Toilet Paper and Plungers in a Small Bathroom. Small spaces behave better when every zone has a job.
FAQ
How many bins do I need for one deep vanity drawer?
Most deep drawers work well with 6 to 12 bins, depending on drawer size and how many categories you want. I start with 6 to 8, then add one or two only if a category feels cramped.
Is acrylic better than plastic?
Acrylic often looks a little clearer and more polished than basic plastic, but it can scratch or haze over time too, especially the cheaper stuff. In rentals, I pick what is easiest to wipe and replace.
Do I need labels?
Not always. If your bins are clear and your categories are obvious, skip labels. If you share a bathroom, labels can help everyone put things back in the right spot.