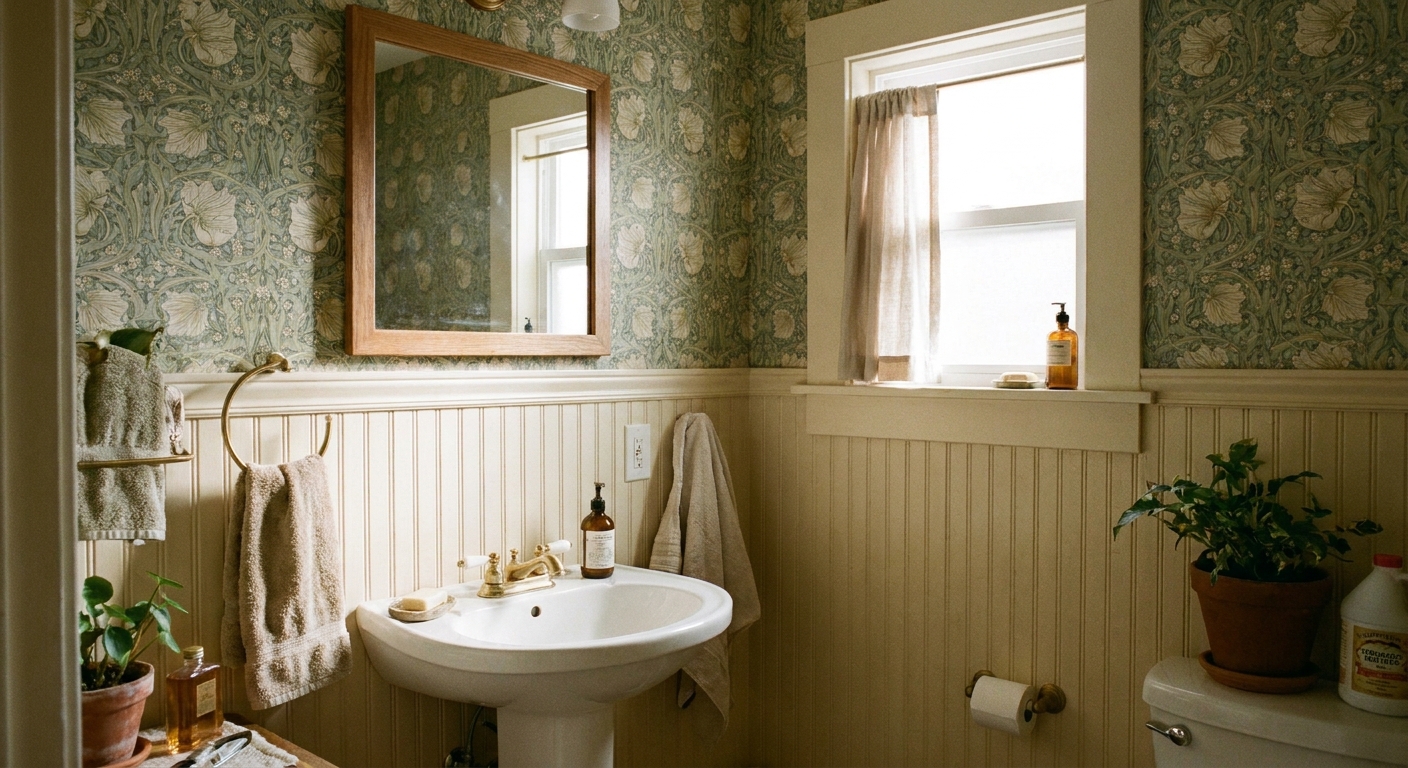
My first apartment bathroom had the classic builder-grade mirror: a big, frameless slab glued to the wall like it was installed before the ink dried on the occupancy permit. I wanted something that looked intentional and styled, but I also wanted my security deposit back. The good news is you can upgrade that mirror without prying it off, cracking it, or turning your weekend into a drywall repair marathon.
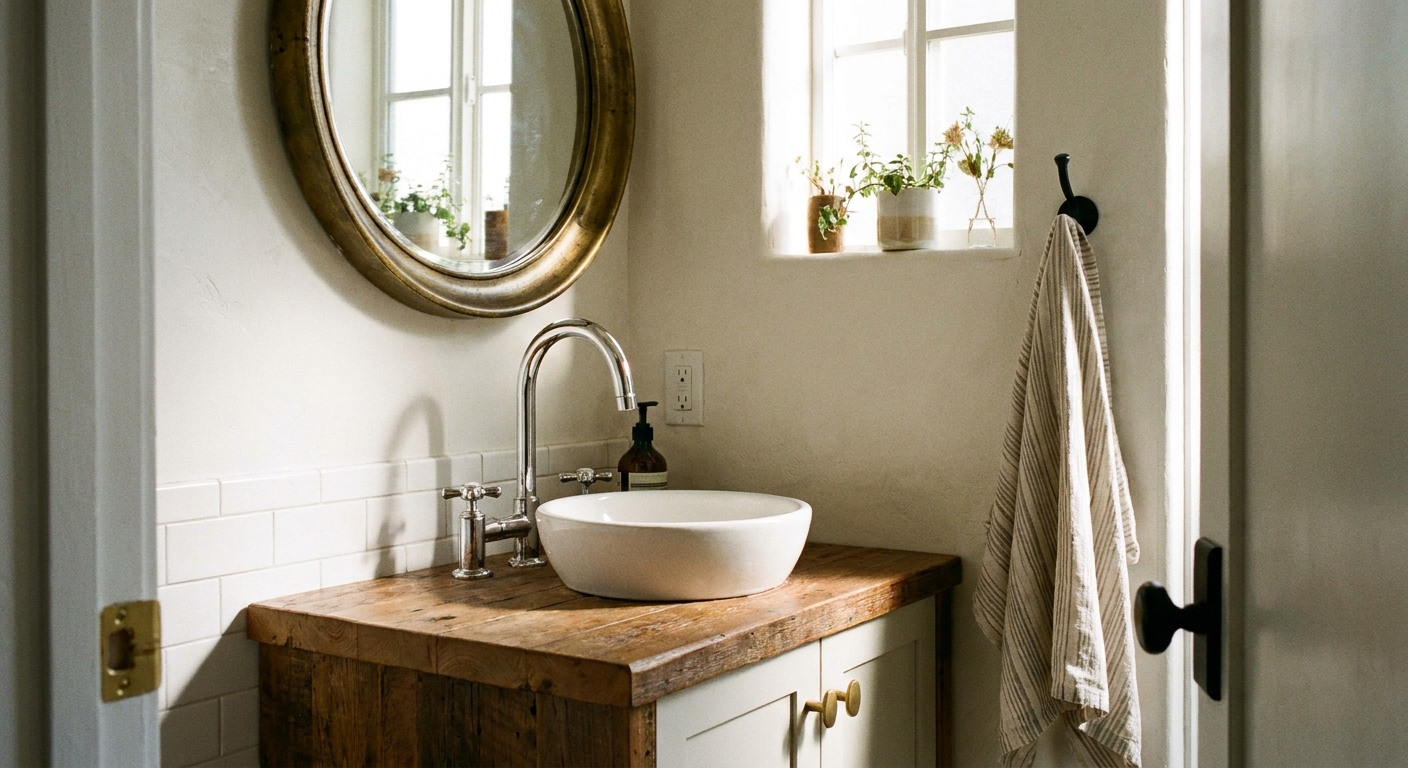
Below are the damage-free methods I use most, plus a step-by-step plan so you can choose the right approach for your mirror, your wall, and your patience level.
Before you start
- Never pry a glued-on mirror off the wall. Even “just a little” can crack the glass or tear paper off drywall.
- Be intentional about where adhesive goes. Some renter-safe frames stick to the mirror perimeter (glass), some stick mostly to the wall around the mirror. Both can work, but not every “removable” product removes cleanly from glass. Test first in an inconspicuous corner and follow the manufacturer’s guidance for glass, paint type, and humidity.
- Know your surface. Smooth painted drywall is easiest. Heavily textured paint, semi-gloss bathroom paint, tile, laminate, and stone can all change how adhesives behave. If your mirror is mounted on tile, skip anything that needs to bond to grout lines and stick to lightweight borders on the mirror itself (Path B), or style around it (Path C).
- Check clearances. Open your medicine cabinet (if any), test outlet covers, and make sure faucet handles will not bump the bottom edge of a frame.
- Be smart around electricity and water. If you are changing bulbs, turn the light off and let the fixture cool. If you add plug-in sconces, route cords away from the sink and secure slack with adhesive clips. Avoid running extension cords in wet zones, and only plug lighting into a GFCI-protected outlet (common in bathrooms, but not universal in older buildings). If you are not sure your outlet is GFCI-protected, skip plug-in lighting and stick to a bulb swap or other non-electrical upgrades. Also, some bathrooms are protected by a GFCI device upstream or a GFCI breaker even if the outlet itself does not have test and reset buttons. When in doubt, do not assume you are protected.
Choose your upgrade
There are three renter-friendly ways to make a builder mirror look custom, and each one has a sweet spot.
- Path A: Add a lightweight “frame” on top of the mirror. Best for the biggest visual impact and that finished, high-end look.
- Path B: Camouflage the mirror edge. Best when you want minimal thickness or your light fixture is very close to the mirror.
- Path C: Soften everything around it. Best when the mirror is oddly sized, mounted on tile, or you want a change without relying on adhesive right at the mirror edge.
Quick guardrail for Path A: If your mirror is very large, already feels a little loose, or you are tempted to use thick wood trim, take that as your sign to choose Path B or C. A taped-on frame should be light enough that you are not trusting your entire day to adhesive in a humid room.
If you are already doing small renter-friendly upgrades, you might also like browsing Renter-Friendly Upgrades for more no-drill, no-regret projects.
Tools and materials
You do not need everything on this list. Pick what fits your chosen path.
Basics for any method
- Microfiber cloths
- Glass cleaner, or a 50/50 vinegar and water mix for glass cleaning only
- For adhesion prep: use whatever the adhesive manufacturer recommends for final surface prep (many prefer isopropyl alcohol over glass cleaners that can leave residue)
- Measuring tape
- Pencil and painter’s tape
- Scissors or a utility knife (for films and tapes)
For framing (Path A)
- Lightweight moulding or trim (PVC, foam, thin pine, or composite)
- Miter box and hand saw (or have the store cut to length)
- Sandpaper (fine grit)
- Paint and small foam roller (optional)
- Removable mounting strips or removable mounting tape rated for the total weight and the surface
Reality check: Adhesive ratings assume ideal prep and conditions. Bathrooms, especially steamy ones, can reduce holding power on semi-gloss paint, texture, or walls that get frequent condensation.
For edge camouflage (Path B)
- Peel-and-stick vinyl (wood look, stone look, or solid color)
- Peel-and-stick wallpaper (for a patterned border)
- Mirror edge trim tape or thin peel-and-stick metal-look tape
For surrounding styling (Path C)
- Plug-in sconce(s) or a flattering bulb swap for the existing fixture
- Removable wall hooks or adhesive cable clips for cord control
- A narrow shelf ledge (adhesive mounted) if your wall allows it
Path A: Frame it
This is the most dramatic upgrade and the one that makes a basic mirror read “custom.” The trick is keeping the frame light and using removable adhesive placed thoughtfully.
When to skip it
- The mirror sits in a direct splash zone. If the shower spray or constant condensation hits the edges daily, adhesive failure risk goes way up.
- The wall is very uneven or heavily textured. Wide trim needs consistent contact to hold.
- The mirror already feels loose. Do not add any extra weight to a mirror that seems poorly adhered.
- Your frame is heavier than “one-handed easy.” If you cannot hold the assembled frame comfortably with one hand for 10 seconds, it is too heavy for adhesive in a bathroom. Choose Path B or C instead.
- Your lease is strict about adhesives or caulk. When in doubt, keep it to mirror-only borders or styling around the mirror.
Step 1: Clean the edges
Adhesives fail when they stick to dust, hairspray, and that invisible bathroom film. Clean the mirror, then wipe the perimeter where the frame will sit using the prep method your adhesive brand recommends. Let everything dry fully.
Step 2: Measure and mock it up
- Measure the visible mirror width and height.
- Decide how wide you want the frame face to be. In a small bathroom, 2 to 3 inches is usually plenty.
- Check the gap between the mirror top and your light fixture. For example, if you want 2.5-inch trim, confirm you still have enough clearance so the frame does not crowd the light bar.
Pro tip: Use painter’s tape to outline the proposed frame on the mirror. Live with it for a day. You will instantly know if it feels too chunky.
Step 3: Pick trim that can handle humidity
In rentals, I prioritize trim that will not warp in humidity or require construction adhesive.
- PVC or composite trim: light, moisture-friendly, easy to wipe down.
- Foam trim: extremely light and easy to cut. Prime and paint it well so it does not yellow, and keep it out of direct splash zones. It can also dent if you scrub it aggressively during cleaning.
- Thin pine: works if sealed and painted, but keep it slim.
Step 4: Cut and dry-fit
Miter corners at 45 degrees for a “real frame” look. Dry-fit every piece against the mirror before you commit to adhesive. If your cuts are not perfect, you can hide small gaps with a little wood filler and paint, plus careful alignment.
Step 5: Paint first
Painting after installation is stressful because one slip means paint on glass. I paint trim pieces first, let them cure, then mount.
Step 6: Place removable adhesive
Your goal (when the mirror placement allows it) is to keep most adhesion on the wall around the mirror and minimize glass contact unless your adhesive is specifically rated for glass. Apply strips to the back of the trim so that when you press it in place, the outer portion of the trim bonds to the wall around the mirror and the inner portion sits flush along the mirror edge.
If there is no wall margin: Some builder mirrors are installed tight to a side wall, backsplash, or tile edge, so there is nothing for a wall-bond. In that case, treat this as a mirror-only bond project and keep the frame extremely light, or choose Path B or C.
Important: Even “rated for weight” adhesive can underperform on semi-gloss paint, texture, or in repeated steam and condensation. If this mirror lives in a high-steam zone, go lighter than you think, use more contact points, and consider switching to Path B or C.
If your trim profile means a few points touch the mirror perimeter, that can be fine, but only if the product is compatible with glass and you accept that removal can be fussier in a humid room.
- Check the label. Many strips are tested for smooth painted drywall in ideal conditions. In steamy bathrooms, and especially near a shower, failure risk is higher. Avoid relying on load-bearing adhesive where it gets direct condensation.
- Use enough strips. Think in terms of total load and bathroom humidity, not just “it feels light.” More small contact points is usually safer than one long run of tape.
Step 7: Mount in a calm order
This order keeps you from chasing crooked lines. The bottom piece sets the baseline for everything else.
- Start with the bottom piece so everything else can align to it.
- Use a small level, or run a painter’s tape guide line, to keep that bottom piece straight.
- Add the top piece.
- Finish with the sides.
Press and hold per your adhesive instructions. If your adhesive has a “wait time” before it reaches full strength, believe it. Painter’s tape can act like temporary hands: use a few strips to brace side pieces in place while everything sets, then remove it later.
In humid bathrooms, I avoid showering for a few hours after mounting so the adhesive can bond.
Step 8: Finishing touches
- Paint mirror clips (if yours has any) to match the frame.
- Consider caulk carefully. Even “removable” caulk can leave residue or pull paint, and some leases treat caulk as a modification. If you do it anyway, assume touch-up might be needed later and test in a hidden spot first.
- Upgrade the light temperature. A soft white bulb makes a new frame look intentional instead of “stuck on.”
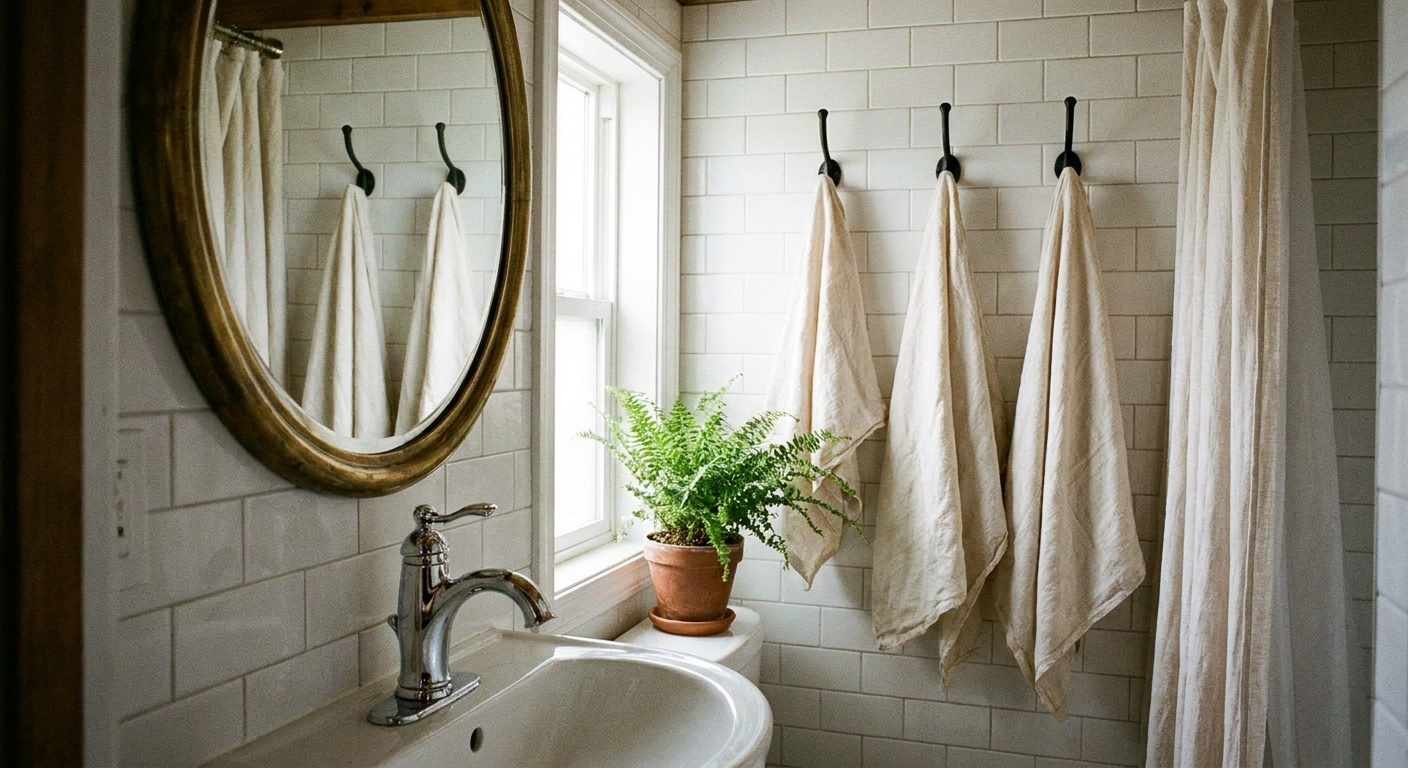
Path B: Hide the edge
If your light fixture is very close to the mirror, your wall is tile, or you want the thinnest possible upgrade, edge camouflage is the move. You are basically giving the mirror a tiny border so it looks finished.
Tile note: Path B works best when the border adheres to glass only. Avoid spanning from glass to tile or across grout lines because grout texture and tiny shifts between surfaces can cause lifting.
Step 1: Clean twice
Any residue at the edges will cause peel-and-stick products to lift. Pay extra attention to the top edge where dust settles. For the final wipe, use the prep method your tape or vinyl brand recommends.
Step 2: Pick a border that fits
- Matte black border: looks modern and crisp with almost any fixture finish.
- Brass or champagne metal-look tape: warms up builder bathrooms fast.
- Wood-look vinyl: great if you have warm towels, baskets, or thrifted art nearby.
Step 3: Measure and cut
Cut your top and bottom pieces first. Then cut the sides. If you want perfectly matched corners, miter the ends at 45 degrees. If you want easy, overlap the corners and trim with a sharp blade.
Step 4: Apply slowly
Peel back a few inches of backing at a time. Press firmly, smoothing with a credit card wrapped in a cloth. Work from the center outward to avoid bubbles.
Step 5: Try pressure first
If corners lift, I try pressure before anything else. You can also warm the tape gently with a hair dryer on low using brief passes, then press. Heat helps some peel-and-stick adhesives bond better, but too much heat can soften adhesive and cause slipping, so follow the product directions.
Path C: Style around it
Sometimes the mirror is oddly placed, huge, or just not worth fussing with. In that case, I style around it so the mirror reads like part of a bigger moment.
Option 1: Add vertical pieces
A pair of slim elements makes the mirror feel anchored and less builder-basic.
- Plug-in sconces (corded, no hardwiring)
- Tall removable hooks holding a pretty hand towel
- Narrow wall baskets for daily items
If you need truly damage-free wall solutions, start with my roundup of damage-free wall storage hacks for rented bathrooms.
Option 2: Add a narrow ledge
A slim ledge under the mirror can shift the whole vignette, especially in a tiny bathroom with limited counter space. Keep it narrow so it does not turn into clutter storage. One soap dispenser, one small tray, done.
Option 3: Upgrade what it reflects
This is my sneaky favorite. If the mirror reflects a nice towel, a calm color, or a tidy countertop, it instantly looks more high-end.
- Corral your daily items with a tray.
- Hide the awkward stuff like plungers and extra rolls. I have ideas here: how to hide toilet paper and plungers in a small bathroom.
- Swap in a shower organizer that does not rust or look rough in the reflection. Start here: best rust-resistant shower organizers for tiny bathtubs.
How to remove it later
Plan for removal on day one. Future-you will be grateful.
- Use removable products only. If the package says “permanent,” believe it.
- Support the trim as you detach it. Do not let it hang from one corner.
- Follow the strip removal method. Many picture-hanging strips release by stretching the tab slowly downward. Rushing is what peels paint.
- Go slowly on glass. Some tapes leave residue on mirrors even when they remove cleanly from walls. Test first, and remove with steady, even pressure.
- Clean residue gently. Warm soapy water can work for light residue, but stubborn adhesive is often better handled with a manufacturer-approved adhesive remover that is labeled safe for glass. Skip razor scraping near the mirror edge, since you do not want to nick the backing or the silvering.
Troubleshooting
My frame will not stick
- Humidity or residue is usually the culprit. Clean again using the prep method your adhesive brand recommends, then let it dry longer.
- Confirm the adhesive is rated for your surface type. In steamy bathrooms, choose lighter trim and avoid placing load-bearing adhesive in areas that get direct condensation.
- Switch to lighter trim. Foam or PVC is often a better rental choice than thick wood.
The mirror is not square
Super common in older buildings. Level your frame visually, not the mirror edges. Tiny gaps are less noticeable than a frame that looks crooked.
The light is too close for a frame
Use the edge-camouflage method (Path B) with a thin border. You still get that finished look with almost no added thickness.
My walls are textured or glossy
Keep everything lightweight and use more, smaller contact points. If the wall texture is heavy or the paint is slick, an edge border on the mirror itself is often more reliable than trying to adhere wide trim to the wall.
Quick checklist
- Clean mirror and surrounding surface
- Prep surfaces using the adhesive manufacturer’s method
- Test clearances with lights, outlets, and faucet
- Pick a lightweight material
- Dry-fit everything first
- Use removable adhesive rated for the weight and surface
- Use extra contact points in humid bathrooms
- Brace pieces if needed while adhesive sets
- Press and allow cure time before a steamy shower
- Keep the look simple so the room feels bigger
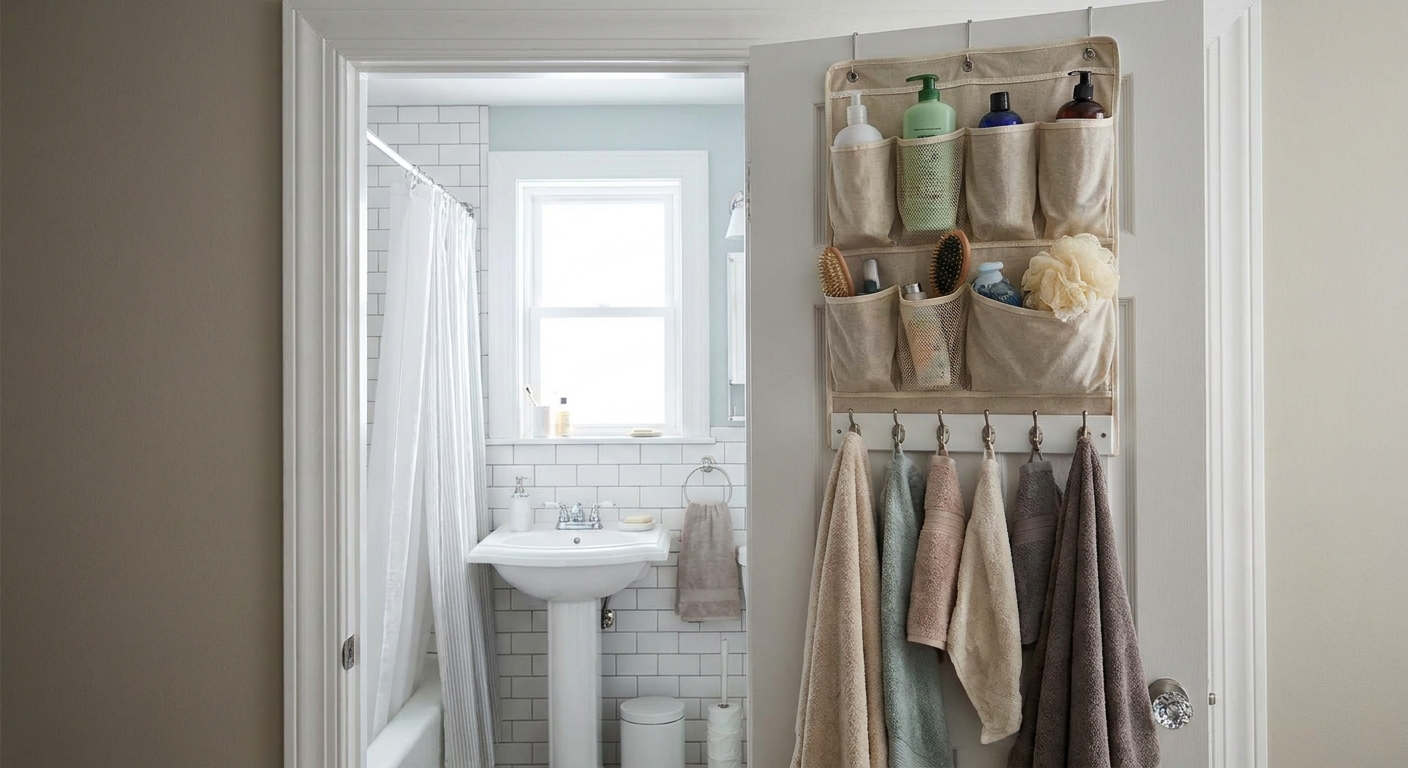
If your bathroom is short on storage while you are upgrading the look, these renter-safe ideas pair well with a framed mirror: hidden storage on the back of your bathroom door and over-the-toilet storage that won’t look cluttered.
My best tiny-bath tip
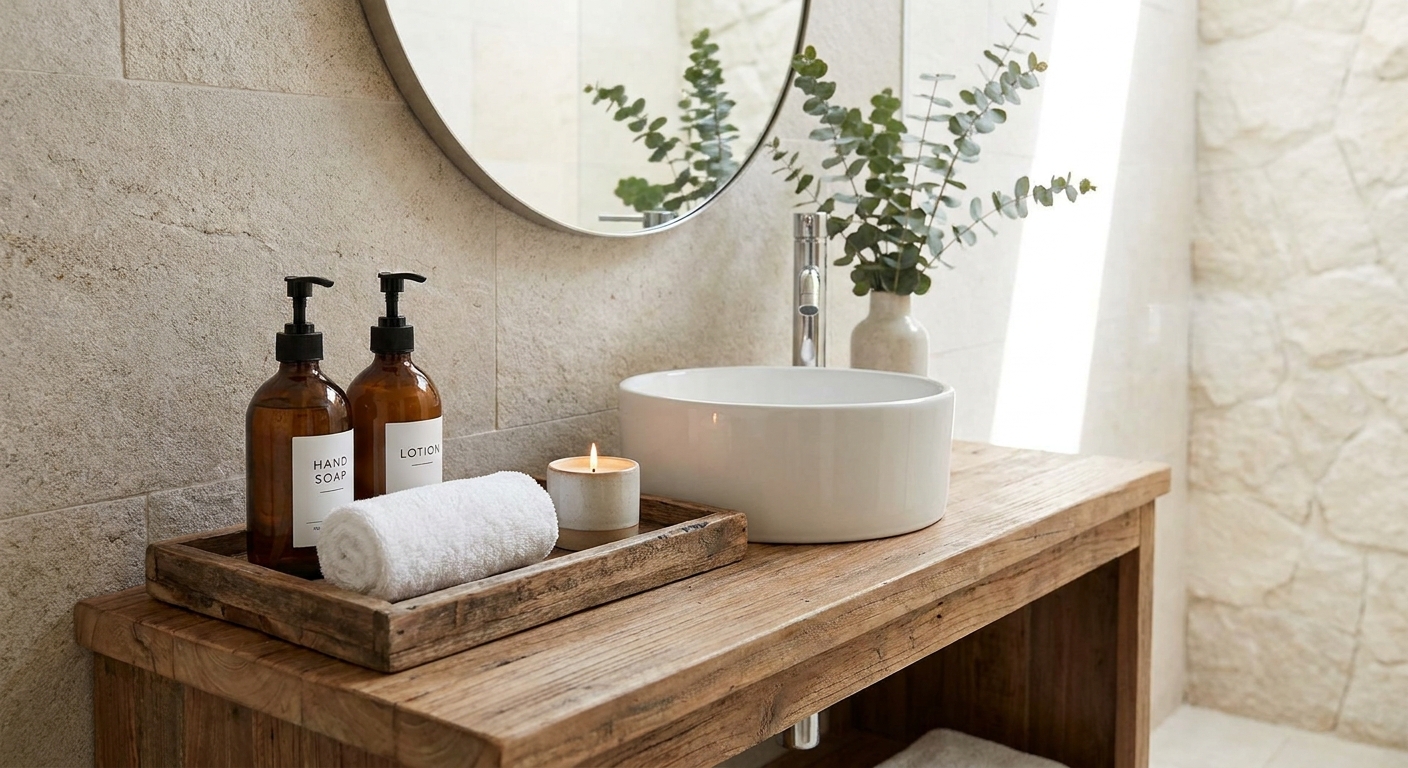
In a small space, the mirror is basically a billboard. When it looks finished, the whole room looks finished. Keep the frame slim, keep the color calm, and resist adding extra decor that competes with it. One clean upgrade done well beats five little ones that make the vanity area feel busy.
For more renter-friendly projects that make a builder bathroom feel personal, you can explore the full Renter-Friendly Upgrades section.