I fell in love with peel-and-stick wallpaper in the exact kind of bathroom you are probably dealing with: tiny, vintage, and so poorly ventilated that the mirror stayed fogged long after I turned the shower off. I wanted pattern, color, and personality without losing my deposit, but I also did not want to watch corners curl like a sad sticker book.
So, will peel-and-stick wallpaper survive bathroom humidity? Yes, if you put it in the right spots, on the right surface, with the right prep. In a very steamy, low-airflow bathroom, I treat it like a “splash-zone avoidance” project, not a “cover every wall like a powder room” project. This guide walks you through what actually works in real apartment conditions.
Where it works (and where it fails)
Humidity is not the only enemy. In bathrooms, wallpaper usually fails because of a combo of heat + moisture + texture + grime. Here is how I decide where it is safe.
Best places to use it
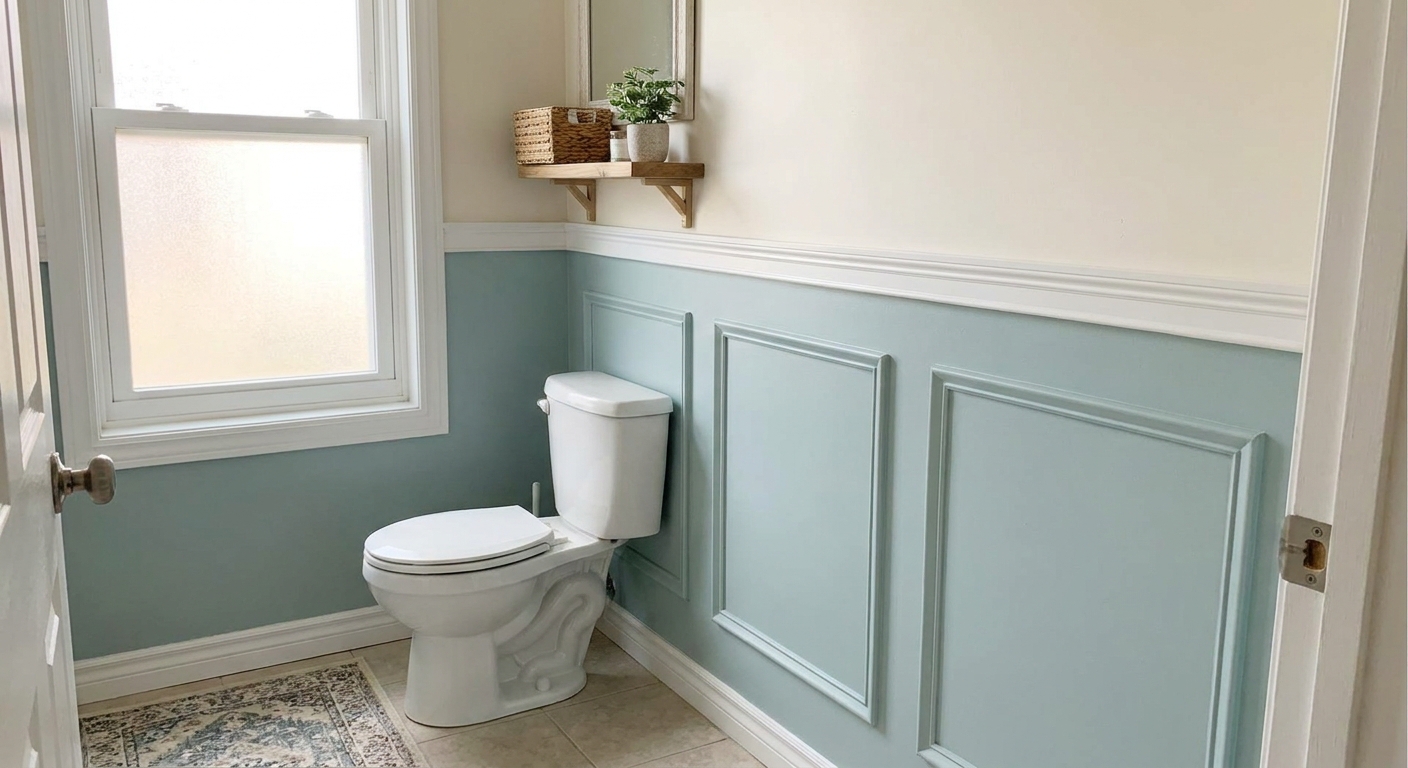
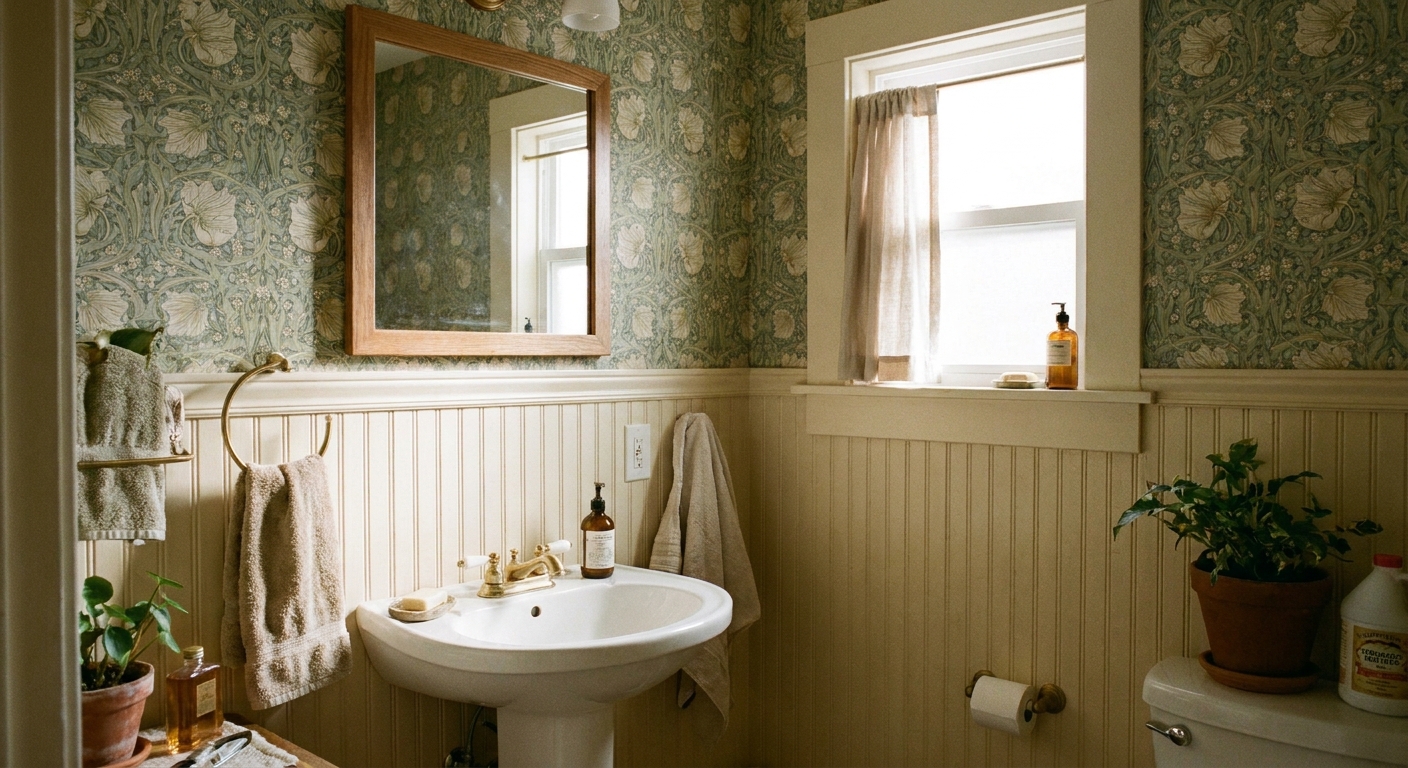
- Upper walls above wainscoting or tile, meaning you keep the lower splash-prone zone around wainscot height (often about 36 to 48 inches, but adjust for your sink, your shower spray, and real life) as paint or tile and paper above it.
- Behind the toilet if it is not directly in the shower spray zone (great “high impact, low risk” wall).
- On the wall opposite the shower (less direct steam and fewer droplets landing).
- Powder rooms and half-baths, which are basically wallpaper heaven.
Places I avoid in a steamy bathroom
- Inside the shower area, including any wall that gets direct spray, even if you swear you have a shower curtain.
- Right above towel bars where wet towels regularly touch the wall.
- Directly behind the sink unless you have a real backsplash or you are using it only above a high splash guard.
- Unsealed plaster, heavily textured orange peel, or crumbling paint. Adhesive needs a stable, smooth-ish surface.
Quick reality check: If you regularly have condensation dripping down the walls or puddling on the sill, solve that moisture problem first (fan runtime, cracked door, better airflow). Any adhesive product will struggle in a bathroom that is basically raining indoors.
If your goal is pattern in a truly steamy bath, consider using wallpaper more like an accent panel or “upper wall” moment and rely on other renter-friendly upgrades for the splash zones. If you want alternatives for areas that get wetter, my breakdown of temporary bathroom backsplashes is a good companion read.
Pick the right wallpaper
Not all peel-and-stick is created equal. The roll that behaves perfectly in a dry bedroom can peel in a bathroom simply because the adhesive is not designed for repeated warm moisture.
Look for these features
- Vinyl or vinyl-coated peel-and-stick: It wipes clean and is more moisture-tolerant than paper-like materials.
- Thicker stock: Thin wallpaper can telegraph wall texture and lift more easily at seams.
- Matte finish (optional, but forgiving): High gloss can show bubbles and seam misalignment more.
- “Removable” that is truly removable: Some brands say removable but bond aggressively on bathroom paint. Test first.
One sentence on paint sheen
In my experience, flat or chalky paint is where peel-and-stick goes to die, while smoother finishes like eggshell or satin tend to behave better (it still varies by wall and brand, so a test patch is your best friend).
Do a realistic bathroom test before committing
Buy the smallest amount you can and test a single panel for a full week.
- Apply a 12- to 18-inch strip in your planned location.
- Take normal showers.
- Check corners daily for lift.
- Try removing it on day 7 to see if paint comes with it.
This one-week test has saved me from two “full wall regret” situations.
Prep matters most
In older rentals, the wall is usually the problem. Bathrooms collect aerosolized soap, hair product residue, and that invisible film that makes adhesive quietly give up.
Wall prep checklist
- Clean: Wash the wall with warm water and a degreasing cleaner that is safe for painted walls. Rinse with clean water and let it dry completely.
- De-mildew: If you have any mildew spots, treat them first. Do not trap active mildew under wallpaper.
- Smooth: Knock down raised paint drips or rough patches with very fine sandpaper. Wipe dust off.
- Dry time: If the wall has been recently painted, wait and check your paint and wallpaper manufacturer guidance. A full cure can be 2 to 4 weeks depending on paint type, humidity, and airflow, not 2 to 4 days.
- Prime if needed: If your wall is chalky, dusty, or porous, a primer can help create a more stable surface. This is the one step to confirm with your lease and your comfort level as a renter.
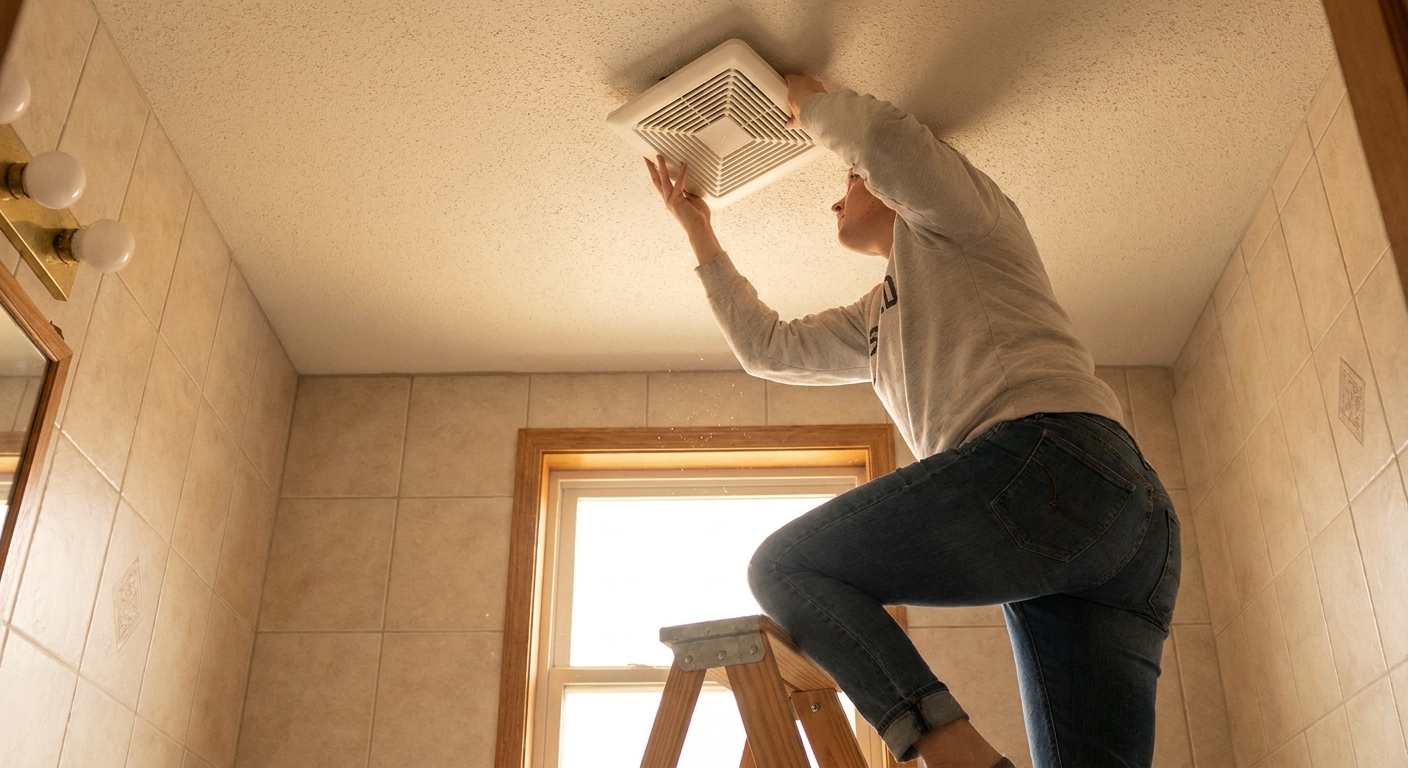
If your ventilation is weak, even small fixes help. I have a whole walkthrough on freshening the gross-but-important stuff, like cleaning up a yellowed exhaust fan cover. It is not glamorous, but better airflow makes wallpaper projects last longer.
How to apply it so it stays put
I treat bathroom wallpaper like a slow, careful craft project, not a “slap it up before brunch” situation. Here is the method that has held up best for me.
Tools I actually use
- Step stool
- Painter’s tape
- Level or plumb line
- Sharp snap-blade utility knife
- Smoothing tool or plastic squeegee (a clean credit card works)
- Microfiber cloth
Step-by-step application
- Start dry: Turn off the shower and run a fan so the room is as dry as possible. I like to apply on a day when I can keep the bathroom dry for several hours.
- Start with a plumb line: Bathrooms are full of slightly crooked corners. A straight first panel matters more than trusting the corner.
- Peel slowly, stick slowly: I peel back 6 to 10 inches of backing at a time, smooth, then repeat downward.
- Work from the center out to push air to the edges.
- Handle seams carefully: Whether you do a butt seam or a tiny overlap depends on the product, so follow the manufacturer directions. Either way, use firm pressure along the seam so steam cannot sneak in and lift it later.
- Trim with a fresh blade: Dull blades tug and create tiny lifts at cut edges, which become bigger lifts in humidity.
The bathroom-specific trick: extra pressure on edges
Once a panel is up, I go back and spend an extra minute pressing every edge and corner with a microfiber cloth, using real pressure. Most peeling starts at edges, not in the middle.
Fix bubbles and peeling
Even well-applied wallpaper can get moody in a steamy room. Here is how I troubleshoot without starting over.
If you see bubbles
- Lift the section gently (do not yank) and re-smooth. Most bubbles are just trapped air.
- If the bubble is stubborn, you can prick it with the finest pin possible and smooth outward. Use a brand-new, very fine needle and barely pierce. Test in an inconspicuous spot first, because some thicker vinyl films can show a tiny hole or tear if you get carried away.
If corners curl
- Dry the room first (fan on, door open).
- Lift the corner slightly, wipe the wall behind it with a dry cloth, and press back down firmly.
- Hold pressure for 30 to 60 seconds. This is boring, but it works surprisingly often.
If seams separate
- Gently lift just the seam edge and realign.
- Press the seam with a cloth and firm, steady pressure. Avoid stretching the wallpaper, which can cause future shrink-back.
If your wallpaper fails repeatedly in one particular spot, treat that as useful information. That wall is probably getting more moisture than you think.
Make it look intentional
In a small bath, wallpaper can look either custom and cozy or like a lot is happening in a very tight space. A few styling moves keep it elevated.
- Choose one “hero” wall: behind the toilet, behind the vanity (above a backsplash), or the wall you see first when you walk in.
- Scale matters: Tiny prints can read busy in tight quarters, but oversized murals can feel like a lot. I usually land on a medium repeat for small bathrooms.
- Keep the hard finishes simple: If the wallpaper is bold, let the shower curtain and towels be calm. If you want help there, I love these cheap shower curtain upgrades.
- Use mirrors to bounce pattern: A mirror reflects wallpaper and can make the room feel bigger. Placement matters more than people think, and my guide to strategic mirror placement breaks it down.
Cleaning and maintenance
If your wallpaper is vinyl or wipeable, you can keep it looking crisp with gentle maintenance.
- Wait before wiping: Give fresh wallpaper a day or two to settle before cleaning.
- Use mild soap: A damp microfiber cloth with a tiny bit of dish soap is usually enough.
- Skip abrasive scrubbers: They can lift seams and scuff the finish.
- Vent after showers: Run the fan longer than you think you need. If you have a window, crack it for 10 to 15 minutes.
- Keep towels off the wallpaper: Wet fabric sitting against an edge is a peeling invitation. If you need better towel strategy in a cramped layout, see where to hang wet towels with no wall space.
Removal without wrecking paint
The number one renter fear is peeling wallpaper and taking half the wall with it. Removal is usually gentle if your surface was stable to begin with, but bathrooms add an extra twist because paint can be softer from moisture over time.
My removal method
- Warm, not wet: Aim for slight warmth so the adhesive is more flexible, but avoid adding humidity. If you need help at the edge, use a hair dryer on low for a few seconds at a time.
- Start at a seam and peel slowly at a low angle, keeping the sheet close to the wall as you pull.
- Go inch by inch: Fast peeling is what causes paint lift.
- Remove residue gently with warm water and mild soap on a soft cloth.
If you do get a little paint lift, do not panic. That is a sign the paint bond to the wall was weak in the first place, which is common in older rentals.
Quick checklist
If you want the short decision tool, this is it.
- Yes if your wallpaper will be outside direct splash zones, your wall is clean and sound, and you can run a fan or crack a window after showers.
- Proceed with caution if you have textured walls, frequent long hot showers, or repeated condensation dripping down the walls.
- No if you want to place it where water regularly hits, or if your paint is actively peeling, chalky, or mildew-prone.
FAQ
Can I put peel-and-stick wallpaper on bathroom tile?
Sometimes, but it depends on the tile and the grout lines. Smooth, glossy tile can be too slick for some adhesives, and deep grout lines can telegraph through. In most bathrooms, peel-and-stick wallpaper is happier on a painted wall than on tile. Also, even if it sticks, I would still avoid true wet zones like the shower or tub surround unless the product is explicitly rated for that use. For tile-like solutions, look at peel-and-stick tile options meant for wet areas instead of wallpaper.
Will humidity make it fall off eventually?
Humidity increases the odds of edge lift over time, especially near corners and seams. But with good prep and smart placement, it can last surprisingly well. My best installs in rentals have held up for years on walls outside the splash zone.
Is it safe for renters?
It can be renter-friendly, but test a small area first. Removability depends on the wallpaper adhesive and your wall paint quality, not just what the label says.
If it is too risky
If your bathroom is basically a steam room and you do not want to fight peeling edges, you still have options that bring in style without relying on wall adhesive doing heroic work.
- Paint color palettes that make a small bath feel bigger.
- Upgrading a builder-grade mirror for instant impact.
- Renter-friendly lighting that makes everything look more polished.
- Budget window privacy that still looks intentional.
Wallpaper is not the only way to get personality in a small rental bathroom. But when it works, it really works. A little pattern can make a boxy, builder-beige space feel like a tiny boutique hotel, even if your fan wheezes like it is running a marathon.