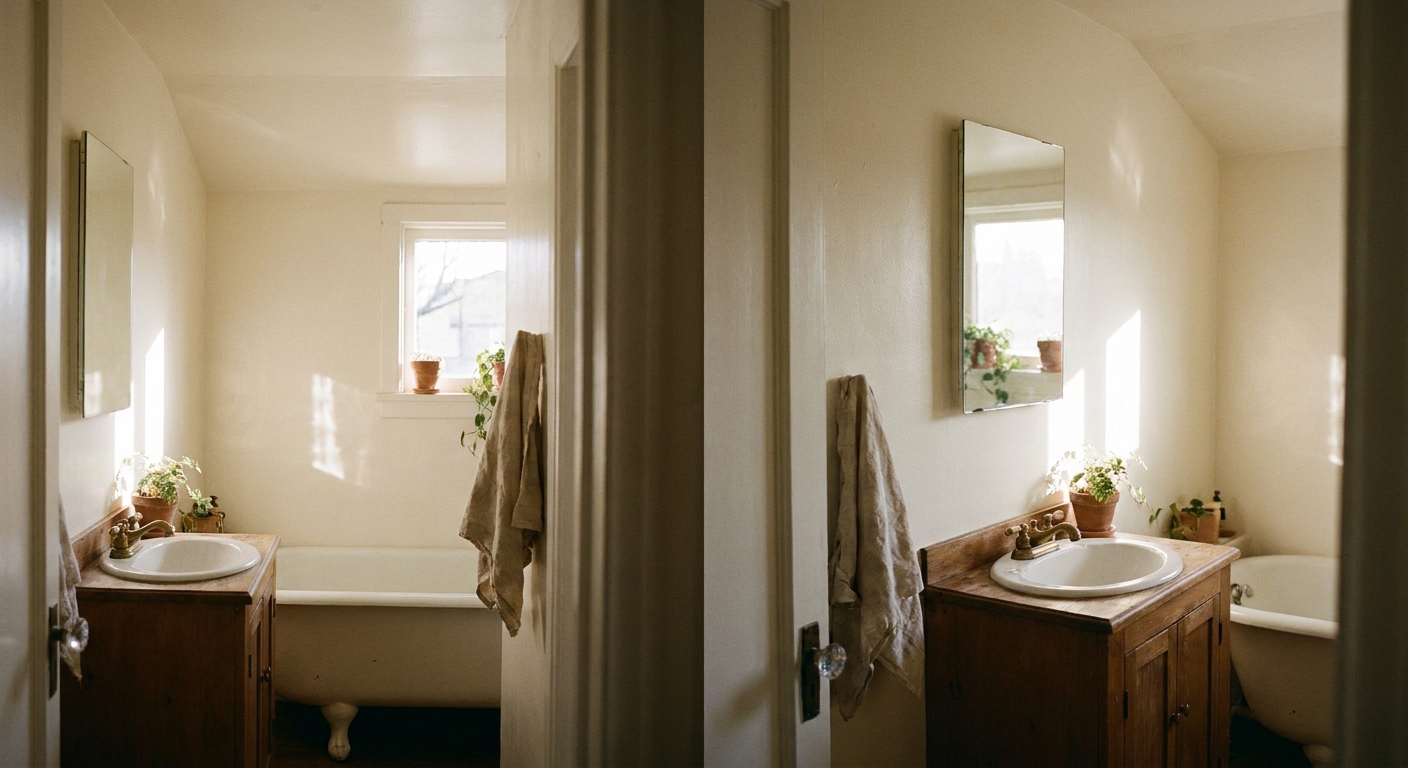
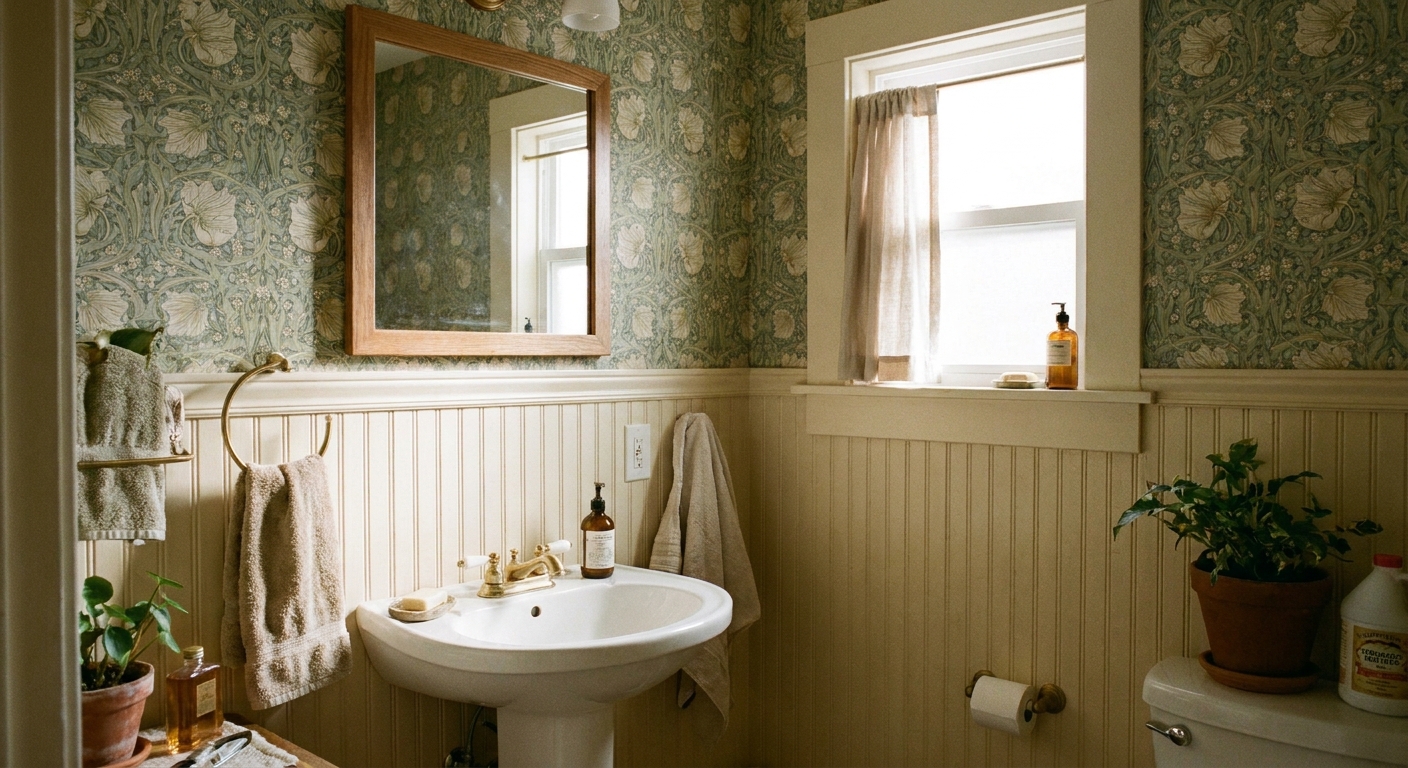
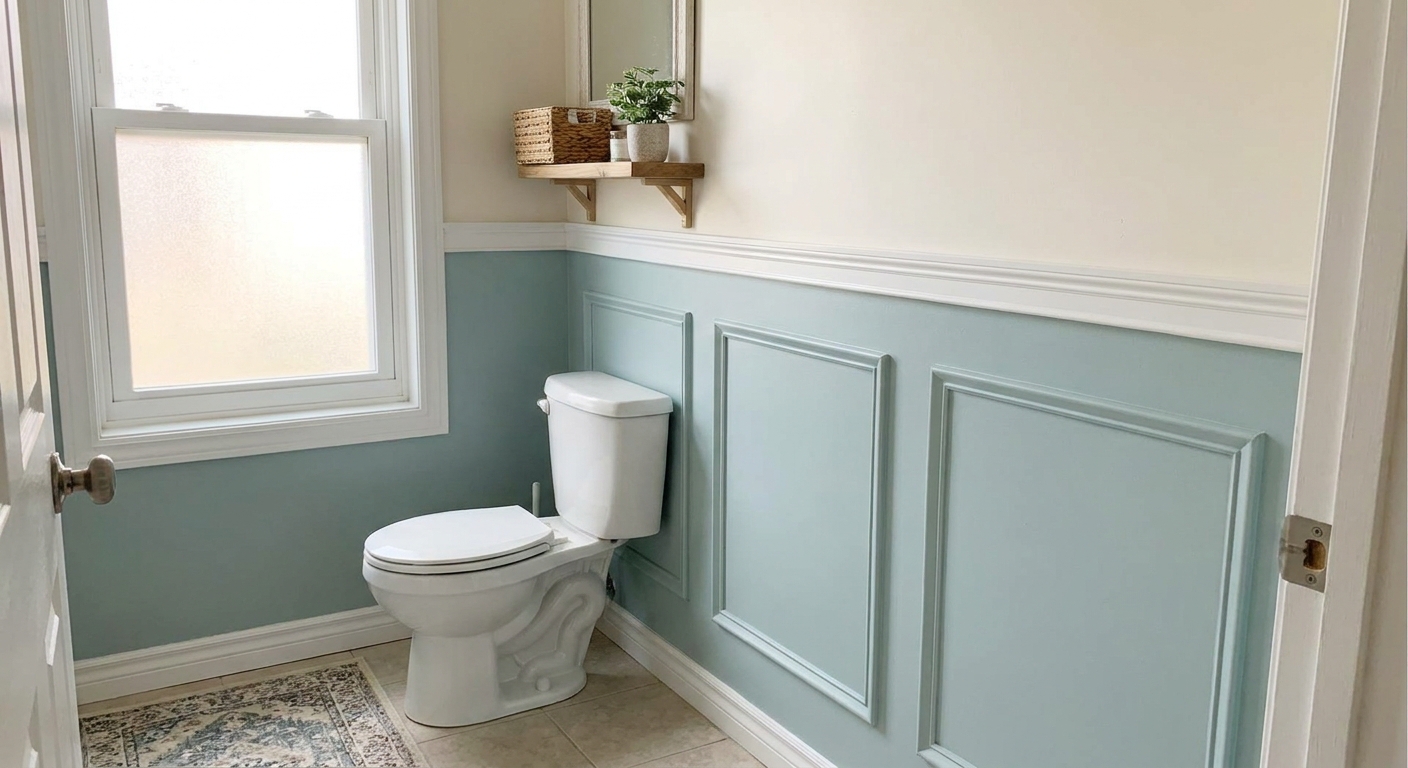
In my first closet-sized vintage apartment bathroom, I did all the usual things. Light paint. A brighter bulb. A prettier shower curtain. It helped, but the room still felt like it was pressing down on my head.
The real “why didn’t I do this sooner” moment was realizing the ceiling is a design surface, too. It’s often called the fifth wall, and in a small bathroom it’s a magic trick: when the ceiling has intention, your eye travels up, the edges blur, and the room reads taller almost instantly.
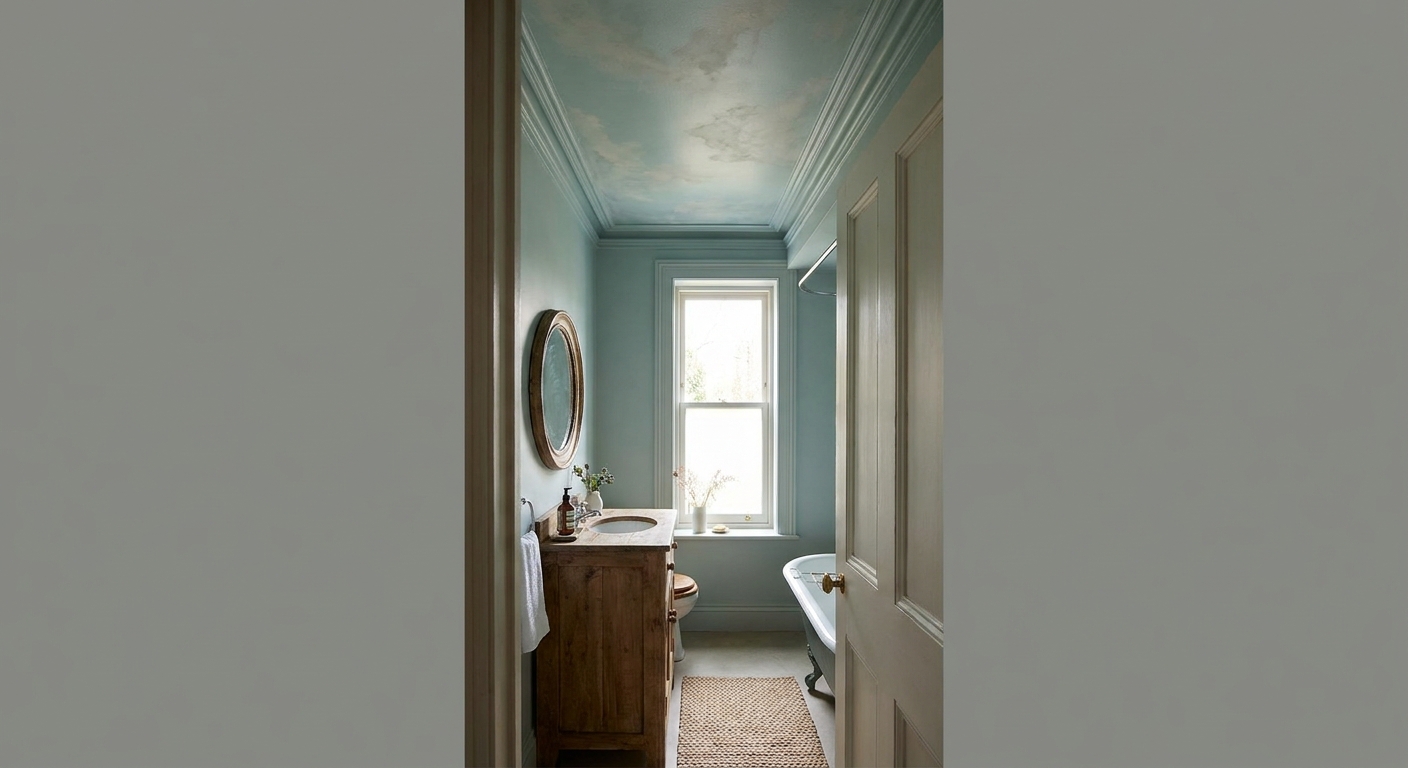
Why ceilings matter in tiny bathrooms
Small bathrooms tend to have three things working against them: tight floor space, lots of hard edges (tile, mirror, fixtures), and a short visual “runway” for your eye. You hit the mirror line or the tile line, and then the ceiling fast. A ceiling treatment fixes that by changing where you look first.
- It pulls attention upward. Even if your square footage stays the same, the room feels less squat.
- It creates a focal point that is not your clutter. Helpful if your counter is always living its best life.
- It adds style without crowding. Unlike decor on shelves, a ceiling doesn’t steal storage.
- It can visually widen the room. The right color and finish make edges soften instead of stopping abruptly at the top of the wall.
Quick checks before you start
Bathrooms are humid, ceilings are overhead, and gravity is not your friend. Do these checks before committing to paint or wallpaper.
1) Make sure the surface is clean and stable
If your ceiling has peeling paint, hairline cracks, or old water stains, fix those first. A little prep saves you from bubbling wallpaper or flaking paint later.
Also, do not decorate over an active problem. If you have a current leak, recurring condensation drip lines, or mildew that keeps coming back, solve that first or your new finish will fail (and you will be mad about it).
2) Confirm your ventilation is decent
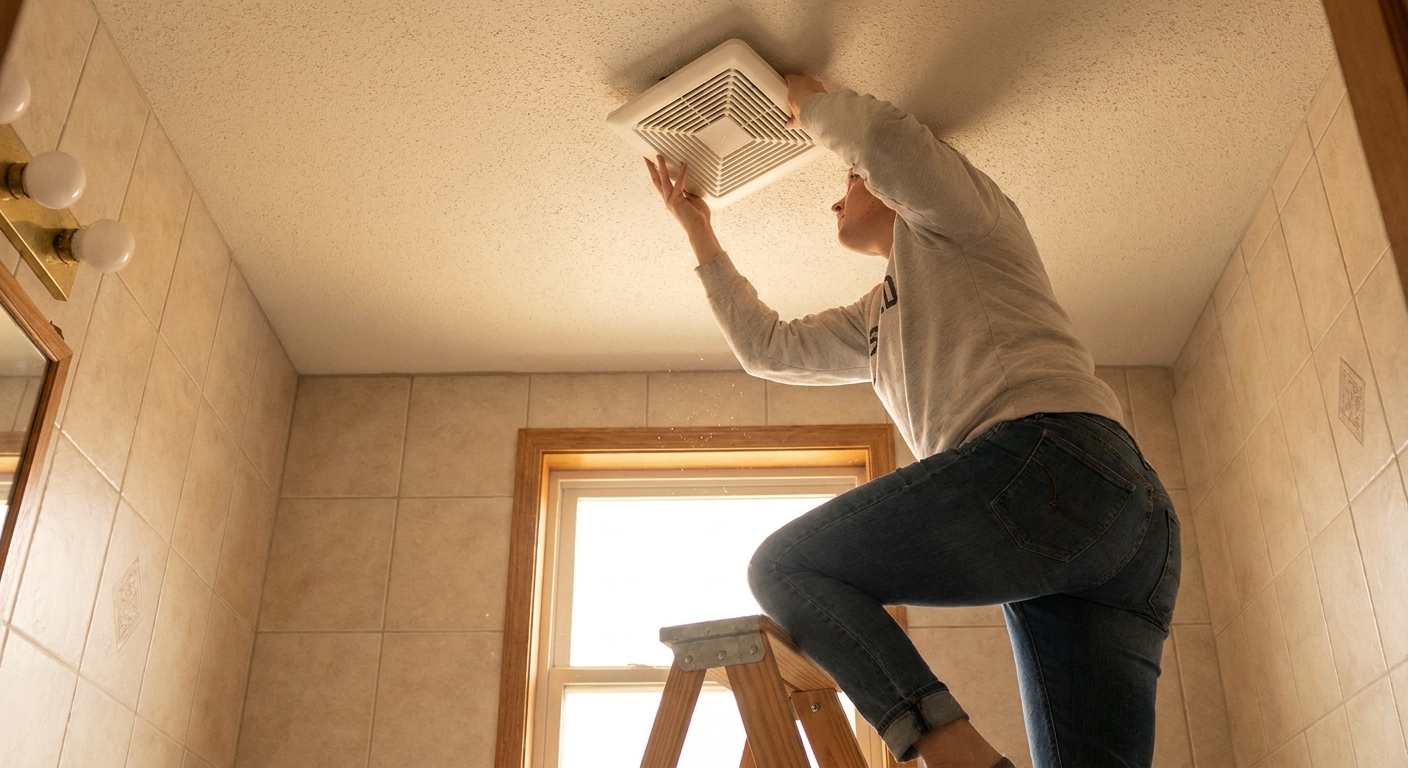
If you have an exhaust fan, use it for showers and keep it running after, too. In most bathrooms, 20 to 30+ minutes is a good starting point, or simply run it until the mirror clears and the room no longer feels steamy. If your fan cover is yellowed or dingy, freshening it up helps the whole ceiling look cleaner. I walk through that in how to fix a yellowed bathroom exhaust fan cover without rewiring.
3) Choose moisture-smart materials
Look for paint labeled for bath and spa areas, and for wallpaper that is specifically peel-and-stick and rated for humid spaces. If you are unsure how it holds up, I break down what to expect in peel-and-stick wallpaper in small bathrooms: will it survive humidity?
4) Do a two-minute safety setup
Ceiling projects are where people get brave and then regret it. Use a sturdy step stool (not the toilet lid), keep the floor dry, and if you are hanging wallpaper, having someone spot you for the first strip is worth it.
5) Know your ceiling texture
If your ceiling is textured or popcorn, paint is usually the easiest win. Wallpaper adhesion overhead can be unreliable on heavy texture, and beadboard might require more planning for secure attachment.
Option 1: Paint the ceiling
If you want the biggest impact for the smallest amount of chaos, paint is it. You can go subtle or dramatic, and it still reads like a real design decision.
Three ceiling paint looks for tiny bathrooms
- Ceiling matched to wall color. Painting walls and ceiling the same shade softens corners and makes the box feel taller and calmer. This is my top pick for windowless bathrooms.
- Ceiling 1 to 2 shades lighter than the walls. Keeps the lift and brightness while still feeling intentional. Great if you like your wall color but want a little more air.
- Ceiling as an accent. A dusty blue, soft sage, or warm clay overhead can make a basic bathroom feel custom. Keep everything else quieter so it doesn’t get busy.
Finish matters more than you think
For most bathroom ceilings, I like matte or flat because it hides texture and patching best. If your bathroom gets steamy, choose a bathroom-rated matte or a low-sheen eggshell designed for humidity. If you have any history of mildew, lean toward mildew-resistant formulas, run the fan longer, and do not be afraid of a slightly higher sheen for easier wipe-downs.
A simple weekend paint plan
- Protect everything. Drop cloths, plastic over the vanity and toilet, painter’s tape along the crown or wall edge.
- Clean the ceiling. Warm water with a little dish soap, then let it dry fully.
- Spot-prime stains. If you have water marks, prime them so they do not ghost through.
- Cut in first. A steady angled brush around edges saves you from a wobbly line later.
- Roll in small sections. Use a roller with an extension pole so you are not constantly climbing a step stool.
- Ventilate and cure. Run the fan and give paint time to harden before long, hot showers.
Planning tip: measure the ceiling (length times width) and check the can for coverage. In a tiny bath you often need less paint than you think, but ceilings can drink more if they are porous or previously flat-painted.
If you want color guidance that won’t fight your tile, start with these paint color palettes that make tiny bathrooms feel spacious. Even if you only borrow the undertones, it helps everything feel cohesive.
Option 2: Wallpaper the ceiling
Ceiling wallpaper is a power move, especially in a bathroom where you do not want to commit to wallpaper on every wall. Overhead, a pattern becomes a moment, not a takeover.
The trick is picking patterns that make your ceiling feel higher, not lower.
Patterns that visually lift a low ceiling
- Small-scale prints. Tiny repeating motifs read as texture, not clutter.
- Light backgrounds with gentle contrast. A bright base keeps things airy.
- Lengthwise stripes. Stripes that run in the long direction of the room visually stretch the space.
- Soft botanicals. Great for adding life when you cannot fit decor anywhere else.
Ceiling wallpaper: renter-friendly setup
If you rent, peel-and-stick is often the least-committing option, but humidity and ceiling paint can change how it sticks and how it removes. My non-negotiables:
- Start with the flattest ceiling you can. Heavily textured ceilings make adhesion harder.
- Prime if the ceiling is chalky. A sealing primer helps the adhesive grip and can make removal cleaner later.
- Do a test patch first. Put up a small piece for a week (including showers) to see if it sags, lifts, or leaves residue when you peel it back.
- Work in shorter lengths. Long runs are harder to control overhead. I like 24 to 36 inch sections.
- Use a smoothing tool slowly. Push air out as you go, and do not stretch the material.
- Keep seams tight, not overlapping. Overlap can catch steam and lift first.
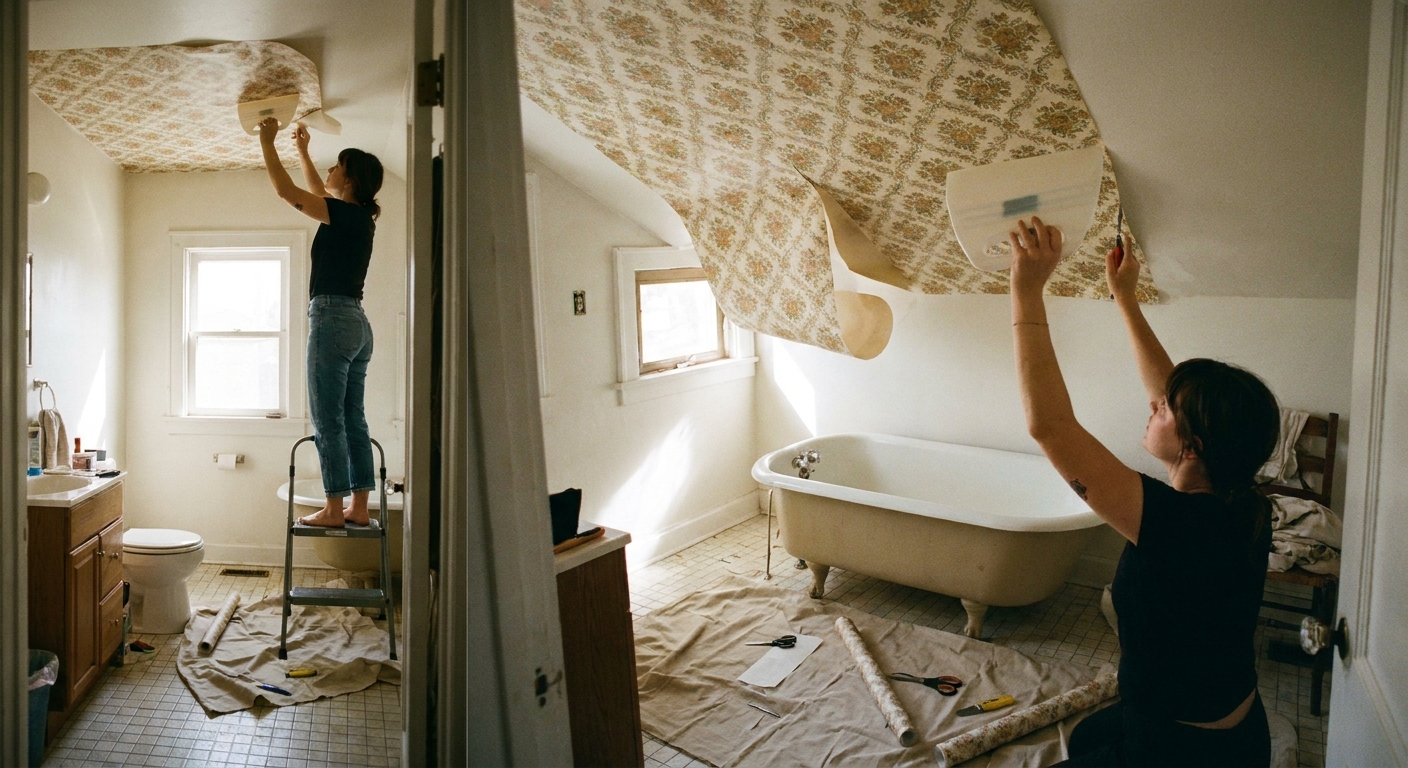
Where wallpaper works best
Wallpaper is happiest on ceilings that do not get direct shower spray. If your shower has no door or curtain coverage at the top, paint may outlast wallpaper. If you do have a curtain, consider making it look more custom so the whole room feels intentional. I love these ideas in 7 cheap ways to make your shower curtain look expensive and custom.
Option 3: Beadboard or planks
If your bathroom feels builder-basic or your ceiling has seen better days, beadboard is the “instant character” solution. It adds texture and shadow, which makes a tiny room feel designed, not just decorated.
Material note for bathrooms
In wet spaces, material matters. Look for PVC beadboard or properly primed and painted wood that is sealed on all sides. Unsealed MDF and raw wood can swell with moisture, especially if your fan is weak.
The renter reality check
Traditional beadboard is a semi-permanent install. In most rentals, I treat it as a maybe, not a default. If you own, go for it. If you rent, talk to your landlord, or consider temporary options like lightweight panels installed with removable methods only if you are confident in your ceiling paint quality.
How to keep beadboard from shrinking the room
- Paint it to blend. If beadboard is on the ceiling, paint it the same color as the walls (or color-drench walls and ceiling together) so the plane reads continuous. If it wraps down onto a soffit or a small drop area, matching that section to the walls can keep the transition soft.
- Use narrow boards. Smaller scale details suit small rooms.
- Pair with simple lighting. Too many “statement” elements can crowd the visual space.
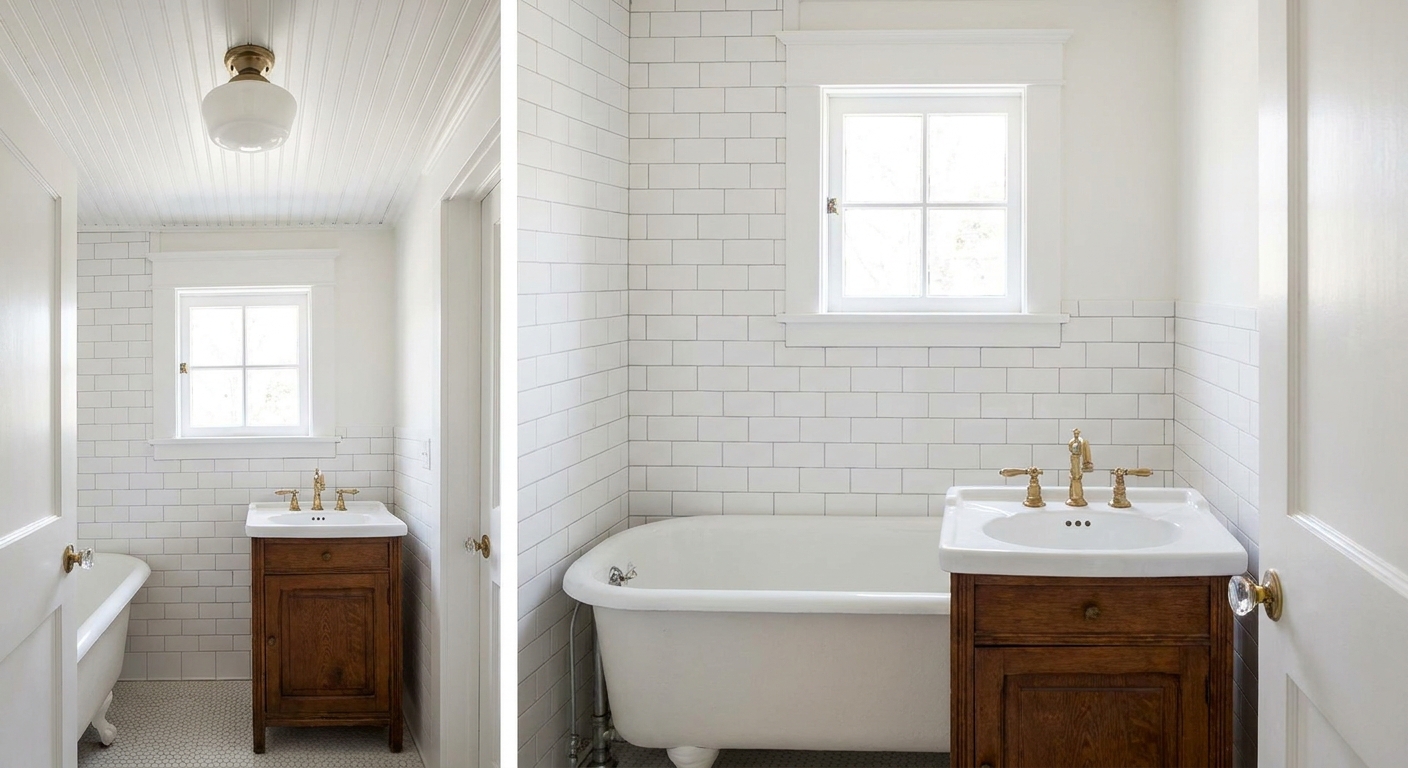
If what you really want is that tailored, architectural feel, consider adding structure lower on the walls instead, which often reads bigger in tight spaces. My favorite weekend version is faux wainscoting for a small bathroom.
Ceiling color formulas I rely on
If you are stuck, steal one of these. They are hard to mess up and they photograph beautifully, too.
1) Soft white ceiling + slightly warmer walls
This keeps the ceiling lifted while giving the walls some warmth. It is especially good with beige tile and brass or champagne hardware.
2) Color-drenched ceiling + walls
Perfect for awkward layouts because it de-emphasizes corners. Add one strong contrast element, like a crisp white shower curtain or a black-framed mirror.
3) Pale blue-green ceiling + white walls
This is my “spa trick” for rentals. The ceiling becomes a soft sky, and the walls bounce light around. Pair it with simple styling. My go-tos are in 9 easy styling tweaks for a spa-like small bathroom.
Lighting note
Ceilings and bulbs are a package deal. Darker ceilings can feel cozy under warmer bulbs, while cooler bulbs can make color feel harsher and a little clinical. If your paint looks “off” at night, the bulb temperature might be the culprit, not your color choice.
Details that make it look pro
- Paint the vent cover to match. A bright white vent on a cream ceiling stands out like a sticker.
- Extend the ceiling color slightly down the wall. A 1 to 3 inch wrap can hide uneven lines and feels custom, especially without crown molding.
- Keep the rest of the room edited. A ceiling moment looks best when the counter is calm. If you need help getting there, space-saving makeup organization ideas is a good start.
- Use a larger mirror if you can. More reflection means more perceived depth. If you are stuck with a builder-grade mirror, upgrade it without removing it.
Common mistakes and fixes
Mistake: Going too dark in a windowless bathroom
Fix: Keep the ceiling dark only if the walls are also dark (color drenching), or if you have strong lighting. Otherwise, try a mid-tone instead of a deep shade.
Mistake: Choosing glossy paint that shows every bump
Fix: Switch to a bathroom-rated matte or eggshell. In older buildings, ceilings are rarely perfectly smooth.
Mistake: Wallpaper lifting at the seams
Fix: If the edge is still clean, you can sometimes press it back down with firm, even pressure. If the adhesive has picked up dust, lint, or mildew residue, it may not truly re-bond. In that case, replacing that strip is usually the least frustrating fix.
Either way, make steam management your friend: run the fan longer, crack the door for makeup air, and squeegee shower walls when you can. Less lingering moisture equals fewer ceiling problems.
Mistake: A busy pattern plus busy everything else
Fix: Let the ceiling be the star. Keep towels, rugs, and accessories mostly solid or tone-on-tone. If you need help choosing metals that do not fight, mixing metal finishes in a small bathroom makes it simple.
What I’d do in three scenarios
If you rent and want zero drama
Paint the ceiling the same color as the walls (or 1 shade lighter) in a humidity-friendly finish. It feels high-end and removes easily later with normal repainting.
If your bathroom has awkward tile you cannot change
Keep walls calm, then use the ceiling for personality. A tiny pattern overhead can distract from dated tile without competing with it.
If your ceiling is damaged or visually messy
Paint first, then decide if you still need wallpaper. Sometimes a fresh ceiling is all the “remodel” your bathroom needed.
The takeaway
In a small bathroom, you cannot always add square footage, but you can change what your eye believes. Treating the ceiling like the fifth wall is one of the rare upgrades that is decorative, space-saving, and genuinely transformative.
If you try one thing this weekend, make it this: look up, pick a finish, and give your ceiling a job to do.