The wall behind a rental bathroom sink takes an unfair amount of abuse. Toothpaste splatter, hair product mist, the occasional mascara swipe you swear was accidental. In one of my first tiny apartments, I learned the hard way that even “just water” can slowly pucker paint and leave little gray grime halos that never quite scrub out.
A temporary backsplash is one of those renter-friendly upgrades that feels decorative but quietly does the unglamorous job of wall protection. The big question is what kind: peel-and-stick tiles (the thicker, tile-look sheets) or waterproof vinyl decals (the thinner panels). Both can work, but they behave very differently in a humid bathroom.
Quick verdict
- Choose peel-and-stick tiles if you want the most realistic tile look, more impact, and better day-to-day scuff resistance. They cost more and take longer to install, but they read like a real upgrade.
- Choose waterproof vinyl decals if you want the fastest install, easiest removal, and the lowest cost. They are great for light splash zones, but they can show wrinkles and edge lift sooner, especially around faucets.
If your sink area gets heavy water spray (kids, vigorous hand-washing, tiny basin with a powerful faucet), peel-and-stick tiles usually hold up better. If you are mainly covering cosmetic wall damage or adding pattern for a year, decals can be perfect.
What each option is
Peel-and-stick tiles
These are thicker adhesive-backed sheets meant to mimic tile. Depending on the brand, they might be PVC, a gel-like resin top layer, or a composite that gives a little dimension and grout lines. They are typically sold as individual “tiles” or larger sheets you cut down.
Waterproof vinyl decals
These are thinner vinyl panels or sticker sheets, often marketed as “waterproof backsplash decals” or “vinyl wall panels.” Some styles are made to cover existing tile; others are meant to go directly on painted drywall. In this article, I will call them decals for short.
Durability
Peel-and-stick tiles: better for bumps and cleaning
- Scratch resistance: Generally better. The thicker surface stands up to water rings and scuffs from bottles, makeup bags, and organizers sliding around the counter edge.
- Moisture tolerance: Typically good for normal sink splashes, as long as edges are pressed firmly and the surface underneath is clean and smooth.
- Heat and steam: Most do fine in a bathroom, but constant steam plus poor ventilation can weaken adhesive over time. If your mirror fogs every shower, run the fan longer and wipe condensation off the backsplash occasionally.
- Edge lift risk: Moderate. It usually happens at corners near the faucet where water sits or where the sheet was stretched during installation.
Waterproof decals: great until water finds an edge
- Scratch resistance: Fair. They can scuff if you scrub aggressively or if you constantly bump the wall with tall bottles.
- Moisture tolerance: The face of the decal is waterproof. The weak point is the edge. Once water repeatedly hits a seam, you can get lifting or a slightly darkened edge from trapped moisture.
- Heat and steam: Thin vinyl can soften slightly in warm steam, which makes good prep and firm smoothing extra important.
- Edge lift risk: Higher, especially if the wall has texture or you have lots of seams.
My real-life rule: If you are the kind of person who wipes the sink area daily, decals can last beautifully. If you know splashes sit there until the weekend, go thicker.
Cost
Pricing varies wildly by brand and finish, but for a typical rental sink backsplash area (roughly 24 to 36 inches wide and 10 to 18 inches tall):
- Waterproof vinyl decals: Usually the most budget-friendly option for small coverage, especially if you can use one or two larger panels with minimal seams.
- Peel-and-stick tiles: Often cost more per square foot, and you may need extra for cuts, pattern matching, and mistakes.
If you are budgeting a whole bathroom refresh, you can keep the backsplash spend low and put the savings toward another high-impact renter-friendly swap like a showerhead. (I walk through that process here: Swap Your Showerhead Without Losing Your Deposit.)
Installation
Waterproof decals: fastest for beginners
Decals win for speed. If you can apply contact paper without bubbles, you can apply waterproof vinyl decals.
- Best for: perfectly smooth painted walls, quick makeovers, renters who want minimal cutting
- Hard part: smoothing without stretching and keeping seams straight in a cramped space
Peel-and-stick tiles: fussier around corners
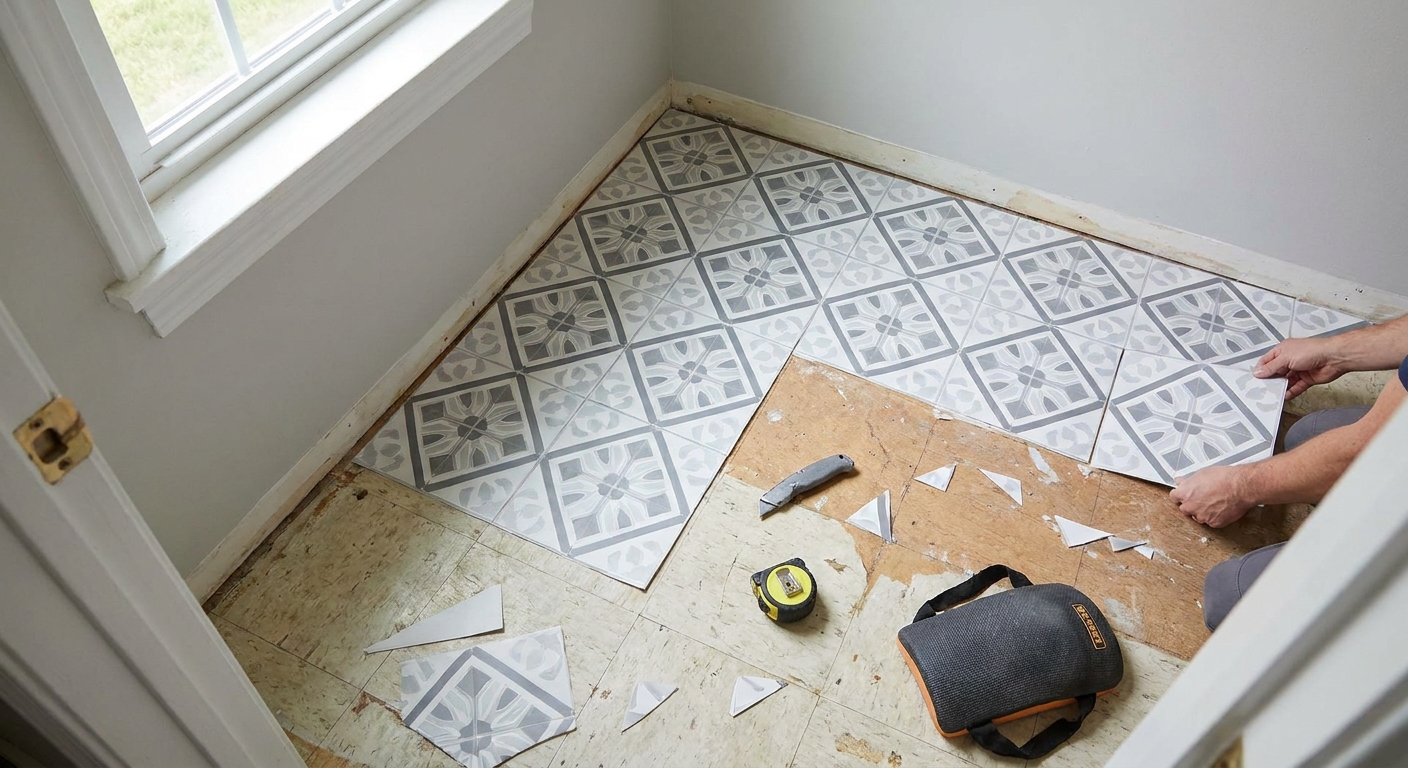
Tiles take longer because you are doing more measuring and trimming, especially if your sink is tight to a side wall or you have a medicine cabinet that creates awkward edges.
- Best for: realistic tile look, slightly uneven walls, higher-traffic splash zones
- Hard part: clean cuts and planning your layout so you do not end with a skinny sliver at the edge
If your bathroom walls are textured (even slightly), neither option is perfect, but thicker tile sheets tend to disguise minor imperfections better than thin vinyl.
Where these fail
Most rental “backsplash disasters” are not about the product. They are about the surface underneath.
- Flat or chalky paint: Adhesives can grab it too well, or the paint can come off in sheets during removal. Semi-gloss and satin are usually safer than dead-flat, but test either way.
- Fresh paint: Even if the wall feels dry, paint can take longer to fully cure. Adhesives can bond too strongly to not-fully-cured paint, which makes removal riskier.
- Heavy texture: Thin decals bridge bumps, leaving little air pockets where edges can lift.
- Laminate backs or glossy wall panels: Some adhesives stick great, some do not. If the surface feels slick, test a sample for a week.
- Outlets and switch plates: Do not cover them. Plan your backsplash height and width so you can cut cleanly around plates and still reinstall them flush.
Prep that helps it last
I know prep is the part everyone wants to skip. It is also the part that determines whether your backsplash looks crisp for two years or starts lifting in two weeks.
1) Clean like you are painting
- Wash the wall with a degreasing cleaner, then rinse and dry.
- Follow with rubbing alcohol on a lint-free cloth to remove residue.
- Let the wall fully dry, especially around caulk lines and corners.
One caution: Alcohol can dull or spot some flat paint finishes. Test a small hidden area first and keep it light.
2) Avoid fresh paint
If your landlord just painted, wait if you can. Adhesives can bond too strongly to paint that has not fully cured, which makes removal riskier.
3) Make it smooth if needed
Peel-and-stick products hate bumps. If you have a peeling area, sand lightly and spot-prime. If you have deep texture, consider choosing a larger pattern that hides minor ripples, or keep the backsplash shorter and away from the worst texture.
4) Deal with plates first
If an outlet or switch plate sits in your backsplash zone, turn off the light at the switch, remove the plate, apply your material, trim neatly, then reinstall the plate. It is a cleaner finish and it helps you avoid “floating” plates that look crooked.
Removal
The goal is simple: remove slowly, use gentle heat, and clean off residue without harsh scraping.
How peel-and-stick tiles remove
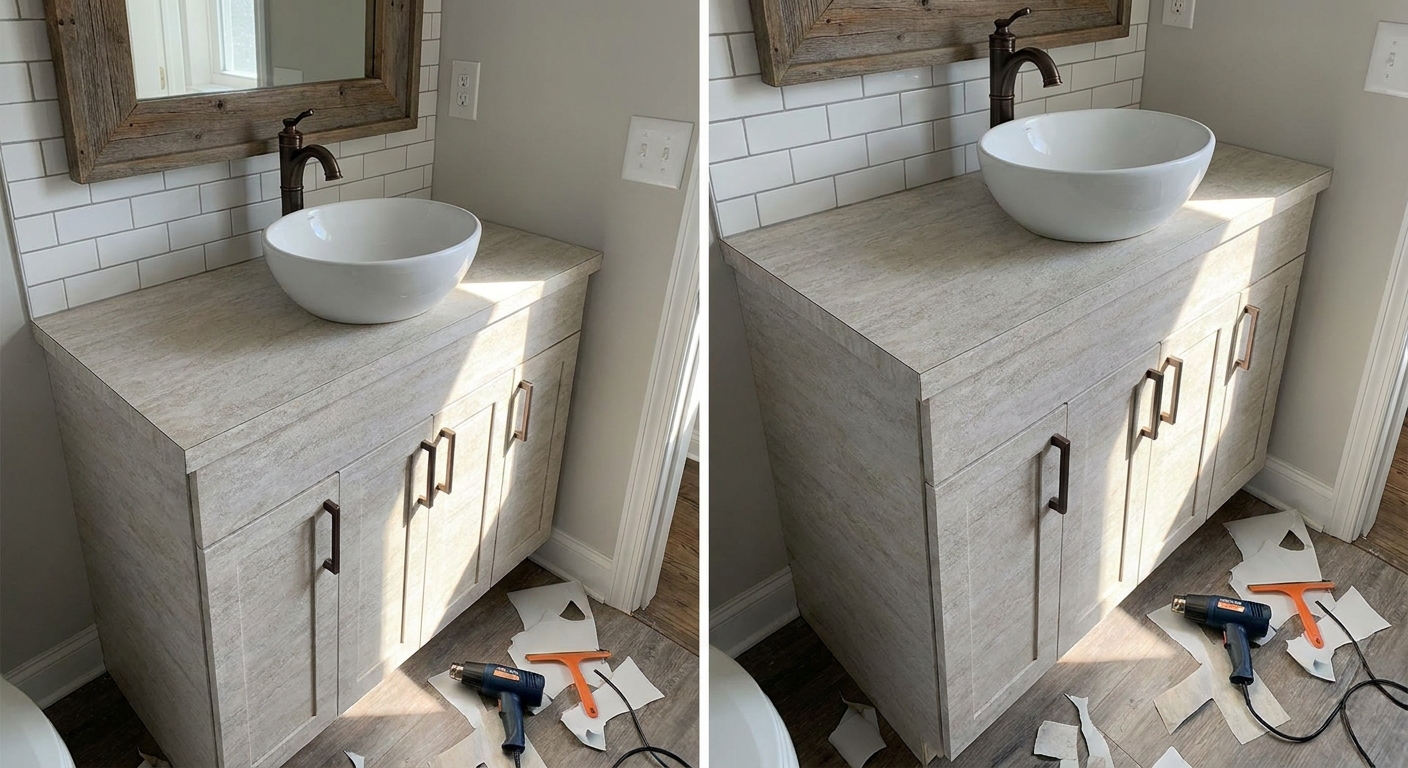
- Heat helps: Warm a corner with a hair dryer on low, then peel back slowly at a low angle.
- Go section by section: Do not yank. If it resists, add more heat.
- Residue: Remove adhesive with warm soapy water first, then rubbing alcohol if needed. Test a small spot so you do not dull the paint sheen, especially on flat paint.
How waterproof decals remove
- Easier lift: They typically peel off in larger sheets, especially if installed on a smooth, well-cured paint finish.
- Watch seams: Tiny strips left at seams can be rubbed off gently with your finger and a little warmth.
- Lower paint risk: Generally lower than heavier tiles, but any adhesive can pull paint if the wall was poorly prepped or the paint is old and chalky.
If you are nervous about any adhesive product on your walls, start with a small test piece behind the mirror or near the side edge of the vanity and leave it for a week. Then remove it and check the paint.
Do you need caulk?
This is the line renters ask about constantly, because traditional caulk feels “permanent.” Here is how I handle it.
When I skip it
- Decals used more as a decorative panel than a true splash shield
- Low-splash households and you wipe down the sink daily
- You are installing the backsplash a little higher and away from constant direct spray
When I seal edges
- If water regularly runs down the wall behind the faucet
- If you have seams near the sink rim
- If you know your bathroom ventilation is weak
If you want a seal but you are trying to stay renter-friendly, look for products specifically labeled peelable caulk or caulk tape. Even these can leave residue or pull paint if your wall is fragile, so keep the bead thin, apply it only where water actually hits, and test a small spot first. The goal is to block water from sneaking behind the material, not to glue it to the wall forever.
Style
Peel-and-stick tiles look more real
If you want that classic crisp backsplash moment, tiles usually look more believable, especially in:
- white subway
- small marble-look mosaics
- matte neutrals that mimic ceramic
Waterproof decals bring pattern
Decals shine when you want:
- a punchy print behind the sink
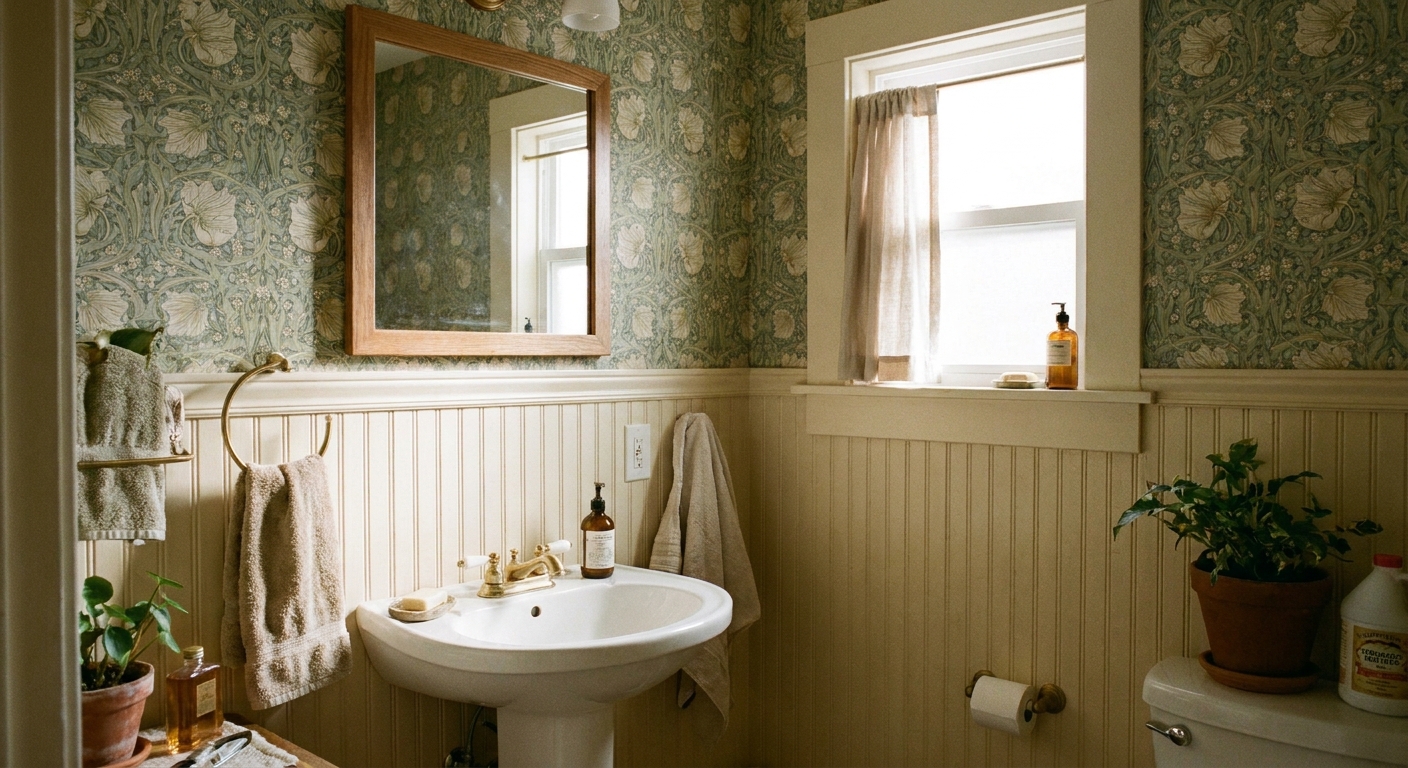
- a vintage motif that suits an older building
- a quick way to tie in wallpaper or a shower curtain pattern
If you are also considering peel-and-stick wallpaper elsewhere, I tested how it holds up in humid bathrooms and what I do to help it survive: Peel-and-Stick Wallpaper in Small Bathrooms: Will It Survive Humidity?
Best pick by scenario
Tiny sink, big splashes
Pick peel-and-stick tiles. Fewer worries about a thin edge lifting right where the water hits.
Covering stains fast
Pick waterproof vinyl decals. They are faster to apply and usually easier to remove when you move.
Pedestal sink
You are working with limited counter space and a very visible wall area, so the backsplash becomes a focal point. Either can work, but I tend to choose a more statement finish here because it reads intentional. If you need extra ideas for making a pedestal sink functional without drilling, start here: Pedestal Sink Storage Ideas Renters Can Do.
Staying awhile
Pick peel-and-stick tiles for a more durable, high-end look that pays off over time.
My install steps
- Measure your backsplash zone (width and height), then sketch a quick layout so you minimize seams.
- If you have plates in the way, remove them so you can cut neatly and reinstall flush.
- Clean and alcohol-wipe the wall.
- Dry fit your pieces and mark a level line with painter’s tape.
- Start at the most visible center point behind the faucet, then work outward.
- Press firmly with a plastic smoothing tool or a clean cloth, especially along edges.
- Avoid water during the cure window. Follow the package instructions, which is often around 24 hours.
FAQ
Will temporary backsplash tiles damage rental walls?
They can, but they do not have to. Damage risk goes up with poorly cured paint, flaky old paint, heavily textured walls, and very aggressive removal. Testing a small piece first and using gentle heat during removal helps a lot.
Can I put peel-and-stick tiles over existing tile?
Often yes if the existing tile is clean and smooth, but grout lines can telegraph through thinner products. For the wall behind a bathroom sink, you will usually get the best look if you choose a thicker tile product and press well into grout channels.
Do waterproof decals get mold behind them?
Mold needs moisture plus something it can feed on, like dust or soap film. If water is getting behind a decal repeatedly, it can create a damp pocket. The fix is edge control: fewer seams, careful pressing, and sealing only where necessary in heavy splash zones.
A finishing touch
Once your backsplash is in, the easiest way to make it look intentional is to keep the counter “quiet.” One soap dispenser, one small tray, and a hand towel you actually love. If you are also trying to tame counter clutter, I have a full roundup of small-surface solutions here: Space-Saving Makeup Organization Ideas for Tiny Bathroom Counters.