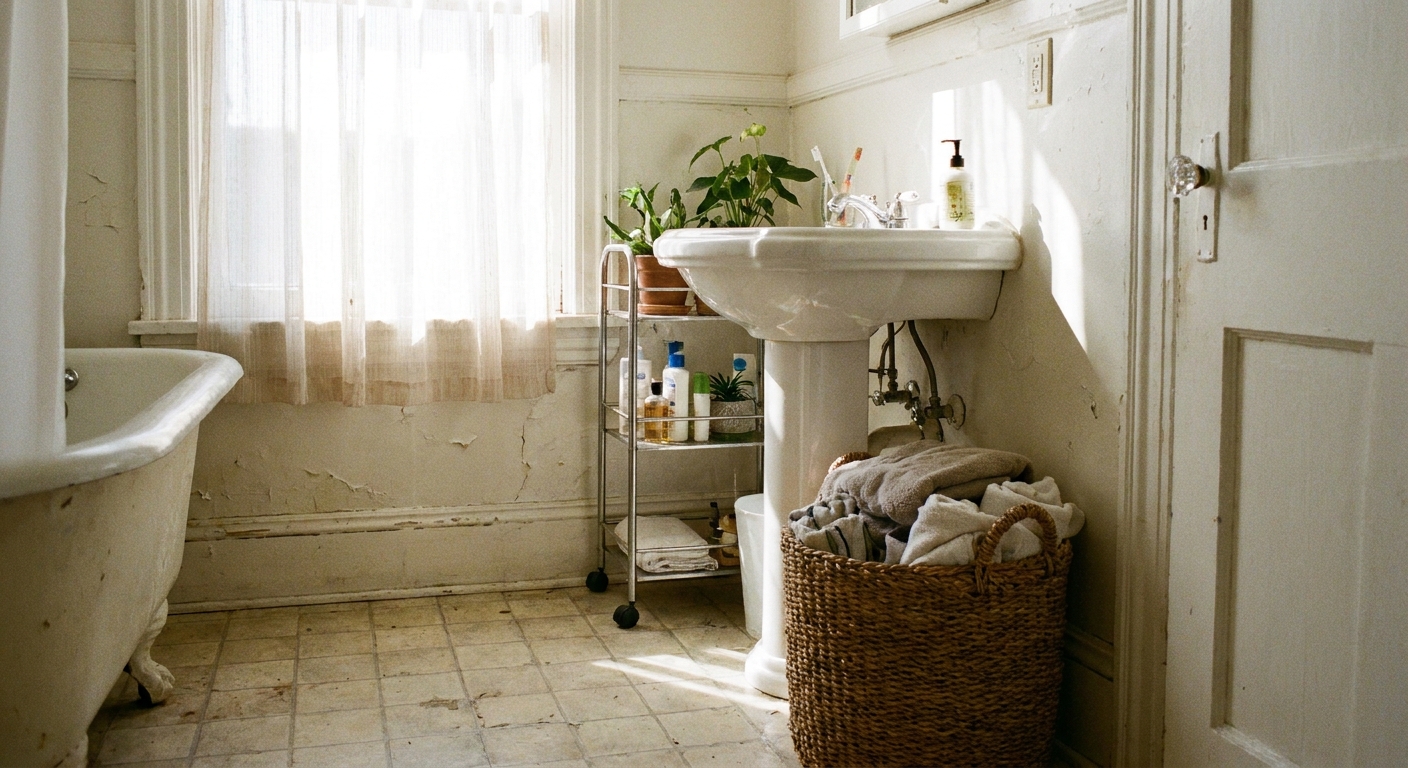
My first apartment bathroom had what I lovingly called “sad confetti” flooring: speckled vinyl that made the whole room feel dim, even after I swapped the lightbulb and hung a crisp shower curtain. I could not replace it, I could not paint it, and I definitely could not risk my deposit. What I could do was cover it with peel-and-stick vinyl floor tile, make it look intentional, and peel it up later.
This is the exact renter-friendly approach I use in tiny bathrooms where every visible surface matters. Done right, peel-and-stick tile can be a weekend glow-up with a move-out plan built in.
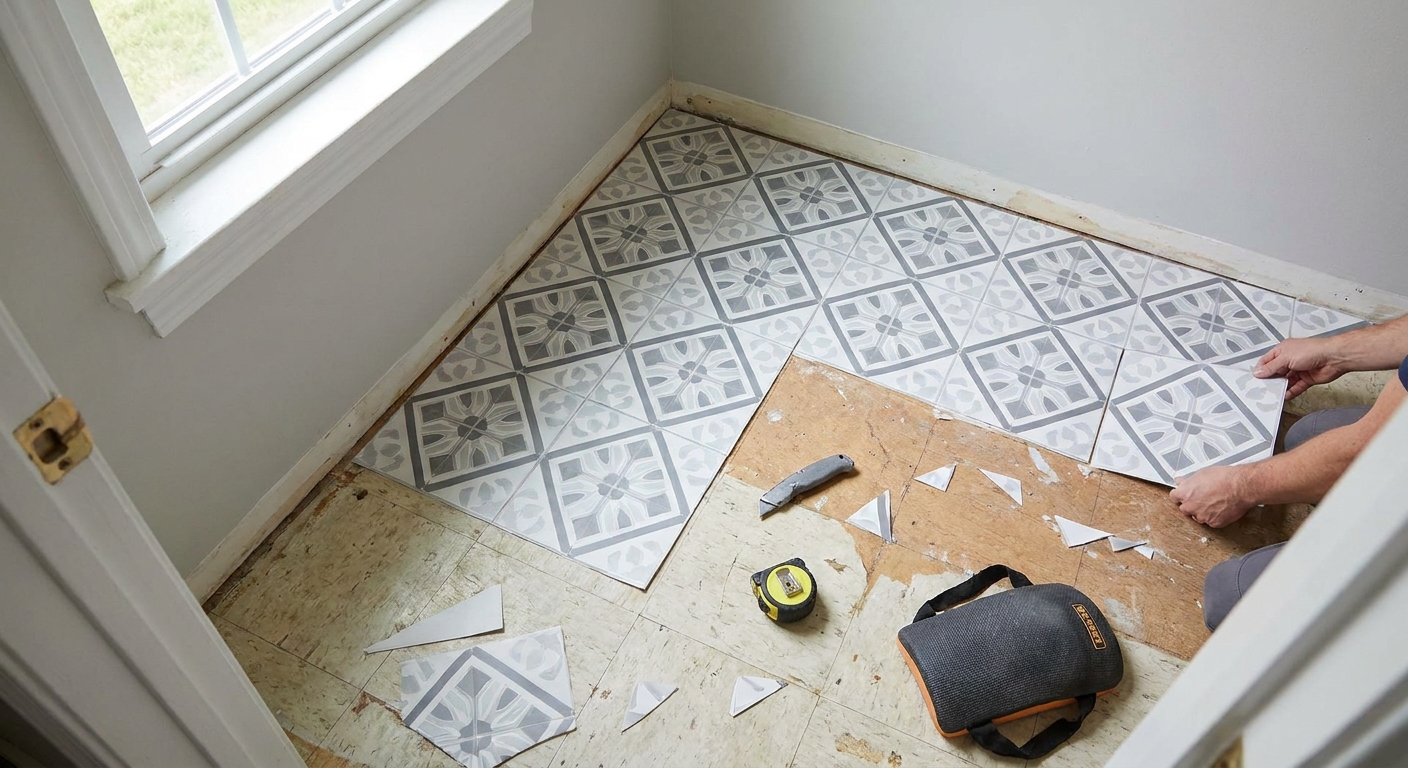
Is peel-and-stick tile renter safe?
Usually, yes, with one big caveat: you are covering someone else’s floor, so your goal is stable, removable, and moisture-smart, not “permanent renovation.” Peel-and-stick tiles are best when:
- The existing floor is in decent shape (not crumbling, actively peeling, or soft from water damage).
- You can prep thoroughly so the tiles bond evenly (no trapped grit, oils, or floor wax).
- You plan your removal from day one, especially if you are installing over older vinyl or textured ceramic.
Before you buy: take 30 seconds to skim your lease. Some rentals forbid adhesive coverings or require written approval for “alterations,” even temporary ones.
If your rental has very old sheet vinyl (especially pre-1990), avoid sanding, aggressive scraping, or heat tools. Older flooring and adhesives can contain asbestos, and the safest move is to not disturb questionable materials. When in doubt, keep prep gentle (cleaning and degreasing only) and ask your landlord or a licensed pro what is appropriate for your building.
Where it works (and where it does not)
Best surfaces
- Flat sheet vinyl or linoleum: Ideal because it is smooth and usually level.
- Sealed, smooth ceramic: Works well if grout lines are shallow and the surface is very clean.
- Concrete: Can work if it is fully cured, clean, and not dusty. In bathrooms on slabs, moisture vapor can be an issue, so skip this if your floor is chronically damp or you see recurring condensation.
Use caution or skip
- Deep grout lines or textured tile: Tiles can telegraph the pattern and eventually lift at edges.
- Peeling, bubbled, or cushy sheet vinyl: Your new tile will only be as stable as what is underneath.
- Floors that are regularly soaked (kids’ bath time splash zone, leaky toilet base, etc.): Fix leaks first.
- Soft or spongy floors: Peel-and-stick does not fix rot. If it feels squishy, stop and report it.
What to buy (my renter-friendly list)
- Peel-and-stick vinyl floor tiles: Look for language like “water resistant” and, even better, “suitable for bathrooms.” Most vinyl peel-and-stick tiles are water resistant on the surface, but not all are rated for wet areas, so check the box.
- Painter’s tape (optional for layout mapping)
- Measuring tape and straightedge
- Utility knife with fresh blades
- Speed square or carpenter’s square (helps keep cuts crisp)
- Heavy-duty cleaner or degreaser that leaves no residue
- Microfiber cloths
- Floor roller or a rolling pin (even a clean wine bottle can help in a pinch)
- 100% silicone caulk in clear or white (for water-prone edges)
If your bathroom is truly tiny, you might also love my favorite damage-free wall storage hacks for rented bathrooms to keep counters clear while you work.
Step by step install
1) Start with a clean, empty room
Pull out the trash can, hamper, and floor mats. Clear around the toilet base and any toilet bolt caps. If your sink has a pedestal, clear around that footprint too. You want full access to edges.
2) Let the tiles acclimate
This step prevents a lot of annoying edge lift later. Stack the tiles flat in the bathroom (or nearby) for about 24 hours so they come to room temperature.
3) Clean like you are about to paint
Most peel-and-stick tile failures are not “bad tile,” they are dirty floors. Bathrooms collect hair spray, body oil, soap residue, and cleaning product buildup.
- Wash thoroughly with a degreasing cleaner.
- Rinse if your cleaner requires it.
- Dry completely.
Important: avoid leaving behind oily “shine” products or waxes. Adhesive hates that.
4) Check for movement and obvious problems
Press around the floor with your foot. If something flexes, squeaks, or feels hollow, peel-and-stick tile will not magically stabilize it. Tighten what you can (like a wobbly toilet seat or a loose transition strip) and report bigger issues to your landlord.
5) Dry fit and plan your cuts
This is where you make it look high-end instead of “DIY patch job.”
- Pick your starting line: In tiny baths, I usually start along the longest, straightest visible edge (often the tub front) because that is what your eye reads first.
- Use a straight reference: Walls are not always square. Use painter’s tape to create a straight guide line and build off that, even if the wall is a little wonky.
- Avoid slivers: If your layout creates 1-inch tiles at the far edge, shift your starting line so cuts look balanced on both sides.
- Stagger seams if your tile design calls for it (many look best in a brick pattern).
Quick tiny-bathroom reality check: open the door and confirm you have clearance. Peel-and-stick tile is thin, but in a tight door swing, every millimeter counts.
6) Stick, press, and roll as you go
Work one tile at a time.
- Peel back a portion of the backing (not always the whole thing at once).
- Set the tile down lightly so you can adjust.
- Once aligned, press firmly from the center out to push out air.
- Roll it with a floor roller or rolling pin to set the adhesive evenly.
In a bathroom, I like to re-roll the entire floor when I am done. It is oddly satisfying and it helps prevent edge lift later.
7) Cut around curves and tight spots
- Around the toilet base: Use a paper template first (even a grocery bag works). Trace, test fit, then transfer the shape to the tile.
- Along a tub curve: Scribe gently by marking small points, then connect them into a smooth line for cutting.
- Doorways: Leave a clean edge. If your rental already has a threshold piece, cut neatly to it. If not, a straight, clean cut usually looks best and stays most removable.
8) Seal the splash zones (optional)
Most vinyl peel-and-stick tiles are water resistant on the surface, but bathrooms are edge-and-seam environments. If you want maximum longevity in a rental, run a very thin bead of 100% silicone where water tends to creep:
- Along the tub front edge where drips land
- Along the vanity toe-kick line if splashes are common
- Around the toilet base only if you keep it minimal and neat
If you do caulk around the toilet, consider leaving a small gap at the back so a leak has a place to show itself instead of being trapped. When in doubt, follow your building’s maintenance guidance.
Keep caulk minimal so removal later is not a battle. You are sealing splashes, not gluing down the floor forever.
Make it look intentional
Small bathrooms magnify every little mismatch. A few styling moves make peel-and-stick tile look like it belongs:
- Match undertones: If your shower curtain is warm white, choose a tile with warmer grout lines.
- Go slightly larger pattern: Tiny mosaics can feel busy in tiny rooms. A simple stone look, classic checker, or subtle geometric reads cleaner.
- Use one calm bath mat: Let the new floor show. If you need towel and mat solutions for tight layouts, see where to hang wet towels in a small bathroom with no wall space.
How to remove it cleanly
This is the part renters worry about, and honestly, it is worth thinking through before you install.
Test one tile first
If you still have an extra tile, stick it somewhere hidden for a few days (behind the toilet, beside the vanity) and peel it up. If it pulls up finish, leaves heavy adhesive, or seems to bond aggressively, switch methods or choose a different product.
Removal steps
- Warm the room: Adhesive releases more easily in a warm space. Run the heat, or remove on a warmer day.
- Lift slowly at a corner: Use your fingers first. If needed, use a plastic putty knife, not metal, to avoid gouges.
- Pull low and steady: Keep the tile close to the floor as you pull instead of yanking up.
- Handle residue gently: Start with warm soapy water. If adhesive remains, use a small amount of a citrus-based adhesive remover on a cloth and spot test in an inconspicuous area first.
- Finish with a neutral cleaner: Remove any remover residue so the original floor does not look smeary.
If you sealed edges with silicone, slice the bead carefully with a utility knife first, then peel it away slowly.
Common problems (and fixes)
Edges lifting
- Cause: Dust, moisture, temperature swings, or not enough pressure during install.
- Fix: Clean and dry the edge, press firmly, and re-roll. In a persistent splash zone, a tiny bead of clear silicone at the edge can help.
Bubbles or soft spots
- Cause: Debris underneath or uneven old flooring.
- Fix: If it is early, lift and reset. If the tile is creased, replace it. Always keep a few extras.
Pattern looks crooked
- Cause: Starting from a crooked wall or rushing the first row.
- Fix: The first row is everything. Use a straight tape line as your reference and build off that, even if the wall is off.
Moisture under tiles near the tub
- Cause: Constant splashing, dripping bath mats, high humidity, or a slow plumbing leak.
- Fix: Fix the leak first. Then dry fully and consider sealing the tub edge line with a minimal silicone bead. If your bathroom stays damp no matter what, peel-and-stick might not be the best long-term solution.
If peel-and-stick is not right
Sometimes the existing surface is too textured or too precious to risk. In that case, these renter-friendly alternatives can still hide ugly floors:
- Washable floor cloths or vinyl mats: Great for covering a lot with zero adhesive.
- Interlocking waterproof floor tiles (floating, not adhesive): Useful in some layouts, but watch door clearance in tiny baths.
- Strategic textiles: One long runner-style bath mat can visually “re-floor” a narrow bathroom if it fits safely.
And if your real pain point is what the bathroom looks like when storage is out, not the floor itself, start with over-the-toilet storage that will not look cluttered to calm the whole room.
Quick FAQ
Will peel-and-stick tile ruin linoleum?
It can if the linoleum is old, fragile, or coated in waxy products that interact badly with adhesive. Clean thoroughly, avoid harsh scraping, and always do a small test tile in a hidden spot.
Can I put it over ceramic with grout lines?
You can if grout lines are shallow and the tile surface is smooth and well-cleaned. Deep grout lines tend to telegraph through and can lead to lifting at the edges over time.
Is it okay around a toilet?
Yes, as long as the toilet is not leaking and you cut neatly. If you notice rocking or moisture at the base, stop and address that issue first.
How long will it last?
In a low-moisture, well-ventilated bathroom with good prep, it can look great for years. In a splash-heavy bath, expect more maintenance at edges and seams. The better you clean and roll during install, the longer it behaves.
Final renter pep talk
Ugly floors can make even the cutest shower curtain feel pointless, especially in a bathroom the size of a closet. Peel-and-stick tile is one of my favorite fixes because it is visual impact per square foot, and small bathrooms do not require much material.
Take your time with the first row, keep water in mind, and save a handful of extra tiles for future touch-ups. Your future move-out self will thank you.