The first time I tried wrapping a bathroom vanity, I was living in a vintage apartment with a sink cabinet that looked like it had survived three roommates, a leaky toothbrush cup, and at least one hair-dye incident. Replacing it was not an option (hello, deposit), but looking at it every morning was slowly stealing my joy.
Enter heat-applied vinyl contact paper: a renter-friendly trick that can make a dated countertop and tired cabinet look surprisingly expensive, and it often peels off later if you do it the right way. I will show you exactly how I wrap a vanity for a water-resistant, wipeable finish that holds up to real life, plus the few situations where I slow down and test first.
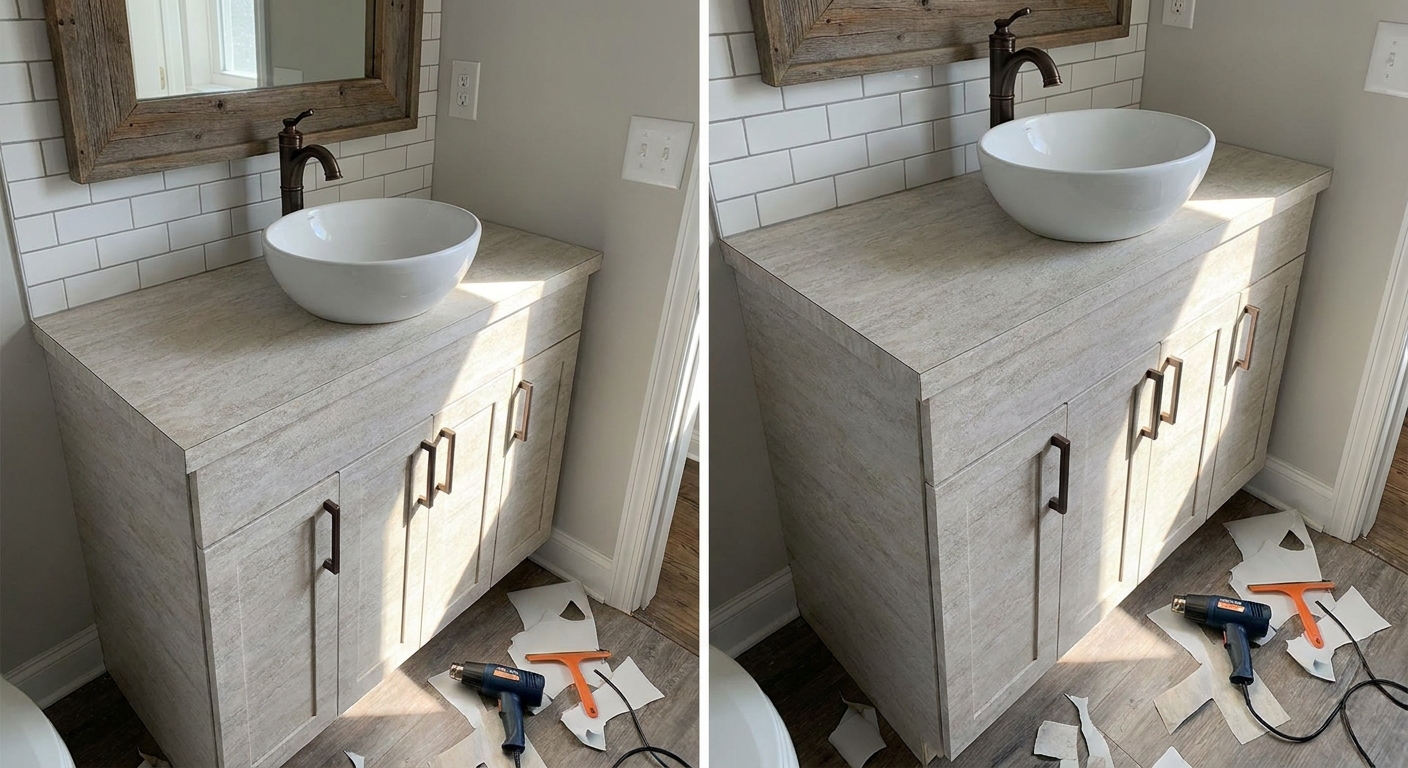
Is contact paper waterproof?
Most vinyl contact paper is water-resistant, not magically waterproof. That is still enough for a bathroom vanity as long as you:
- Seal every seam and edge where water likes to creep in (around the sink cutout, backsplash line, and front edge).
- Use heat (a hair dryer or heat gun on low) to help the vinyl conform and bond smoothly.
- Keep standing water off it. Wipe puddles, do not let wet toothbrush cups sit for days, and fix drips.
If your countertop is actively swelling, crumbling, or has an ongoing leak, wrapping is a bandage, not a cure. Fix moisture first, then wrap.
What to wrap (and what not to)
Great candidates
- Laminate countertops in good condition
- Cultured marble (smooth, glossy surfaces can wrap beautifully, but degrease thoroughly and test first because soap and conditioner buildup can affect adhesion)
- Flat cabinet doors and vanity sides
- Thermofoil or painted wood that is clean and not peeling
Avoid these unless you are okay with extra-temporary
- Raw, porous wood (vinyl has trouble sticking long-term)
- Cracked tile countertops (grout lines telegraph through)
- Flaking paint (the wrap will lift with the loose paint)
- Heavy texture (orange peel, deep wood grain) unless you choose a thick architectural vinyl designed to hide texture
Tools and materials
- Vinyl contact paper (I look for thicker, bathroom-safe vinyl; matte finishes hide little imperfections best)
- Hair dryer (works great) or a heat gun on low (use the lowest setting and keep it moving)
- Plastic squeegee or an old gift card wrapped in a microfiber cloth
- Fresh utility blade (fresh blade is non-negotiable for clean cuts)
- Scissors for rough trimming
- Measuring tape
- Painter’s tape (for planning seams and holding pieces in place)
- Rubbing alcohol and lint-free cloths
- Optional but strongly recommended: clear silicone caulk (kitchen and bath) for the sink edge and backsplash seam
Quick trade-off note: Silicone helps block water, but it can make move-out removal more fiddly (and may pull or tear vinyl if you are not careful). If you want the easiest possible peel-off later, you can skip silicone and be extra diligent about wiping water, but expect edges near the sink to be more vulnerable.
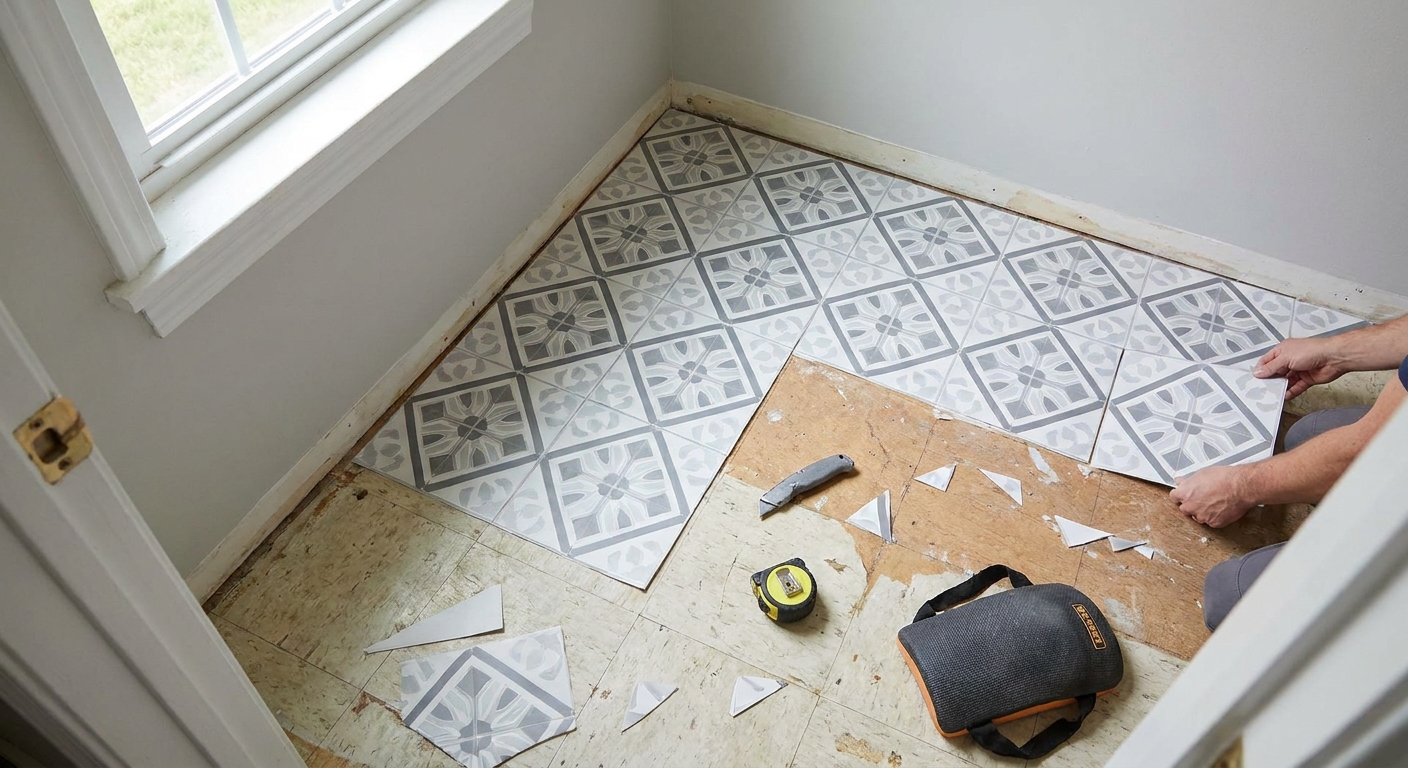
If you are also giving your bathroom a full budget refresh, you might like my step-by-step on covering ugly bathroom floors with peel-and-stick tile. It pairs so well with a wrapped vanity.
Pick the right vinyl
Thickness matters
Thin drawer-liner style contact paper is fine for shelves, but it can look wavy on countertops and show every bump. For vanities, I prefer thicker vinyl, often sold as:
- “Peel-and-stick vinyl”
- “Countertop film”
- “Architectural vinyl”
Finish tips for tiny bathrooms
- Matte: most forgiving, hides water spots and texture
- Satin: looks upscale, still practical
- Glossy: pretty but shows every droplet and bump
- Marble patterns: choose subtle veining for a small space so it does not feel busy
Adhesive and removability
Most quality vinyl often removes cleanly from sealed, smooth surfaces. It is not a guarantee. Residue and finish pull-up are more likely on older, sun-baked laminate, low-quality paint, damaged thermofoil, or any surface that is already lifting or peeling. When in doubt, test a small hidden spot inside the vanity door for a week (and include a splash zone area if you can).
Prep matters
Step 1: Clear and de-gunk
Empty the vanity top. Remove soap dispensers, toothbrush holders, and anything that traps moisture. If you are wrapping cabinet fronts, take off hardware if possible.
Step 2: Clean with degreaser, then alcohol
Bathrooms are sneaky greasy. Clean first with a gentle degreaser or dish soap solution, rinse, dry, then wipe the surface with rubbing alcohol to remove residue. Let it fully dry.
Step 3: Smooth what you can
- Scrape off old caulk blobs.
- Lightly sand raised chips (do not sand through laminate, just knock down edges).
- If you have tiny nicks, a little filler can help, but keep it smooth.
Step 4: Decide your seam plan
On a small vanity top, one piece is ideal. On longer tops, I would rather have one intentional seam in a low-visibility spot than a patchwork of tiny pieces.
Before you start: check your sink type
This method is easiest with a drop-in sink (a rim that sits on top of the counter) because you can tuck vinyl under the lip. If you have an undermount sink, the inside edge is exposed to more water and wrapping it neatly is harder. I would either skip wrapping the countertop (do doors only), or use a true countertop film, go slowly, and plan on very careful sealing and maintenance.
Lease note: This is meant to be cosmetic and reversible, but leases vary. If your landlord is strict about alterations, especially anything involving caulk, ask first.
How to wrap the countertop
This is the method I use when I want it to look like a real countertop, not a craft project.
1) Measure and cut with extra
Measure length and depth, then cut the vinyl with at least 1 to 2 inches extra on every edge. Extra gives you control.
2) Dry fit and tape it in place
Lay the vinyl on the counter (backing still on) and check pattern placement. Use small pieces of painter’s tape to mark where the sink cutout will land.
3) Apply slowly, smoothing as you go
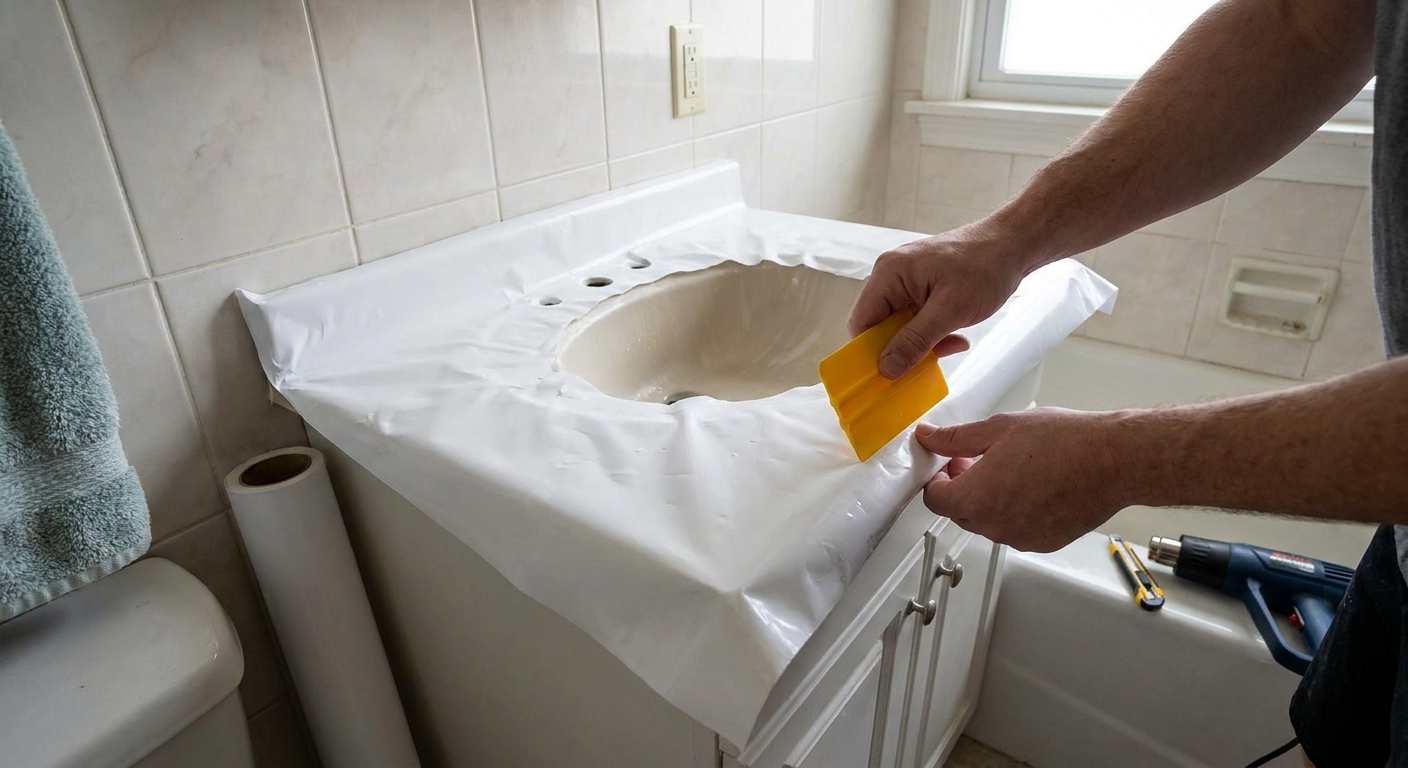
Peel back a few inches of the backing and tack the vinyl down at one end. Work in sections: peel a little, smooth a little. Keep the squeegee strokes overlapping to push air out.
4) Use heat on corners and the front edge
Warm the vinyl with a hair dryer until it becomes more flexible, then press it over the front edge.
- Do not overheat: keep heat moving, use the lowest setting, and stop if you smell anything or see the vinyl getting shiny or shrinking.
- Do not overstretch: you want the vinyl to relax and conform, not get pulled tight. Too much stretching can shrink back later and lift edges.
5) Cut the sink opening last
Once the top is smooth, find the sink opening by pressing lightly around the inner edge. Then:
- Make an X-shaped cut in the center of the sink area.
- Cut from the center outward toward the corners, stopping short of the edge.
- Fold the flaps down into the sink opening and apply heat to help them conform.
- Trim along the inner lip with a fresh blade, leaving enough vinyl to wrap slightly under the sink rim if there is one.
6) Seal water entry points
If you want the wrap to survive daily splashes, sealing is the difference-maker.
- Around the sink rim: Apply a thin bead of clear kitchen-and-bath silicone where the sink meets the countertop. Smooth it neatly.
- Back edge: If your countertop meets a backsplash or wall, seal that seam too.
Let silicone cure per the label before getting it wet.
How to wrap cabinet doors
Wrapping doors is easier than countertops, and it makes the whole vanity look brand new even if you only do the exterior.
1) Remove hardware (if you can)
Knobs and pulls come off in minutes and make the wrap look so much cleaner. Put the screws in a cup so you do not lose them.
2) Clean, then dry
Same rule: degrease, then alcohol wipe. Let dry completely.
3) Cut each piece oversized
For cabinet doors, I like to cut a piece that wraps around the edges by at least 1/2 inch on all sides.
4) Wrap the face first, then edges
Apply the vinyl to the flat front, smooth it perfectly, then use gentle heat and wrap the edges one at a time. Trim corners with small diagonal relief cuts so you do not get bulky overlap.
5) Reinstall hardware carefully
Poke a tiny hole from the back with the tip of your blade or a pin, then widen only as needed. Tighten hardware gently. Over-tightening can wrinkle the vinyl.
If your bathroom is short on storage (aren’t they all), take a peek at my hidden storage ideas for the back of your bathroom door. It is one of my favorite ways to add function without adding visual clutter.
What about the inside?
I usually line the interior bottom shelf because it takes the most abuse from bottles and cleaning products. For interiors, you can use thinner contact paper if you want to save money, but still prep and smooth it well.
If you are doing a full reset, I also have a full guide to decluttering and organizing your medicine cabinet so you are not just hiding chaos behind prettier doors.
Common mistakes
Bubbles
- Small bubbles: warm with a hair dryer and smooth outward.
- Stubborn bubbles: prick with a pin, warm, then press flat.
Wrinkles at corners
Use heat, lift gently, and re-lay. If it is too bunched, make a tiny relief cut and overlap neatly on the least-visible side.
Edges lifting near the sink
This is usually moisture, overstretching, or not enough pressure at the edge. Dry the area completely, re-press with gentle heat, and if you are comfortable with the trade-off, seal the edge with a very neat bead of clear silicone.
Pattern looks crooked
This happens most with marble veining. Dry fit longer than you think you need. If you notice it early, lift and realign. If you notice it after sealing, you may need to rewrap that panel.
How long will it last?
In my experience, a well-prepped, heat-applied wrap can look great for about 1 to 3+ years on a bathroom vanity, but it is extremely dependent on the vinyl quality, how wet your sink area stays, and whether seams are sealed and maintained. Thicker countertop film plus good habits (wipe water, gentle cleaning) is what gets you to the longer end of that range.
The top killers are:
- Standing water along seams
- Harsh cleaners (especially abrasives)
- Heat from hair tools placed directly on the surface
Cleaning rules
For daily care, I stick to gentle soap and water or a mild all-purpose cleaner and a soft cloth.
- Avoid abrasive powders and scrub pads.
- Avoid acetone and nail polish remover (they can damage or haze vinyl).
- Go easy on bleach or ammonia, especially at seams, since some vinyls can discolor or start lifting.
- Use heat tools on a mat. Vinyl and hot curling irons are not friends.
How to remove it at move-out
- Warm it first with a hair dryer. Warm adhesive releases more cleanly.
- Peel slowly at a low angle (pulling back on itself, not straight up).
- Remove residue with rubbing alcohol and a soft cloth. If alcohol is not cutting it, a small amount of a gentle adhesive remover can help. Always spot-test first, especially on older laminate.
- If you used silicone, slice it carefully with a blade and peel it away. Go slow so you do not scratch the countertop or tear the vinyl into confetti.
Mini FAQ
Can I wrap over laminate?
Yes, as long as the laminate is still well-bonded and smooth. Clean thoroughly and pay extra attention to sealing or protecting edges around the sink.
Will it ruin my vanity?
On sealed, smooth surfaces, it often removes cleanly. It is most likely to pull damage where paint is already peeling, where thermofoil is failing, or where the surface is raw and porous. Testing first is worth it.
Do I need special countertop vinyl?
You do not strictly need it, but thicker vinyl is easier to apply neatly and tends to look more like a real surface in a small bathroom with bright lighting.
Is heat really necessary?
For countertops and wrapped edges, yes. Heat helps the vinyl relax, conform, and stick down along curves and corners. Keep it on low and keep it moving.
Make it look intentional
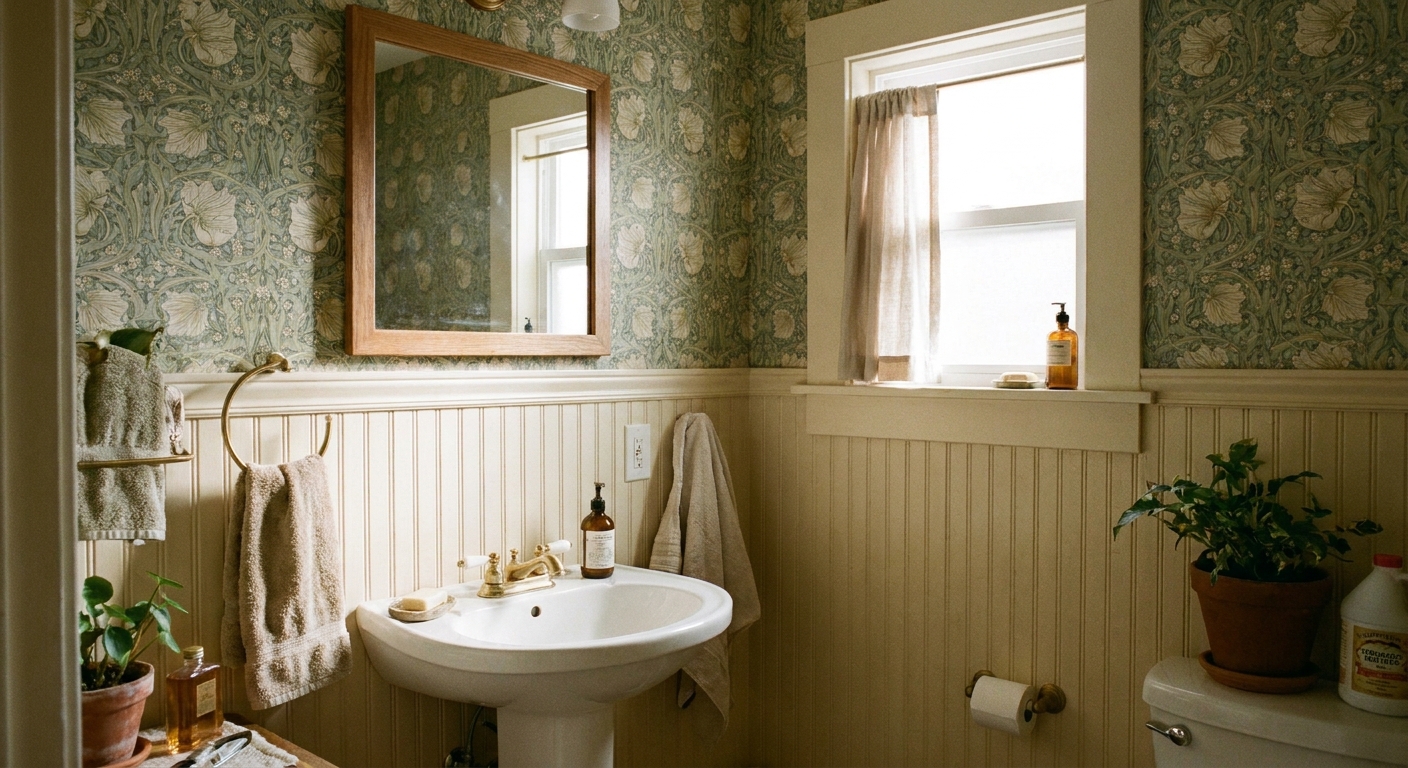
Once your vanity is wrapped, swap in a simple hand towel, a matching soap dispenser, and one small tray to corral daily items. That little contained moment makes even a tiny bathroom feel calmer and more styled.
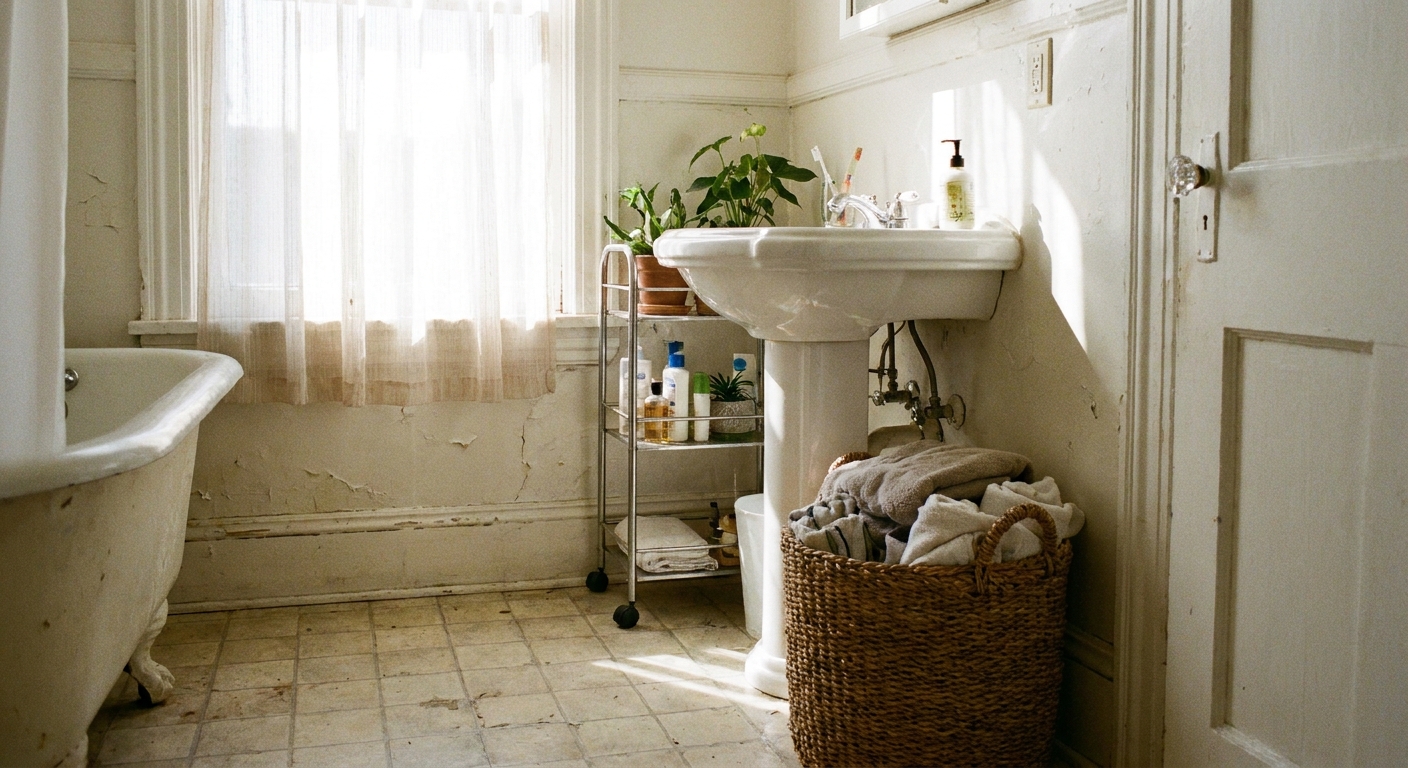
And if your vanity is a pedestal sink with zero storage, you are not out of luck. I rounded up my best pedestal sink storage ideas renters can do, because I have lived that no-drawer life and I refuse to go back.