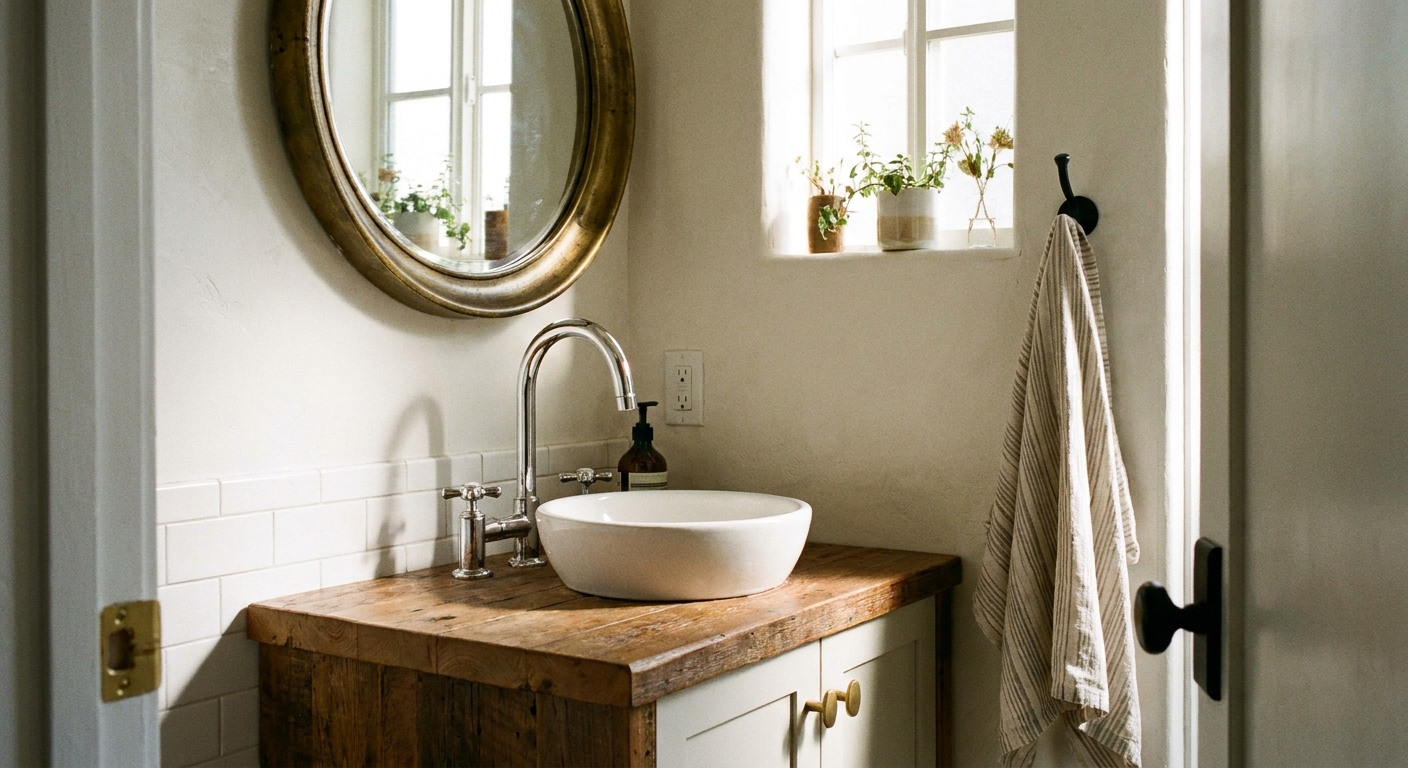
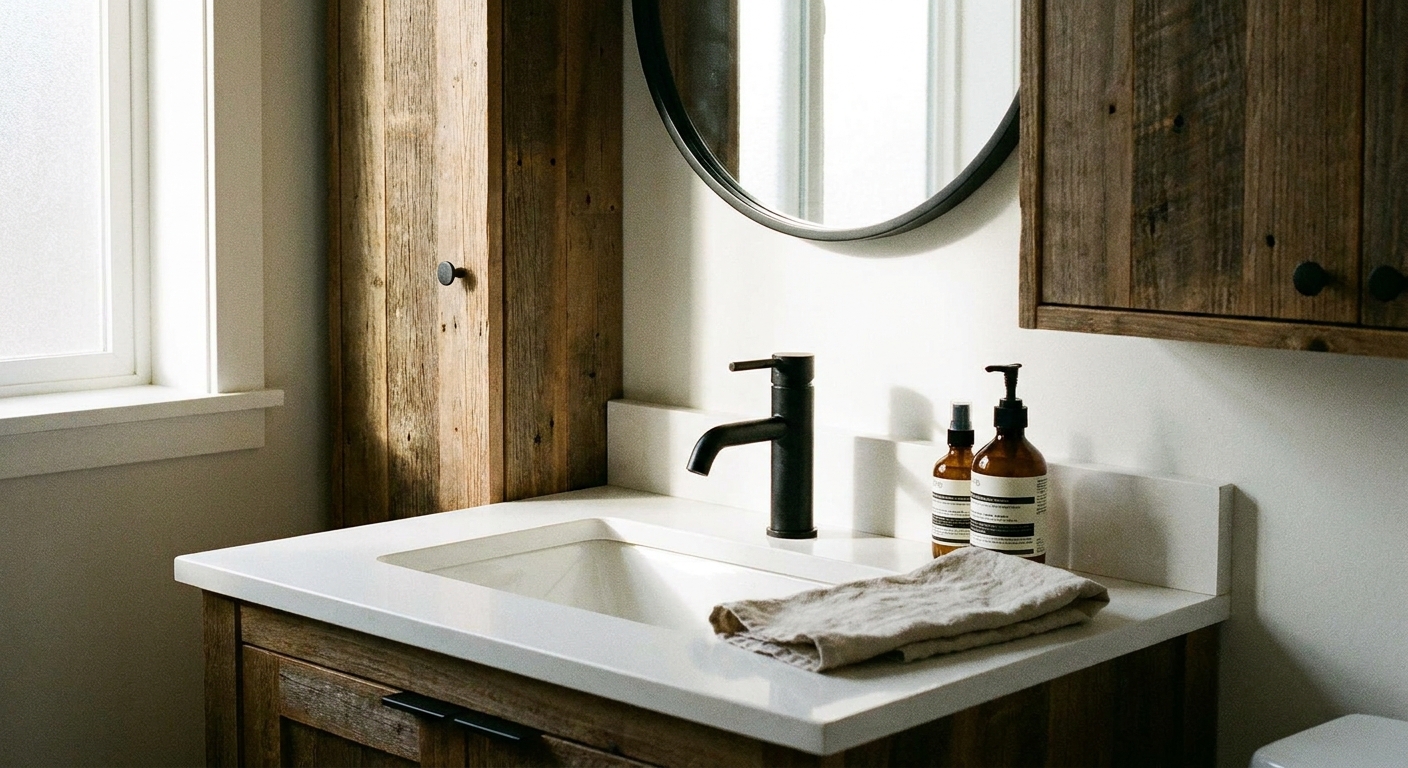
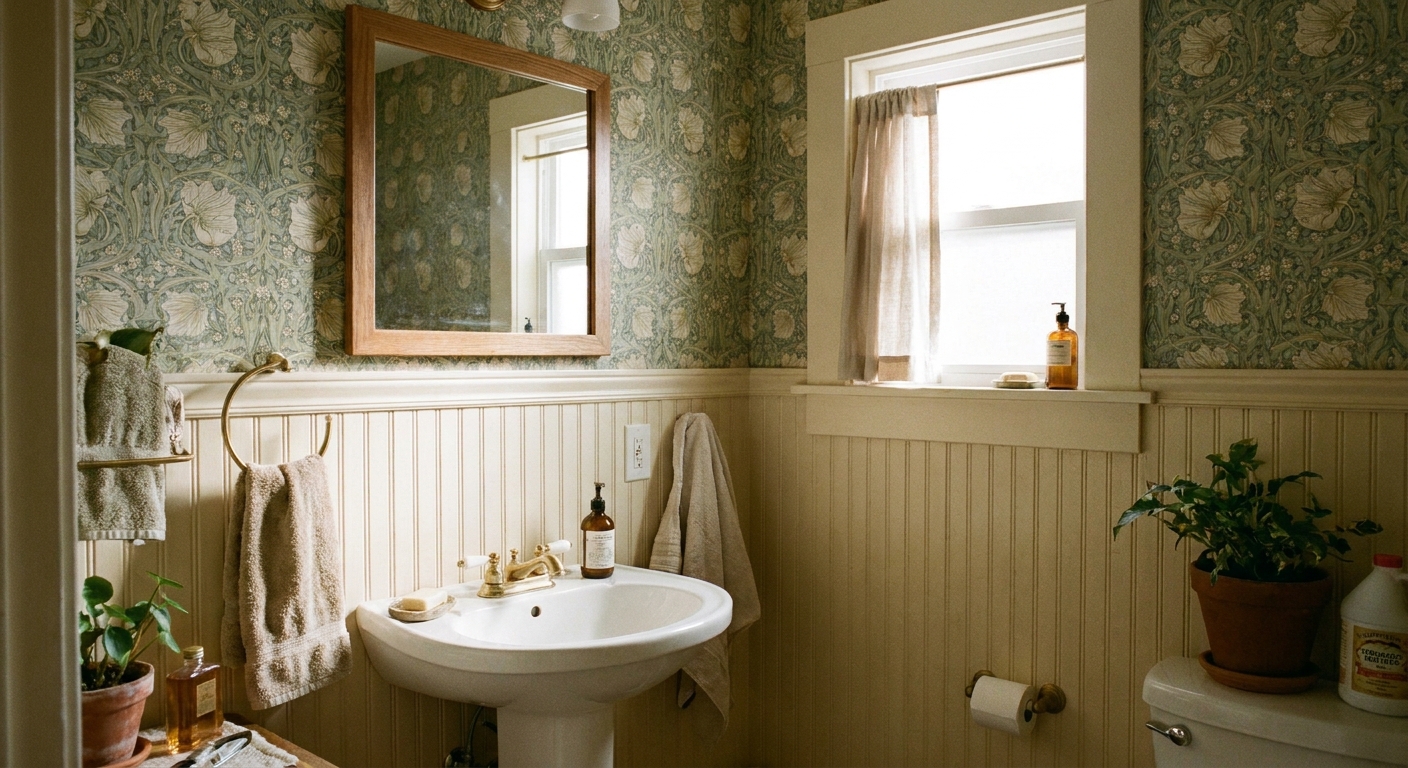
My very first rental bathroom had what I call the “landlord special” vanity: flimsy knobs, wobbly pulls, and a finish that looked tired even when it was clean. The good news is hardware is one of the fastest, most reversible ways to make a cheap vanity feel intentional, even in a tiny bathroom where every detail is in your face.
Below are five truly renter-friendly ways to upgrade cabinet knobs and pulls, including how to measure correctly and how I store the originals so move-out is painless.
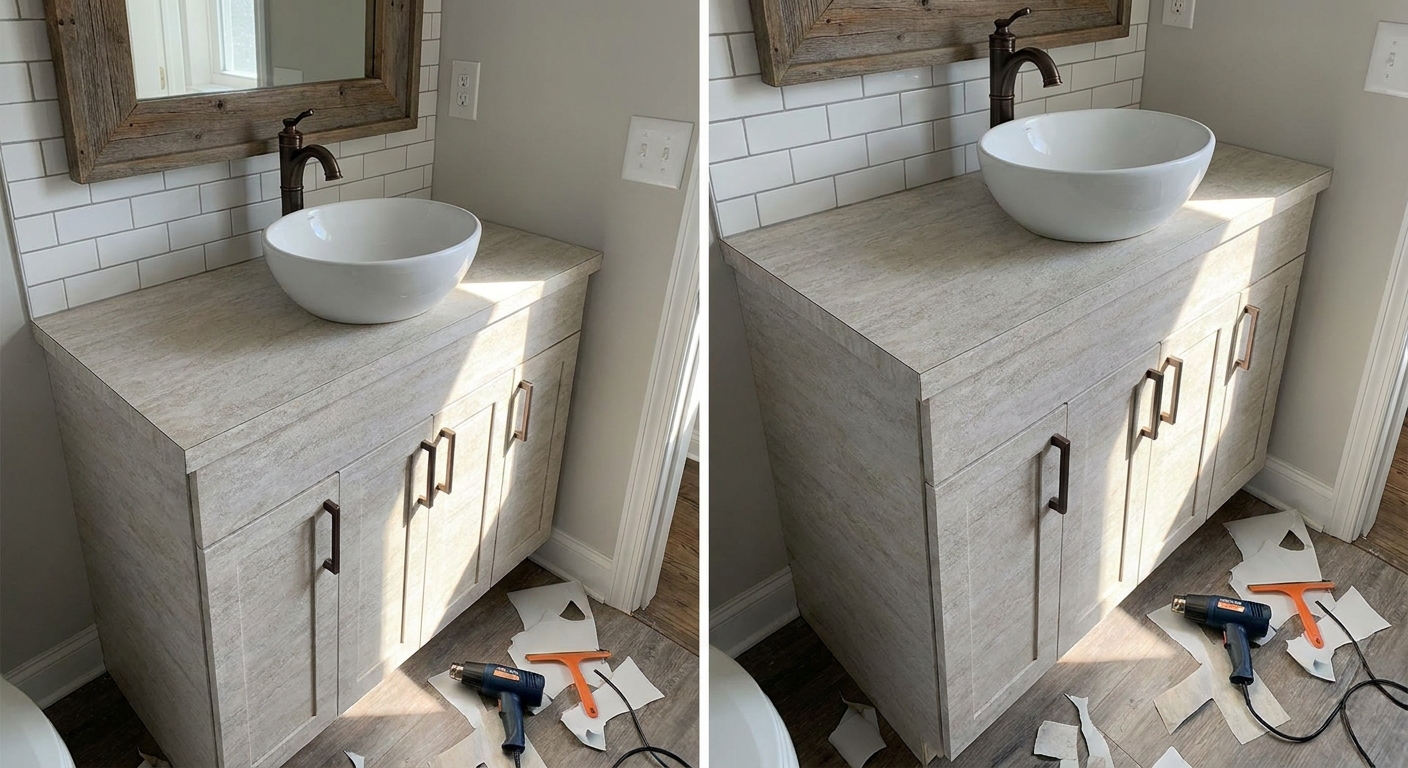
Before you start: measure once
If you do one thing before clicking “add to cart,” make it this. Most hardware frustration comes from ordering the wrong size.
Knobs
- Knobs are easy: they use one screw. If your doors have one hole, you can swap knobs freely.
- Check screw length: door and drawer fronts vary in thickness. Some knobs and pulls include breakaway (snap-off) screws you can shorten, but not all do, so double-check what comes in the box.
Pulls (handle style)
- Measure the center-to-center spacing: remove one pull and measure from the middle of one screw hole to the middle of the other. Common sizes are 3 inches (76.2 mm, often listed as 76 mm), 3 3/4 inches (96 mm), and 5 1/16 inches (128 mm).
- Do not measure the full length of the pull: product listings usually show hole spacing (center-to-center), not the end-to-end length.
- Bring one pull with you if you are shopping in person. It saves so much time.
If you want different spacing
You can absolutely change spacing, but that becomes a patch-and-paint project. In a rental, I treat that as a last resort. The options below keep things reversible.
1) Swap hardware (same holes)
This is the classic upgrade for a reason: it reads like a renovation with about ten minutes of effort.
What to look for in a small bathroom
- Slim profiles that do not snag towels or your hip in a tight walkway.
- Finishes that hide fingerprints: satin nickel, brushed brass, matte black, or oil-rubbed bronze.
- Rust-resistant materials if your bathroom is steamy. Solid brass, stainless steel, and zinc alloy tend to hold up better than ultra-thin plated pieces.
- Easy grip with wet hands: if your hands are often wet or you are rushing, a slightly longer pull or a D-pull is usually easier than a tiny knob.
How to do it without damage
- Put a strip of painter’s tape above and below the hardware area to protect the finish while you work.
- Use a hand screwdriver for the last few turns. Power drills can slip and chip paint in a heartbeat.
- If a screw spins but will not tighten, add a tiny washer or swap to a slightly shorter screw so it bites properly.
- If your doors are MDF or particleboard, stop as soon as things feel snug. Overtightening can strip the hole fast.
If you are doing other deposit-safe swaps, you might also like my guide to swapping your showerhead without losing your deposit.
2) Refresh the finish with metallic wax
If the hardware shape is fine but the finish screams 2003, a rub-on metallic wax (often sold for frames and craft projects) can make it look shockingly high-end. It can also be easier to undo than spray paint, but durability and removability vary by brand and surface, so test first.
Best for
- Solid-feeling knobs and pulls that just look dated
- Trying a warm brass vibe without committing to new hardware
How I do it
- Remove the hardware and wash with dish soap, then dry completely.
- Rub a small amount of wax on with a soft cloth or glove, working in thin layers.
- Buff after it hazes. Two thin coats look more believable than one thick coat.
How to keep it renter-friendly
Do not apply wax directly onto the vanity doors or drawer fronts. Keep it on the metal only, and let it cure before reinstalling. If you ever need to reverse it, many wax finishes will lift with gentle polishing and a mild solvent, but test on the back first and follow the product directions.
3) Add backplates (no drilling)
Sometimes the vanity finish is the real issue, not the knob. Cheap vanities often show a “halo” of worn paint around the knob area, especially on the most-used door.
A backplate is a thin decorative plate that sits between the hardware and the door. Many are designed to use the same screw and hole you already have, so it is a visual fix that can also hide tiny chips.
Why I love this in rentals
- Covers existing wear without patching
- Stabilizes wiggly knobs on flimsy doors
- Adds style even if you keep the same knobs
Pro tip for tiny bathrooms
Choose simpler backplates if your bathroom already has a lot going on visually. In small spaces, one “extra” detail can read cluttered fast.
4) Tighten and level (free)
This sounds almost too basic, but it changes the whole feel. Loose hardware makes a vanity feel cheap, even if the pieces are decent.
My quick checklist
- Align pulls: loosen slightly, level by eye (or with a small torpedo level), then tighten evenly.
- Stop the spin: if a knob twists when you open the door, add a thin rubber washer between the knob and the door.
- Fix sticky drawers: sometimes the “hardware problem” is actually a misaligned drawer front. Tighten drawer front screws from the inside if accessible.
If you are also trying to make the inside feel less chaotic, my favorite tiny-vanity trick is using simple bins. See how to organize deep vanity drawers with dollar store bins.
5) Try temporary pulls (no holes)
If you hate the look of the current hardware but you cannot or do not want to remove it, you can add temporary, removable “helper” pulls that make drawers easier to grab and visually distract from cheap knobs.
Options that can work in rentals
- Over-the-edge drawer pulls that hook over the top of the drawer front. These are common in kitchens and can work on bathroom drawers too, as long as the drawer gap allows it.
- Adhesive pulls designed for temporary use. Choose ones made for smooth surfaces and follow removal instructions carefully.
- Leather or faux-leather tab pulls that attach using existing knob screws. If you have one-hole knobs, you can often replace the knob with a tab pull using the same hole.
A renter-friendly warning
Be cautious with anything adhesive in a humid bathroom. Heat and steam can make some adhesives loosen over time, while others can bond stubbornly. Test one in a low-stakes spot first, and avoid placing adhesive pulls on peeling paint or damaged laminate.
Store the original hardware
This is the part future-you will thank you for. I always assume I will forget which screw goes where unless I make it obvious.
- Bag it by location: “Left door,” “Top drawer,” and so on. Small zip-top bags are perfect.
- Tape the screws to the hardware inside the bag so nothing gets mixed up.
- Label the bag clearly and place all the bags in a small box.
- Store the box somewhere boring you will not accidentally donate, like your cleaning caddy or the back of a linen bin.
If you need more deposit-safe storage ideas while you are at it, I rounded up my favorites in 7 damage-free wall storage hacks for rented bathrooms.
Quick FAQ
Do I need permission to change cabinet hardware?
Many leases allow “minor cosmetic changes” if you return things to original condition, but every landlord is different. If your lease is strict, ask first. If you cannot get an answer, stick with options that use existing holes and are easy to reverse.
What if my screws are stripped or holes are too big?
Try a slightly larger diameter screw first, or add a small washer. If the hole is wallowed out in a wood door, the classic fix is a toothpick plus a tiny bit of wood glue, then re-screw once dry. It works, but glue can be considered a repair rather than a reversible swap, so I would only do it if you have permission or you are comfortable treating it as a small move-out fix. In the meantime, washers and correct screw length are the most rental-safe first steps.
How do I choose a finish with my faucet?
In tiny bathrooms, matching is less important than repeating. If your faucet is chrome, you can still do brushed brass hardware if you repeat that brass somewhere else, like a small tray or mirror frame. If you want it foolproof, go with satin nickel, it blends with most builder finishes. My rule in a small room is two finishes max so it looks intentional, not busy.