In my first tiny apartment, the toilet worked fine, but it looked like it came free with a 1993 lease. And in a small bathroom, that “one eyesore” has nowhere to hide. The good news is you can make a toilet feel cleaner, newer, and honestly more luxe for very little money, without replacing the whole fixture.
This is my go-to trio for a fast toilet glow-up: a soft-close seat, a fresh flush handle, and a non-electric bidet attachment. None of these require tile work, and all of them are easy to reverse when you move out.
Before you start: a 2-minute fit check
To avoid buying the wrong part (been there, returned that), do these quick checks first:
- Seat shape: Look from above. Round bowls are more circular, elongated bowls are more oval and usually extend farther out.
- Bolt spacing: Most toilets use standard seat bolt spacing, but it is still smart to measure center-to-center between the two seat bolts.
- Handle location and mount: Most handles are on a front corner (often left), but some are on the right or on the side. Look at where the handle passes through the tank: through the front face (front-mount) or the side wall (side-mount).
- Tank clearance: If your toilet sits very close to the wall, a bulky bidet attachment or thick seat can get tight. Slim models help in tiny bathrooms.
- Access style: If you have a skirted toilet or a toilet that hides the supply connection, bidet installs can be trickier. If you cannot clearly reach the shutoff valve and the supply hose connection, pause before you buy anything.
My tiny-bath tip: Put an old towel under the tank area before you touch any plumbing. Small drips feel huge when you are working in a closet-sized room.
One more safety check: Turn the shutoff valve clockwise and make sure it actually stops the water. If it will not fully shut off, do not force it. That is a maintenance request.
Upgrade 1: Soft-close toilet seat
A new toilet seat does two things at once: it modernizes the look and removes that “mystery wobble” that makes everything feel older. Soft-close is the upgrade that makes a bathroom feel quietly expensive.
What to look for
- Soft-close hinges: For less slamming and fewer chipped lids.
- Quick-release: A button or latch that lets you remove the seat for cleaning. This is a lifesaver in small bathrooms where you cannot easily maneuver.
- Top-mount hardware: If your toilet bolts are hard to reach, top-mount sets install from above.
- Color match: “White” varies. If your toilet looks slightly cream, compare in daylight near a window if possible.
How to install a toilet seat in 10 minutes
- Pop off the little hinge caps.
- Unscrew the nuts under the bowl (a basic adjustable wrench helps). If they are stuck, hold the bolt head from above with a screwdriver while turning the nut below.
- Lift off the old seat and wipe the area clean.
- Place the new seat’s bolts through the holes, align the seat, then tighten evenly.
- Test for shifting. Tighten a bit more if needed, but do not over-tighten and crack plastic.
If the bolts are gross or rusted
This is common, especially in older rentals. Replace the bolts with new hardware that comes with the seat, and wipe everything down before installing. If the nut will not budge, a little penetrating oil and patience usually does it.
If the wobble is still there
If the new seat still shifts, check for two culprits: the bolts are not evenly tightened, or the seat bumpers are not making even contact with the bowl. Tighten gradually, side to side. If the toilet itself rocks, that is not a seat problem, it is a base problem, and it is time to call it in.
Keep it looking new
Avoid abrasive powders or scratchy scrubbers on the seat and hinges. They can dull the finish fast and make a “new” seat look old again.
Upgrade 2: Replace the flush handle
If your bathroom has any warm metals, a brushed nickel, matte black, or brass-toned flush lever can make the toilet feel intentionally styled instead of purely utilitarian. It is also a great fix for wiggly or sticky handles.
Choose the right handle
- Front-mount vs side-mount: Match where the handle goes through your tank (front face vs side wall).
- Left-hand vs right-hand: The lever angle can matter for comfort and clearance, especially if you have a tight wall or vanity next to the tank.
- Metal finish: Pick something that echoes your cabinet hardware or mirror frame. If you want more cohesion on a budget, see 5 Reversible Ways to Upgrade Cheap Bathroom Cabinet Hardware.
How to swap a flush lever
- Remove the tank lid and set it somewhere safe (it is heavier than it looks).
- Unhook the chain from the old lever arm.
- Unscrew the nut holding the handle inside the tank. On many models it is reverse-threaded, so you may need to turn it the “wrong” way to loosen.
- Pull out the old handle, slide in the new one, then tighten the nut.
- Reconnect the chain with a little slack, then flush-test a few times.
Quick troubleshooting
- Toilet runs after install: The chain is too tight or snagging. Give it a little more slack.
- Weak flush: Chain is too loose. Move the hook up one link.
Reality check: If anything inside the tank looks cracked, heavily corroded, or brittle, stop and request maintenance. This is still a simple DIY for most people, but it should not turn into a surprise parts overhaul in a rental.
Upgrade 3: Add a bidet attachment
A non-electric bidet attachment is one of those upgrades that makes an old bathroom feel instantly more modern. You do not need an outlet for this style, and it can be removed when you move.
Pick the simplest bidet for your space
For small bathrooms, I like slim, non-electric attachments because they are low-profile and do not add visual bulk.
- Cold-water only: Cheapest and easiest. Most people adjust quickly, especially in warmer months.
- Dual temperature (hot and cold): More comfortable, but requires routing to the sink’s hot water line, which may be tricky depending on your vanity layout.
- Side control vs front control: Side controls are more common. In very tight toilet alcoves, check that you will have room to turn the knob.
How to install a basic bidet attachment
- Turn off the toilet’s shutoff valve (usually behind the toilet) by turning clockwise. If it will not turn easily or will not fully stop the water, do not force it.
- Flush to drain the tank as much as possible. If you want less mess, hold the handle down for a longer flush. A little water will still remain, and that is normal. You can catch drips with your towel or sponge out the last bit if you feel like being extra neat.
- Disconnect the supply hose from the bottom of the tank.
- Add the T-adapter to the tank fill valve (this is typically included).
- Reconnect the supply hose and attach the bidet hose as directed.
- Set the bidet plate under your toilet seat, then reinstall and tighten the seat.
- Turn water back on slowly and check for leaks with dry tissue around each connection.
Leak-proofing tips I swear by
- Do not over-tighten plastic parts: Snug is enough.
- Use the washers that come with the kit: Missing washer equals mystery drip.
- Turn the valve on slowly: It helps you catch issues before they become a mini flood.
Compatibility note
Most standard toilets play nicely with bidet attachments, but some setups are fussy: skirted toilets with hidden plumbing, specialty supply lines, or awkwardly placed shutoff valves can make installation harder than it looks. If the connections do not match, do not improvise with random adapters in a rental. Return the kit and ask maintenance for options.
Renter-friendly note
Bidet attachments are typically considered reversible, but always keep the original parts. When you move out, remove the attachment, reinstall the original supply connection, and wipe everything down so it looks untouched.
Extra credit: style the toilet zone
Once the toilet itself looks updated, the surrounding area can make it feel like a “finished” moment instead of a utility zone.
- Hide the essentials: If your plunger and extra rolls are always visible, it drags the vibe down fast. I keep mine contained and out of sight. These ideas help: How to Hide Toilet Paper and Plungers in a Small Bathroom.
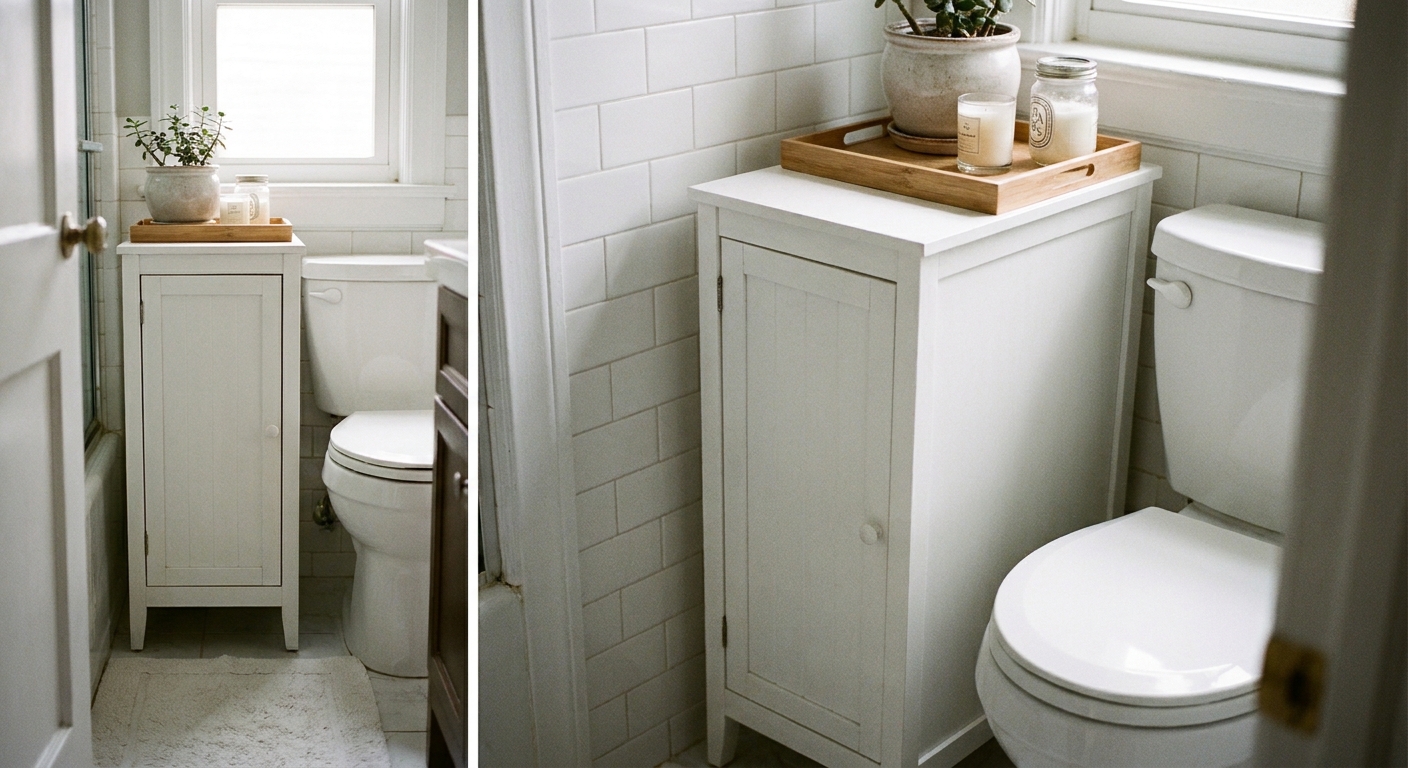
- Keep it uncluttered above the tank: A crowded shelf makes a small bathroom feel smaller. If you need storage, choose something intentional: Over-the-Toilet Storage That Won’t Look Cluttered.
- Upgrade lighting near the toilet area: Harsh overhead lighting exaggerates every scuff. A softer bulb or renter-friendly fixture swap makes everything feel cleaner. Start here: Renter-Friendly Bathroom Lighting.
Cost guide
| Upgrade | Typical cost | Time | Renter-friendly? |
|---|---|---|---|
| Soft-close toilet seat | $20 to $60 | 10 to 20 minutes | Yes |
| Flush handle | $10 to $25 | 10 to 15 minutes | Yes |
| Bidet attachment (non-electric) | $25 to $80 | 20 to 45 minutes | Usually, keep original parts |
When a makeover is not enough
If your toilet rocks side-to-side, leaks at the base, or you are getting tank condensation that is pooling and damaging the floor, that is beyond a cosmetic upgrade. In a rental, that is maintenance territory. Some tank “sweating” can be seasonal or humidity-related, but puddles are a problem. I would document it with a quick photo and request a repair.
FAQ
Will a bidet attachment fit with a thick soft-close seat?
Usually yes, but some combinations create a small gap or make the seat sit slightly higher. If you want the cleanest look, choose a slim bidet attachment and a seat that is not extra-thick at the hinges.
Do I need a plumber to install a bidet attachment?
For a basic non-electric attachment, most people can install it with hand-tightening and a wrench. If your shutoff valve is stuck, will not fully shut off, or you see corrosion, pause and request maintenance rather than forcing it.
What is the easiest upgrade if I only do one thing?
The toilet seat. It is the fastest swap, and it changes the look and feel immediately.