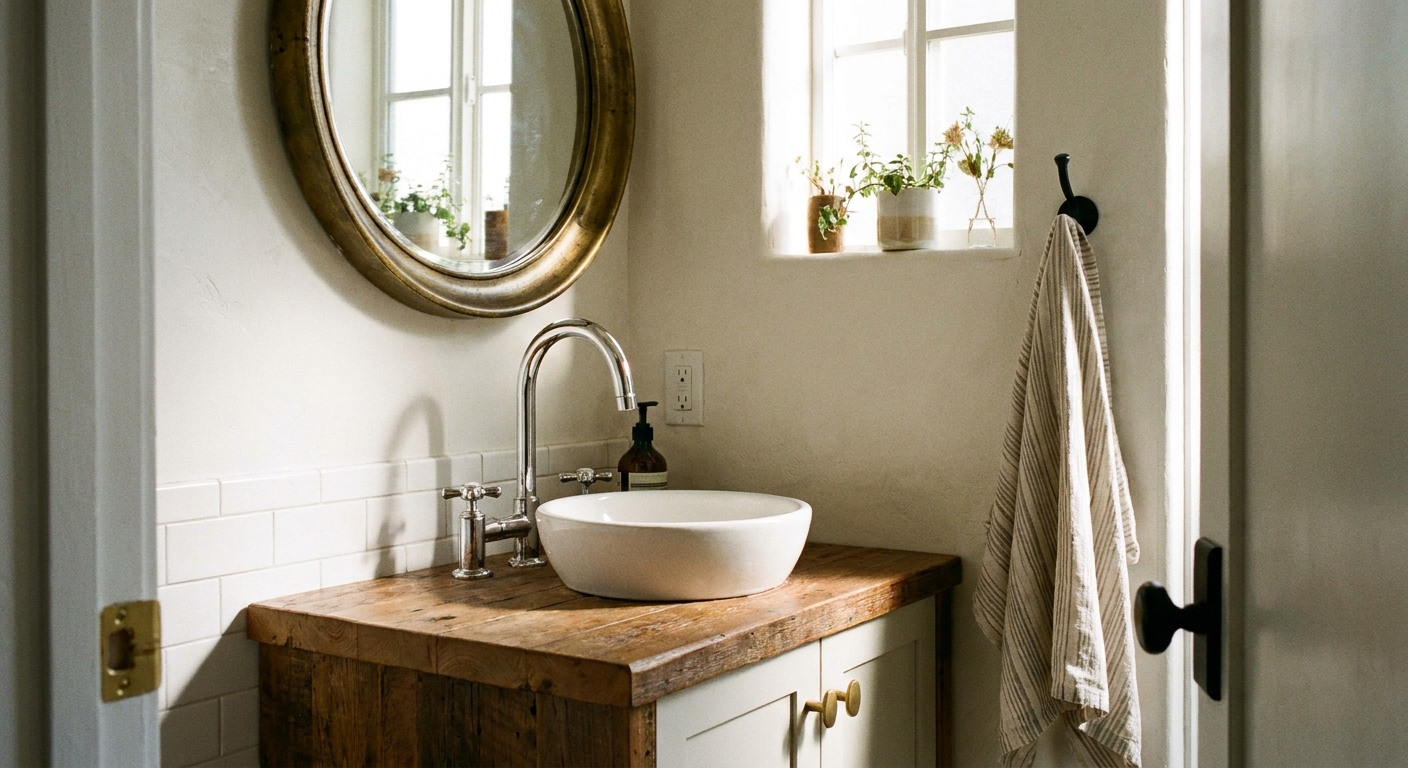
The first bathroom vanity I ever painted was in a vintage apartment where the "oak" finish had turned a strange orange-brown, and the doors stuck if you looked at them wrong. Replacing it was not happening on a renter budget, so I painted it. It instantly made the whole room feel cleaner, brighter, and less like a time capsule.
If you have a small bathroom, painting your vanity is one of the highest impact, lowest cost makeovers you can do. The trick is not fancy paint. It is prep, the right primer, and giving everything enough time to cure so it can handle humidity and toothpaste drips.
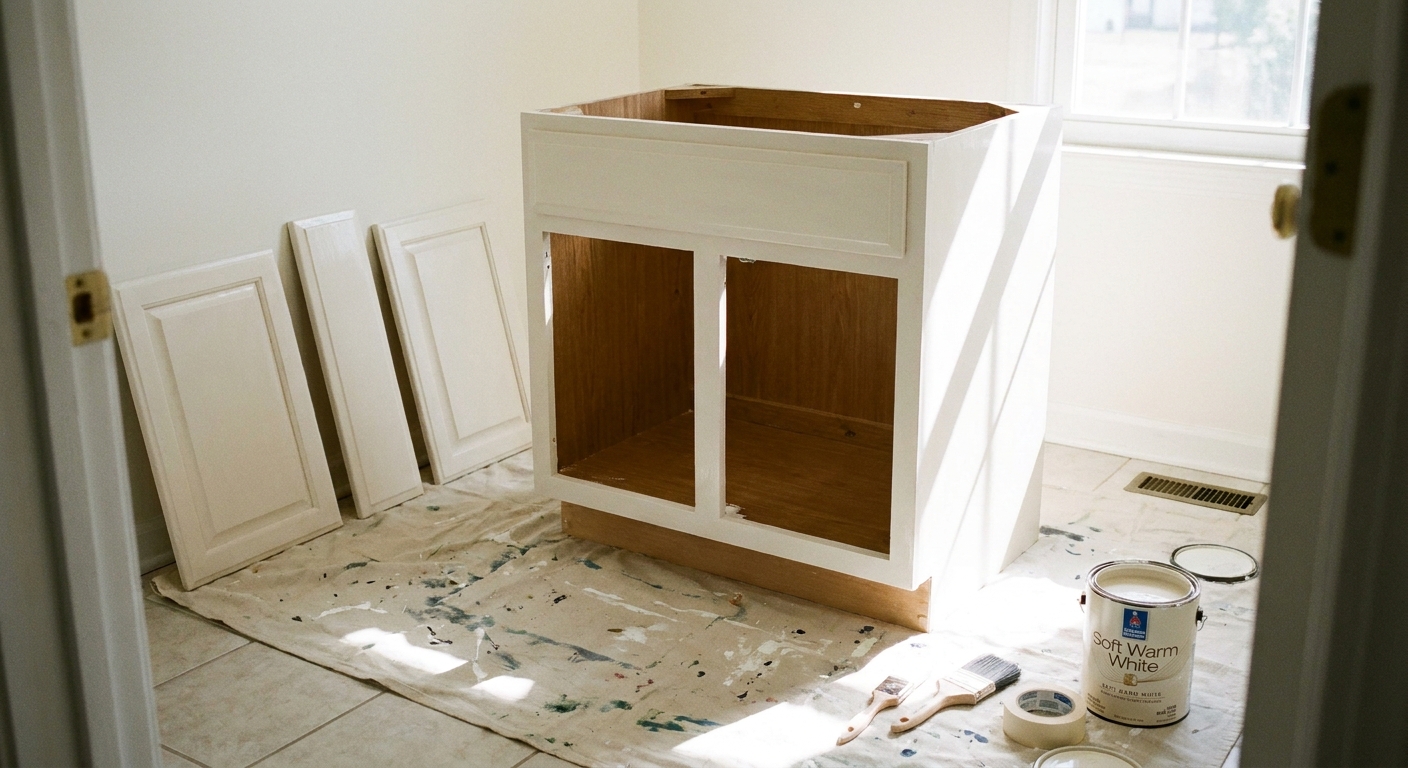
Before you start: should you paint this vanity?
Most vanities can be painted successfully, including laminate and MDF, as long as you prep and prime correctly. That said, painting is not the best choice if:
- The cabinet is swelling or crumbling from water damage. Paint will not fix soft MDF.
- The veneer is peeling everywhere and will not lay flat. You will spend more time repairing than painting.
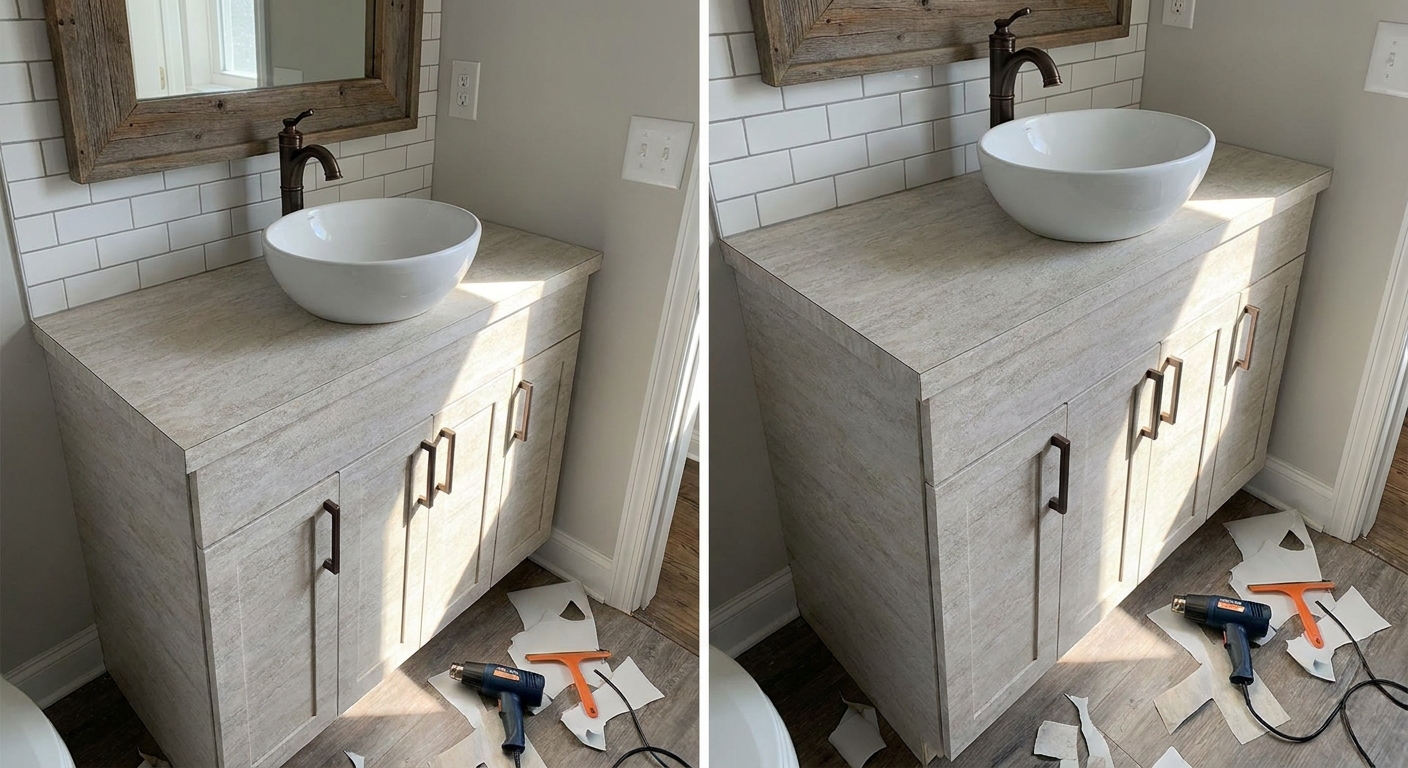
- You are renting and your lease forbids painting fixtures. In that case, consider a reversible option like wrapping with contact paper. I walk through moisture-friendly tips in Wrap a Bathroom Vanity With Contact Paper (Water-Resistant + Renter-Friendly).
If your vanity is structurally solid but just dated, dingy, or too dark for your tiny bathroom, paint is perfect.
Supplies (budget-friendly, not fussy)
You do not need a pro sprayer to get a smooth finish. Here is what I recommend for a durable, bathroom-ready paint job:
Cleaning and prep
- Degreaser or a strong cleaner (a kitchen degreaser works great on hair products and lotion film)
- Microfiber cloths or shop towels
- Sandpaper: 120 to 150 grit and 220 grit
- Sanding sponge (helps on edges)
- Tack cloth or a damp lint-free rag
- Wood filler (for dents or old hardware holes)
- Putty knife
Masking and setup
- Painter's tape
- Drop cloth or plastic sheeting
- Zip-top bags for screws and hinges
- Optional: small paint pyramids or blocks of wood to lift doors off the surface
Priming and paint
- Bonding primer (this is the non-negotiable step for laminate, glossy finishes, and high touch cabinets)
- Cabinet and trim paint in satin or semi-gloss (more on sheen below)
- High density foam roller (4 inch) for flat areas
- Angled brush (1.5 to 2 inch) for corners and profiles
Optional but helpful
- Paint conditioner (helps reduce brush marks, especially in warm or dry apartments)
- Water-based polyurethane topcoat (only if you choose a paint that needs extra protection)
If you are also swapping hardware, do it after painting so everything looks intentional. For budget upgrades, I keep a running list in 5 Reversible Ways to Upgrade Cheap Bathroom Cabinet Hardware.
Step-by-step: how to paint a bathroom vanity (the durable way)
1) Clear out the cabinet and protect the room
Empty the vanity and remove anything under the sink that could catch dust. Tape off the floor, countertop edge, and inside lip of the cabinet if you are not painting the interior. Lay down a drop cloth. Small bathrooms are tight, so keeping your setup neat saves your sanity.
2) Remove doors, drawers, and hardware
Take off the doors and drawer fronts if possible. Label each door and hinge location with a small piece of tape so rehanging is quick. Bag the screws. Remove knobs and pulls.
Quick tip: If your hinges are the adjustable European kind, take a photo before you remove them. It makes alignment less annoying later.
3) Clean like you mean it
Bathroom vanities collect a sneaky film of hairspray, face oil, hand lotion, and cleaning residue. Paint hates that. Clean every surface you plan to paint, especially around handles and the lower rail where wet hands drip.
- Wash with degreaser and rinse if the product requires it.
- Let everything dry completely.
4) Fill dings and smooth problem spots
Use wood filler for dents, chipped corners, and old hardware holes. Let it dry, then sand flush. This is the moment where your vanity goes from "painted" to "refreshed."
5) Sand for grip (you do not need to sand to bare wood)
Your goal is to dull the sheen so primer can bite.
- Use 120 to 150 grit on glossy or sealed surfaces.
- Use a sanding sponge on edges and profiles.
- Finish with 220 grit for a smoother final surface.
Wipe away dust with a tack cloth or a damp lint-free rag and let it dry.
6) Prime with a bonding primer
Primer is what makes the paint stick and stay stuck through humidity and daily use. Apply one even coat of bonding primer to the cabinet boxes, doors, and drawer fronts.
- Roll flat areas with a foam roller.
- Brush corners and grooves, then lightly feather the edges so you do not leave ridges.
Let primer dry according to the label. In a small bathroom, ventilation matters, so crack a window or run the fan while it dries.
7) Lightly sand the primer (this is the smoothness secret)
Once the primer is dry, lightly sand with 220 grit to knock down any texture and brush ridges. Wipe clean again. This step takes 5 to 10 minutes and makes your finish look much more like a factory cabinet.
8) Paint in thin, even coats
Apply your first coat of cabinet paint. Thin coats cure harder and resist chips better than one thick coat.
- Start with the back of doors and drawer fronts, then flip once dry.
- On the cabinet box, work from top to bottom so you can catch drips.
- Use the roller for big areas and the angled brush for corners and trim details.
Let the first coat dry fully, then apply a second coat. Most vanities look best with two coats, sometimes three if you are covering a very dark finish with white.
9) Optional: add a topcoat only if your paint needs it
Many modern cabinet and trim paints are designed to be durable without a separate clear coat. If you do use one, choose a water-based, non-yellowing finish in satin. Apply thin coats and follow dry times.
Skip topcoat if your paint label warns that a clear coat may reduce adhesion or cause hazing. Paint systems vary, so always follow the product instructions.
10) Reassemble carefully and let it cure
Once the paint is dry to the touch, you can reinstall doors and hardware gently, but the real magic is curing time.
- Dry time is when it feels dry.
- Cure time is when it reaches full hardness.
In a humid bathroom, cure time is usually 7 to 30 days depending on the product. During that window, treat the vanity kindly: no harsh scrubbing, avoid hanging wet towels on doors, and wipe water drips quickly.
Choosing paint and sheen for a small bathroom
Best paint type
Look for paint labeled for cabinets, doors, and trim or cabinet enamel. These formulas level better and cure harder than standard wall paint.
Satin vs semi-gloss
- Satin is my favorite for small bathrooms because it is wipeable but a little softer looking.
- Semi-gloss is very durable and moisture-friendly, but it can highlight dents and brush texture more.
Color tip for tiny bathrooms
If your bathroom has minimal natural light, a vanity color with a warm undertone helps the space feel less stark. Soft white, greige, dusty sage, and muted blue-gray all play nicely with most builder beige tile.
How long does this take?
For a standard small vanity (24 to 36 inches), here is a realistic timeline:
- Day 1: Remove hardware, clean, sand, prime.
- Day 2: Sand primer, paint coat one, paint coat two.
- Day 3: Touch-ups, reinstall hardware, gentle use.
You can compress this if your products dry quickly, but rushing usually shows up as tacky doors, fingerprints, or chips around pulls.
Common problems (and how to fix them)
"My paint is peeling off around the handles"
This almost always traces back to cleaning and primer. Oils from hands and hair products are intense in that spot.
- Fix: sand the peeling area smooth, clean thoroughly, spot-prime with bonding primer, then repaint.
"I can see brush strokes"
Brush marks happen when paint starts drying before it levels.
- Fix: switch to a foam roller for flat sections, use a paint conditioner if your product allows it, and keep coats thin.
"My doors feel sticky when I close them"
That is usually cure time, heavy coats, or humidity.
- Fix: give it more time with good airflow. If it is still sticking after a couple weeks, the paint may be too thick at the contact points. Lightly sand the sticking edges and touch up.
"The wood grain is still showing"
Some vanities have dramatic grain that will telegraph through paint.
- Fix: use grain filler before priming, or embrace a little texture as a more relaxed, cottagey look.
Make it feel like a full makeover (without spending much)
Paint does the heavy lifting, but a few small tweaks make the result look more polished:
- Upgrade the mirror so the vanity feels intentional. Try Upgrade a Builder-Grade Mirror Without Removing It.
- Swap hardware and keep it cohesive with your faucet finish. See my favorite reversible hardware upgrades.
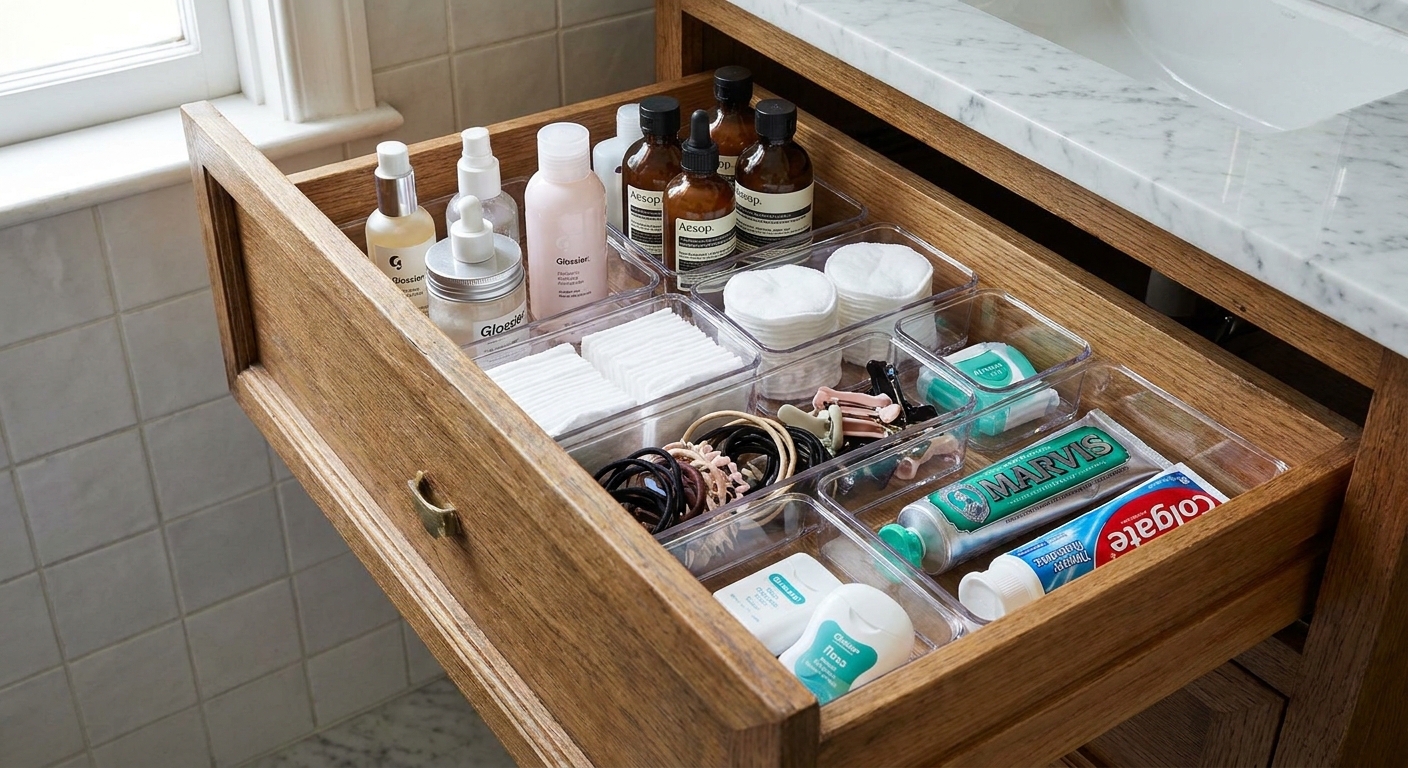
- Declutter the counter so your fresh vanity color stands out. I like using small bins inside drawers too, like the method in Organize Deep Vanity Drawers With Dollar Store Bins.
FAQ
Do I have to sand if I use a deglosser?
Deglossers can help, but I still like a quick scuff sand for cabinets that get touched daily. In my experience, sanding plus bonding primer is the most reliable combo for a bathroom.
Can I paint a laminate vanity?
Yes, but use a bonding primer made for slick surfaces and do not skip the cleaning step. Laminate fails when the paint cannot grip.
Should I paint the inside of the vanity?
Only if it is really stained or you want the full refresh. For a quick makeover, I usually paint the doors, drawer fronts, and face frame first. You can always paint the interior later.
How do I keep paint from chipping at the sink edge?
Avoid building up thick paint right at the seam where the countertop meets the cabinet. Keep coats thin, and wipe water drips promptly while the paint cures. If your caulk is old and gappy, re-caulking after paint cures can help prevent water from sneaking into the edge.
One last tiny-bathroom tip
If your vanity makeover is happening because the whole bathroom feels a little tired, pick one more small, budget project that makes the room feel cleaner. For me, that is usually floors or grout. If yours are looking rough, covering an ugly bathroom floor with peel-and-stick tile can completely change the vibe without touching a single plumbing line.
Paint the vanity first, let it cure, then enjoy how much lighter your tiny bathroom feels every time you walk in.