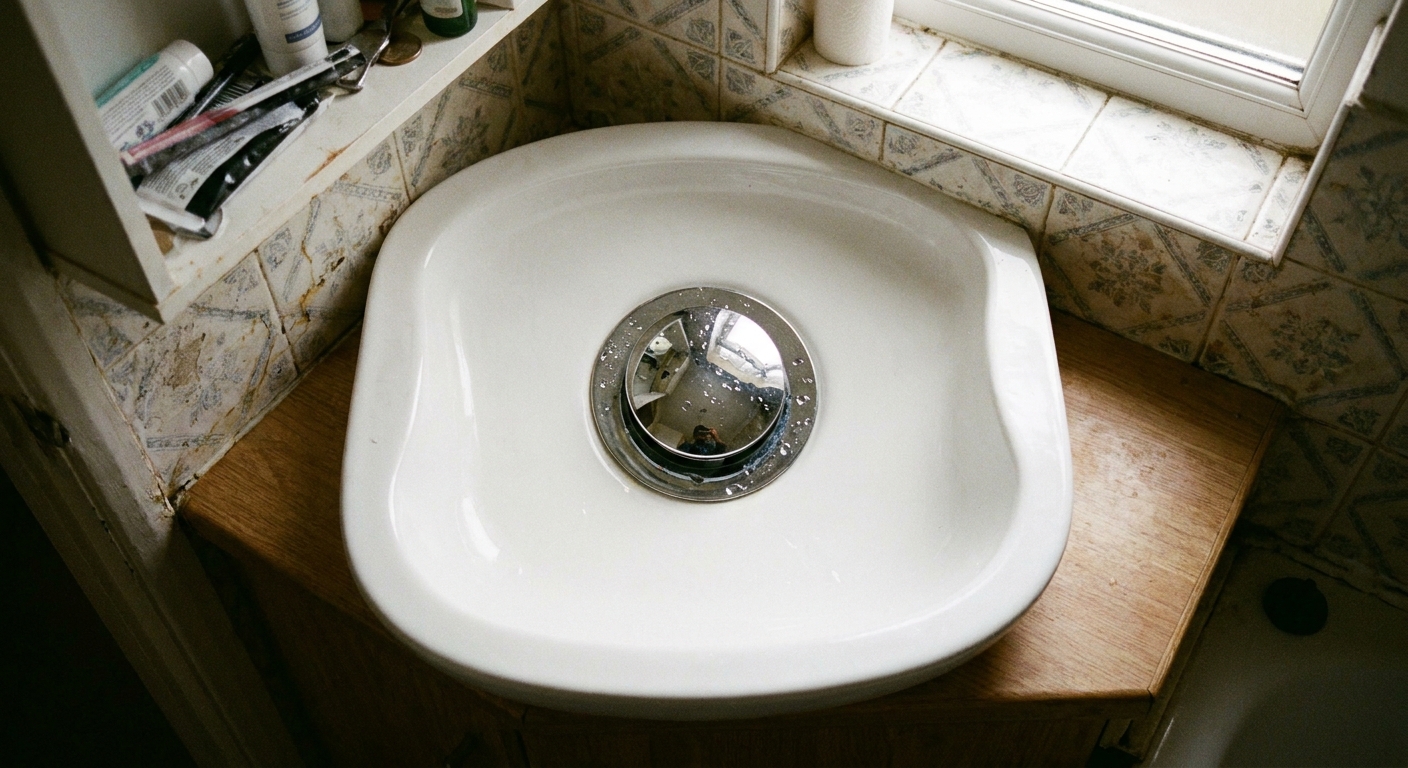
The fastest way to make an older sink feel cleaner and more modern is to fix the one thing you touch every day: the drain. In my last tiny apartment, the faucet was fine, the vanity was fine, and the drain was… not fine. It was that classic pull-rod setup with a flaky metal stopper that never fully sealed, plus a crusty ring around the flange that made the whole sink look permanently “used.”
The good news is you can swap a traditional pull-rod drain for a push-button pop-up stopper (the kind you press to close, press again to open) with basic tools and a little patience. It is one of those budget makeovers that looks expensive because the end result is so simple and streamlined.
What it changes
A push-button pop-up stopper replaces the old stopper and the fussy pull-rod mechanism behind the faucet. That means:
- No lift rod sticking up behind the faucet
- No pivot rod ball under the sink that loves to drip when it is loose
- A cleaner look in a small sink basin where every detail shows
- Easier wiping because there is less hardware to dodge when you clean
Many push-button drains come as a full drain assembly (flange, body, gasket, and often a tailpiece), but not every kit includes every piece. Before you start, open the box and confirm what is included so you are not halfway under the sink realizing you need to reuse your old tailpiece or grab an adapter.
Also, quick reality check: some sinks do not have a pull rod at all. If your faucet has no lift rod behind it (common with vessel sinks, wall-mount faucets, and some modern centerset faucets), you can skip straight to the “remove the old drain flange and body” step.
Before you buy: 3 checks
1) Overflow or no overflow
Look inside your sink bowl. If you see a small opening near the top of the basin wall (usually opposite the faucet), you have an overflow. You need a drain assembly labeled with overflow so water can pass through the drain body’s overflow channels.
If your sink has no overflow opening, choose a drain labeled no overflow.
2) Drain hole size
Most bathroom sinks use a 1 1/4 inch nominal lavatory drain size, but not all do. Some vessel sinks and some vanity tops use 1 1/2 inch, and older sinks can be quirky. Measure your drain opening (and keep the receipt) so you can confirm the kit fits before you toss the packaging.
3) Your trap connection
Peek under the sink at the P-trap. In many bathrooms, the drain tailpiece connects to a 1 1/4 inch trap. Some setups are adapted to 1 1/2 inch. If your new drain tailpiece size does not match, you can use a simple trap adapter, but it is easier if you match what you already have.
Tools and supplies
- Adjustable wrench or tongue-and-groove pliers
- Bucket or shallow pan (tiny sink cabinets always hide surprise drips)
- Old towel or paper towels
- Flashlight or phone light
- Putty knife or old gift card (for scraping old putty)
- Plumber’s putty or 100% silicone (use what your drain and sink instructions recommend)
- Optional but helpful: penetrating oil (if your old nut is corroded)
- Optional: small wire brush for cleaning threads
- Optional: basin wrench or drain wrench (helpful for stubborn, corroded locknuts)
If you are renting, this is typically a low-risk upgrade because you are not altering the plumbing layout, just swapping a drain assembly. Still, keep your original parts in a labeled bag so you can revert later if needed.
Remove the old pull-rod drain
1) Clear the cabinet
Everything under a pedestal sink or tiny vanity is in the splash zone. Put a towel down and slide a bucket under the P-trap. If you have renter-friendly storage in there, take it out first so you can actually see what you are doing. (If your cabinet is a black hole, my favorite quick reset is in Declutter and Organize Your Medicine Cabinet, and the same logic works under sinks too.)
2) Disconnect the lift rod and pivot rod (if you have them)
Behind the faucet, you will see the lift rod (the piece you pull up). Under the sink, that connects to a strap and a pivot rod that goes into the drain pipe.
- Unscrew the nut holding the pivot rod into the drain body.
- Slide the pivot rod out.
- Unclip or loosen the strap connection to free the lift rod linkage.
Once the pivot rod is out, the old stopper usually lifts right out from above.
3) Loosen the P-trap (optional, but often easier)
You can sometimes remove the drain body without taking the P-trap apart, but in cramped vanities I find it faster to drop the trap for elbow room.
- Unscrew the two slip nuts on the P-trap.
- Lower it into the bucket and dump any water.
Set the trap aside where it will not roll away. Small bathrooms love to eat parts.
4) Remove the old flange and drain body
Under the sink, loosen the large locknut holding the drain body in place. If it is corroded, a little penetrating oil and a few minutes of patience help a lot.
If the nut will not budge, a basin wrench or drain wrench can give you better leverage. In true worst cases, the locknut may need to be cut off, but that is the exception, not the rule.
Once the locknut is off, push the drain body up slightly, then from above twist and lift the flange out. You will probably meet a ring of old plumber’s putty. That is normal.
5) Clean the sink opening
Scrape away old putty or silicone, then wipe the area clean and dry. This step is the difference between “looks good today” and “why is there a brown ring in two weeks.”
Install the push-button drain
1) Dry fit first
Before you add any putty or silicone, assemble the drain pieces loosely and check that everything seats correctly. Different kits seal in different ways. You may have:
- Putty under the flange, or a supplied top gasket or foam ring under the flange
- A rubber gasket and washer under the sink
- A locknut underneath to tighten it all together
2) Seal the flange
Use plumber’s putty unless the drain manufacturer says to use silicone, or your sink manufacturer prohibits putty. Some specialty finishes, plastic bodies, and natural stone tops (like marble, granite, or quartz) can be picky about what sealant touches them, so this is the one spot where you follow instructions over habit.
If you are using putty, roll a thin rope of putty in your hands and press it under the flange lip. Then set the flange into the sink opening from above.
3) Tighten from underneath
From below, slide on the gasket and washer as directed, then thread the locknut on. Hold the flange steady from above and tighten the nut until snug.
My tiny-bathroom tip: Tighten gradually, check alignment, then tighten again. Over-tightening can squeeze out too much putty or warp a gasket, which is how you get slow leaks.
4) Wipe away squeeze-out
From above, you will see putty squeeze out around the flange. Peel it away with your fingers and wipe the rim clean.
5) Reconnect the tailpiece and P-trap
Attach the trap to the new drain tailpiece and tighten the slip nuts hand-tight, then give a small additional turn with pliers. Do not crank down like you are installing a car part. Those slip washers seal with gentle pressure.
If you fight drips at the trap joint, double-check the slip-joint washer orientation. The tapered side should face the direction of the joint it is sealing (so it nests into the fitting as you tighten).
6) Install the push-button stopper
Most push-button stoppers simply drop into the flange opening. Some screw in. Follow the specific instructions that come with your kit, and do not force it. Cross-threading is easy and annoying to fix.
Test the action: press to close, press to open, and make sure it pops up cleanly without sticking.
Leak check
Turn the water on and run it for a minute while watching the connections underneath. Then do a second test:
- Close the stopper and fill the sink halfway.
- Let it sit for 2 to 3 minutes.
- Check underneath for moisture around the flange nut and trap joints.
- Open the stopper and let the water drain fast while you watch for drips.
If you see a drip at a slip nut, tighten slightly. If you see moisture around the flange, you likely need to re-seat the flange with fresh putty or silicone. That is annoying but completely fixable.
Common hiccups
The stopper does not seal
- Make sure you bought with overflow if your sink has one.
- Check that the stopper is seated correctly and any protective plastic ring is removed.
- Some stoppers have a small adjustment screw underneath the cap. A minor adjustment can improve the seal.
The drain flange spins
Hold the flange steady from above while you tighten the locknut. A second set of hands helps, but you can usually do it solo by pressing down firmly on the flange with one hand and tightening with the other.
Slow draining after install
Sometimes the stopper is slightly mis-seated, or you knock loose debris while you are working. Pop the stopper out and re-seat it, then consider cleaning the trap before you put everything back together. A shiny new drain paired with a half-clogged trap is a classic small bathroom plot twist.
Corrosion and gunk on the trap pieces
If the metal is flaking or the slip nuts are stripped, replace the trap while you are down there. A clean new drain paired with a crusty old trap is like putting fresh bedding on a squeaky old mattress.
My sink is tiny and the drain parts feel huge
You are not imagining it. Compact bathrooms magnify hardware. This is why a push-button stopper is such a good choice. It removes the visual clutter of the lift rod and linkage so the faucet area looks calmer.
Make it a mini makeover
Once the drain is shiny, the rest of the sink zone might suddenly look… a little tired. If you want to keep the momentum going without turning this into a full renovation, here are my favorite small-bathroom follow-ups:
- Upgrade the mirror without demo: Upgrade a Builder-Grade Mirror Without Removing It
- Refresh a dated vanity: How to Paint an Outdated Bathroom Vanity
- Modernize finishes on a budget: 5 Reversible Ways to Upgrade Cheap Bathroom Cabinet Hardware
Safety and rental notes
- Know where your shutoff valves are. You are not opening the water supply lines to replace a drain, but in a tight cabinet it is easy to bump a supply line or valve. Work gently and do not stress the connections.
- Do not use harsh chemicals right after installing. Give putty or silicone time to set per the product instructions.
- Save your original drain parts in a bag. If your lease is strict, you can reinstall the original later.
Quick FAQ
Is a push-button drain the same as a pop-up drain?
It is a type of pop-up drain. Traditional pop-up drains are controlled by a lift rod. Push-button drains pop up by pressing the cap directly.
Do I need plumber’s tape?
Usually no for slip-joint drain connections, because they seal with washers. Some kits may call for tape on specific threaded connections. Follow your kit instructions.
Can I do this with a pedestal sink?
Yes, just expect less room to work. A bucket, a flashlight, and patience are the difference. If you need more ways to make a pedestal sink area functional after your drain upgrade, bookmark Pedestal Sink Storage Ideas Renters Can Do.