The first time I tried to “refresh” a 90s chrome faucet in a tiny rental bathroom, I did what every optimistic weekend DIYer does: I grabbed a can of paint and hoped for the best. It looked amazing for about a week. Then the finish started wearing off right where my hands touched it most.
The good news is you can paint a bathroom sink faucet for a matte black update without doing any plumbing. You just have to treat it like the high-touch, high-moisture, metal surface it is. That means slow prep, the right primer, and enough cure time that you are not washing your hands on day one.
One important reality check up front: results vary based on what your faucet is made of and how it is finished. Slick chrome plating, PVD coatings, and factory-clear-coated finishes can be picky about what will stick long term, so always match your primer and paint to the surfaces listed on the can.
Before you paint
Painting a faucet is a budget makeover, not a forever finish. Done carefully, it can look shockingly convincing and last surprisingly well, especially in a low-traffic powder room. But it is not ideal for every faucet.
This works best if:
- The faucet is structurally fine but looks dated, scratched, or has minor rust or corrosion spots.
- You want matte black for a cohesive look and can be gentle with cleaners.
- You can leave the sink unused, or barely used, for at least 24 to 72 hours.
Skip painting and replace instead if:
- The faucet is leaking from the body, handles, or base. Paint will not fix failing seals.
- The chrome is peeling badly or the metal underneath is crumbling.
- You need a finish that can handle daily scrubbing, kids, or heavy use with zero babying.
If you are renting, this is also a “know your comfort level” project. You are not changing plumbing, but you are altering the fixture’s finish. If you think you may need to reverse it later, consider swapping the faucet when possible, or focus on reversible upgrades like budget cabinet hardware and styling updates.
What you need
You do not need fancy tools. You do need the right stack of products so the paint can bite and stay put on slick metal.
Supplies
- Cleaner and degreaser: dish soap plus rubbing alcohol (or a dedicated degreaser).
- Non-scratch scrub pad or very fine sandpaper (around 400 to 600 grit).
- Painter’s tape and plastic or paper to mask the sink and countertop.
- Metal primer: commonly a self-etching automotive primer, or a bonding primer labeled for slick metal. Check the label carefully because some self-etching primers are intended for bare metal and may not be rated for chrome plating or coated finishes.
- Topcoat: a specialty spray paint labeled for metal. For the most faucet-like look, choose a matte or satin black.
- Optional protective clear coat: only if it is compatible with your paint system. A mismatched clear coat can wrinkle or stay soft.
- Nitrile gloves and a respirator mask rated for paint fumes.
- Microfiber cloths.
A note on ventilation
Bathrooms are small and love trapping fumes. If you can, open a window, run the exhaust fan, and set up a box fan blowing out. If you are painting the faucet in place, keep airflow moving.
If you ever decide to remove a faucet to spray it outdoors, that usually does involve basic plumbing steps like turning off water at the shutoffs. This guide sticks to painting in place.
Step by step
This is the method for when you are not removing the faucet. It is totally doable, just a little more tedious because masking matters.
1) Clean like you mean it
Soap scum, hand lotion, and invisible residue are why faucet paint fails early.
- Wash the faucet with warm water and dish soap. Rinse and dry.
- Wipe it down with rubbing alcohol on a clean cloth.
- Do not touch the faucet with bare hands after this point. Wear gloves so you do not re-add oils.
2) Scuff the shine
You are not sanding it down to bare metal. You are creating tiny scratches so primer can grip.
- Use a non-scratch pad or 400 to 600 grit sandpaper.
- Focus on high-touch areas: handle tops, underside of the spout, and around the base.
- Wipe away dust with a microfiber cloth, then do one more alcohol wipe.
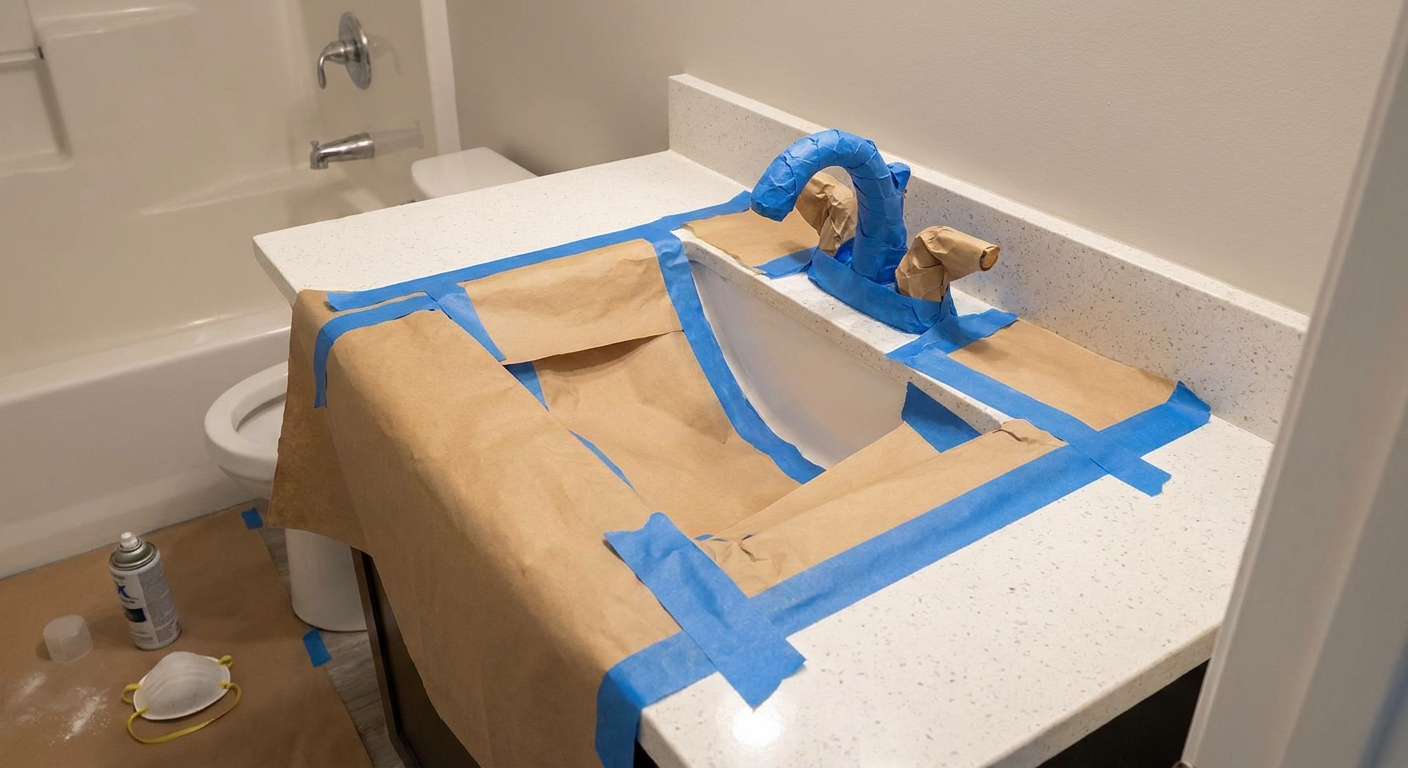
3) Mask thoroughly
Masking is what makes this look professional in a small bathroom, especially around tight faucet bases.
- Tape around the faucet base. Use short pieces of tape to follow curves.
- Cover the sink bowl and counter with paper or plastic, then tape the edges down.
- If your aerator is exposed, cover it with a small piece of painter’s tape so you do not clog it with paint mist.
- Mask the drain and stopper area too. Overspray on the stopper looks messy and can make parts feel gritty.
4) Prime with light coats
Primer is where durability starts, but it has to match your faucet surface. Use a primer that specifically lists the metals or finishes you are painting.
- Shake the can for the full time on the label.
- Spray from about 8 to 10 inches away.
- Do 2 to 3 very light coats, not one thick coat.
- Let each coat flash off per the can directions, often 5 to 10 minutes.
You want coverage, not drips. If you get a drip, let it dry fully, gently sand it smooth, wipe clean, and re-prime that spot.
5) Apply matte black topcoat in thin passes
The temptation is to “get it black” quickly. Resist. Thin coats cure harder and look smoother.
- Do a light tack coat first.
- Follow with 2 to 4 additional light coats until coverage is even.
- Change your angle as you spray to catch the underside of the spout and the back of handles.
- Avoid flooding seams around handles and joints. Heavy paint buildup can bind moving parts.
6) Decide on a clear coat carefully
Some matte black paints are meant to be the final finish. Others benefit from a compatible clear coat for extra protection. The key word is compatible.
- If your paint brand recommends a clear coat, use the one in the same system.
- If you want to keep a true matte look, look for a matte clear, not gloss.
- If you are unsure, skip clear. A bad clear coat can soften the paint or make it peel faster.
7) Let it cure longer than you think
Dry to the touch is not the same as cured. Faucets get handled, splashed, and wiped constantly.
- Leave the faucet alone at least overnight.
- For normal use, plan on a minimum of 48 to 72 hours, and follow the can for recoat and cure guidance.
- Full hardness can take up to a week depending on temperature and humidity.
- Be gentle for the first week. Avoid wiping aggressively or using cleaners.
Water and safety notes
- Keep steam off it early: skip long hot showers in the same bathroom for the first day or two if you can. Humidity slows curing.
- Protect your stuff: move toothbrushes, towels, and anything absorbent out of the spray zone. Overspray travels.
- If you must use the sink: use another sink for a couple of days if possible. If not, turn the water on and off carefully without gripping the painted areas, and blot splashes instead of wiping.
Rust, pitting, and rough spots
If your faucet has rusty-looking freckles or rough texture, do a little extra prep so it does not telegraph through matte paint. Matte finishes can be unforgiving.
- Remove surface rust or corrosion: gently sand the affected areas until they feel smooth. Wipe clean and alcohol wipe again.
- For pits: primer can hide tiny imperfections, but deep pitting will still show. Keep expectations realistic.
- Do not paint over flaking chrome: if it is actively peeling, paint will usually peel with it. That is a replacement situation.
Make it look like real matte black
- Keep coats thin. Thick paint looks “crafty” and can gum up around seams.
- Spray past the edges. Start spraying off to the side, sweep across, and stop off the other side to avoid heavy spots.
- Do not forget the underside. In a tiny bathroom, you see everything from weird angles.
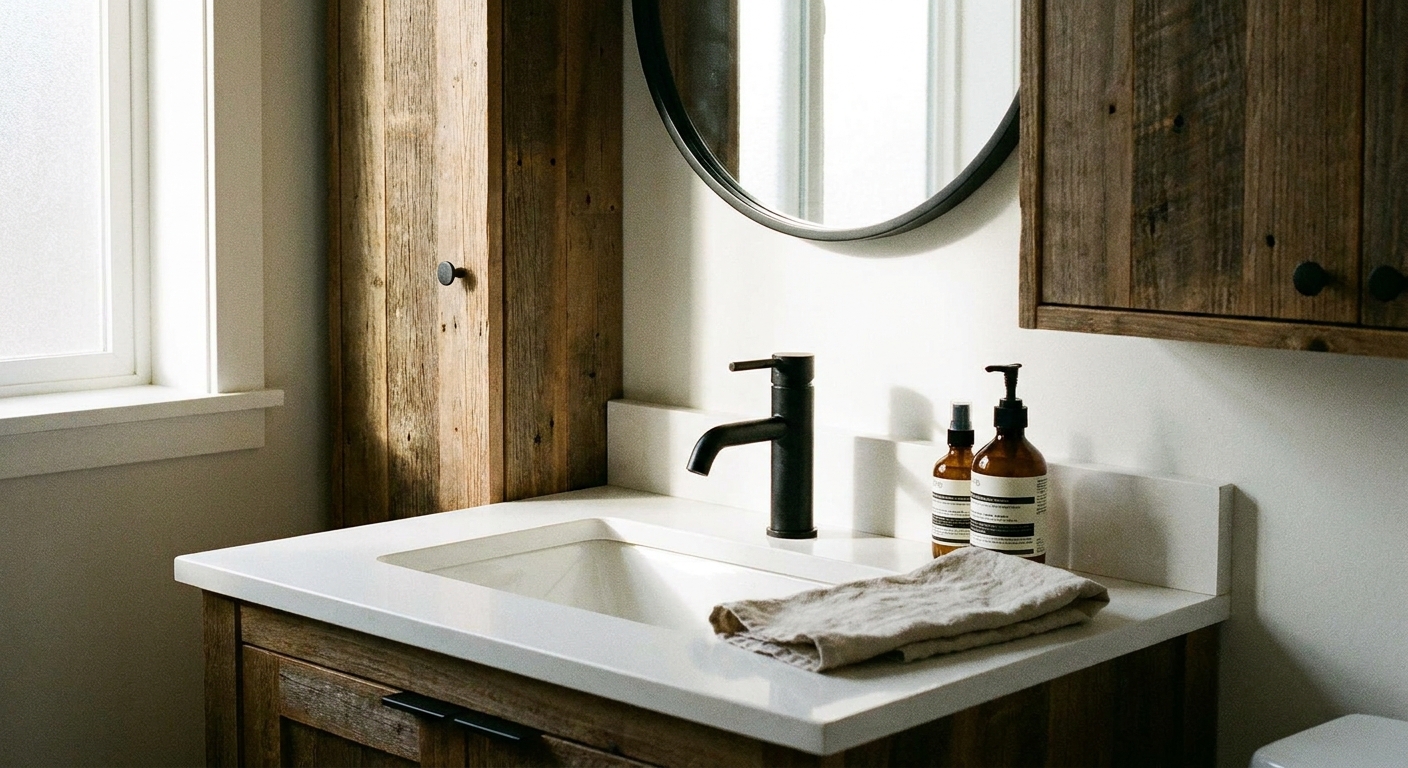
- Match your other blacks. If your mirror frame or cabinet hardware is warm black, choose a softer matte. If it is crisp modern black, choose a neutral matte.
If you are continuing the matte black look around the vanity, you might also like my renter-friendly tricks to upgrade a builder-grade mirror without removing it.
How to clean it
This is where painted faucets usually lose the battle. Treat it gently and it will last longer.
- Use mild soap and water and a soft cloth.
- Avoid abrasives: no scrub powders, no rough sponges.
- Avoid harsh cleaners: strong acidic or alkaline cleaners can dull paint or soften it over time.
- Pat dry when you can. Standing water spots and constant wiping add wear.
Troubleshooting
The paint feels tacky after a day
Usually too-heavy coats, high humidity, or not enough cure time. Increase ventilation and give it another 24 to 48 hours. If it stays soft, the product layers may be incompatible and you may need to strip and restart.
I got orange peel texture
That is often spraying too far away or in a cold room. Lightly sand smooth once fully dry, then spray a lighter coat from the recommended distance.
It chipped near the handle
Handles get the most friction, plus rings and watches can be brutal. Touch up by lightly sanding the chip edge, spot-priming if needed, then misting on topcoat. Let it cure again before heavy use.
It looks gray instead of deep black
Some matte paints read softer in bright bathroom lighting. One more light coat can deepen it. Also check bulb temperature. Very cool LEDs can make black look washed out. If you are updating lighting without wiring, I have ideas here: renter-friendly bathroom lighting options.
Is this renter-friendly?
It is renter-friendly in the sense that you are not touching plumbing, tile, or walls, and you can do it in a single weekend. It is not renter-friendly in the “completely reversible” way that peel-and-stick or tension rod tricks are.
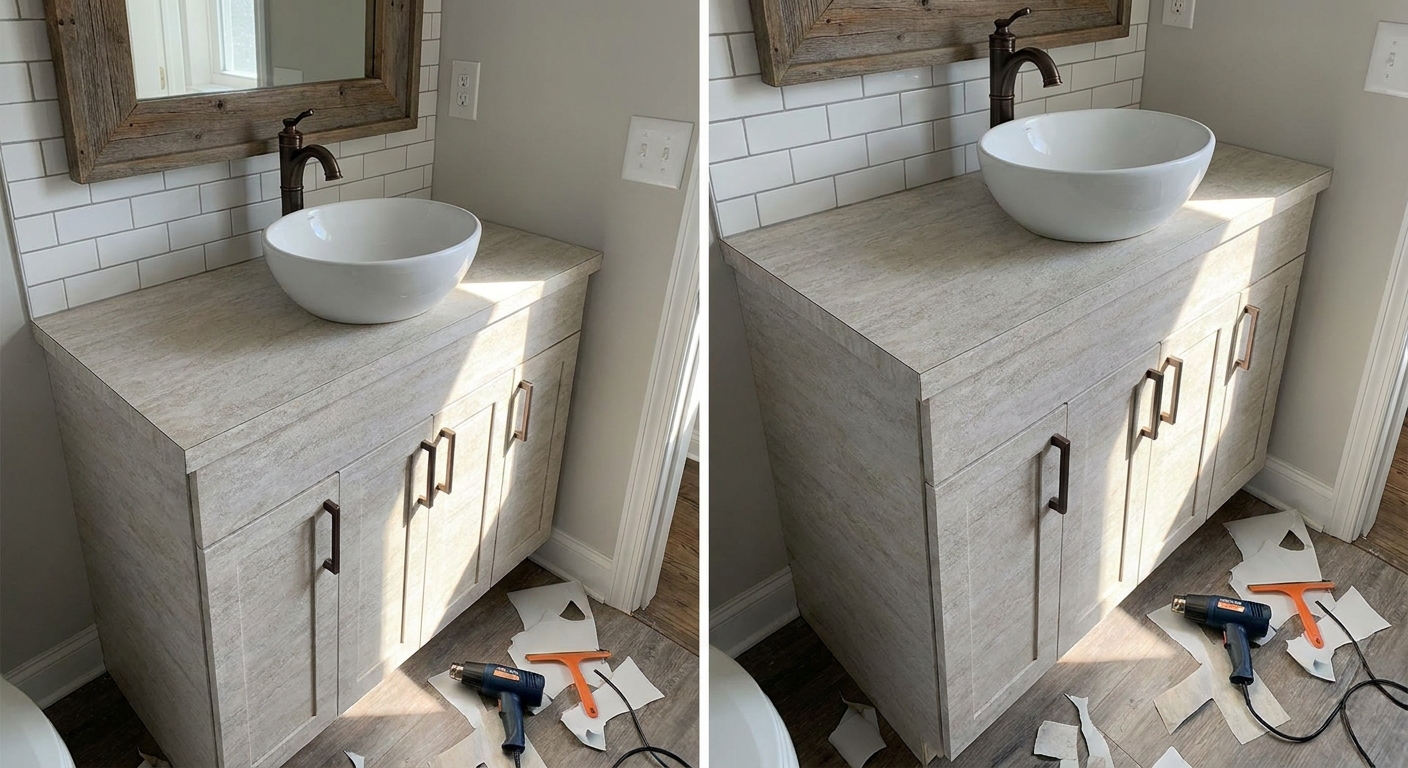
If your lease is strict, consider focusing your makeover energy on fully removable changes like wrapping a vanity with contact paper or temporary backsplash options. Those scratch the style itch without altering fixtures.
My realistic verdict
If your faucet is ugly-but-functional and you want the matte black look on a tiny budget, painting can be a satisfying little glow-up. The “secret” is not a magic paint. It is prep, choosing a primer and topcoat that actually list your surface, and giving it enough cure time that the finish can toughen up before daily life attacks it.
And if it eventually wears near the handles, you are not back at square one. Keep the leftover paint, do quick touch-ups once or twice a year, and enjoy the fact that your bathroom looks custom even though you did not pick up a wrench.