My first “grown-up” apartment bathroom had exactly one drawer, and it was already occupied by a wobbly plumbing trap and a mystery smell I did not want to investigate. I started corralling everything in little bins, but the cheap plastic ones always looked cluttery and somehow still got gross.
A simple fabric basket solved it. It is soft so it fits awkward shelves, washable (huge), and you can customize the size so your shampoo bottles stop toppling like dominoes. Here is my go-to method, written for beginners and tiny bathrooms.
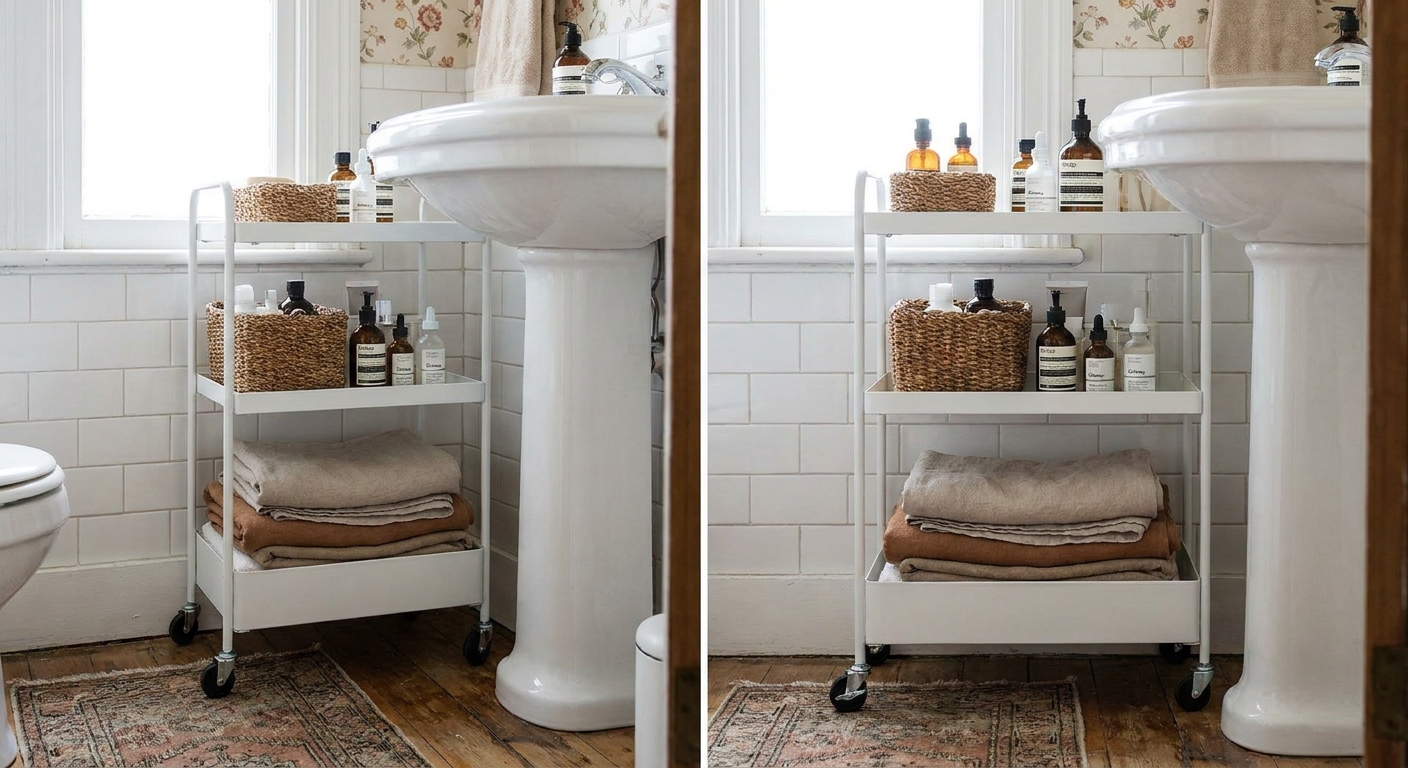
Why fabric baskets work
- They flex in tight spaces. Great for pedestal sink shelves, over-the-toilet shelves, and narrow medicine cabinet ledges.
- They look calmer than mixed bottles. One basket reads like styling, not clutter.
- They are washable. Toiletries leak. Bathrooms get steamy. Fabric can be tossed in the wash if you choose the right materials.
- They are rust-proof if you skip metal hardware. No metal parts needed, unlike many shower caddies. If you are shopping for metal organizers, I keep my favorites here: Best Rust-Resistant Shower Organizers for Tiny Bathtubs.
Materials and tools
Fabric that holds up
- Outer fabric: quilting cotton, canvas, cotton duck, or home decor fabric. Canvas holds shape best.
- Lining fabric: quilting cotton is fine. If you want extra wipeability, use laminated cotton or oilcloth for the lining (skip interfacing on the lining).
- Interfacing: fusible midweight interfacing for structure. For a basket that stands up tall, use a stiffer interfacing.
- Optional base insert: plastic canvas (the craft grid) or a thin flexible cutting mat trimmed to fit the base, if you want a super-flat bottom.
Tools
- Sewing machine (you can hand sew, but it takes longer)
- Thread
- Scissors or rotary cutter and mat
- Ruler or measuring tape
- Iron and ironing board
- Clips or pins (clips are easier with thicker fabrics)
- Turning tool or chopstick for poking corners
Prewash tip: If you want the basket to be truly washable, prewash and dry your fabrics first so the finished basket does not shrink weirdly later.
Grain tip (optional, but helpful): If your fabric has a clear grain, keep the basket’s height running along the lengthwise grain so the sides stretch less over time.
Pick your size
This version uses a simple, reliable beginner method: one folded rectangle for the outer, one folded rectangle for the lining, plus boxed corners. The fold becomes the bottom of the basket, so you get a cleaner base and fewer seams.
- Finished width: W
- Finished depth: D
- Finished height: H
- Seam allowance: 3/8 inch (SA). Use 1/2 inch if you prefer, just stick with one number throughout.
The math
You will cut one rectangle for the outer and one for the lining. You fold each rectangle in half so the fold is at the bottom. Then you sew the side seams and box the bottom corners to create the depth.
- Outer and lining rectangles to cut:
- Width to cut: W + D + 2(SA)
- Length to cut: 2H + D + 2(SA)
- Boxed corner measurement (from the tip): D/2
Reality check: The boxed corner step controls the depth, not the height. The height comes from the rectangle length, and the corner boxing creates the D dimension so the basket does not end up weirdly flat.
Example (my favorite counter basket): finished 9 in wide x 5 in deep x 4 in tall, SA 3/8 in.
- Cut rectangles (outer and lining): (W + D + 2SA) x (2H + D + 2SA) = (9 + 5 + 3/4) x (8 + 5 + 3/4) = 14 3/4 in x 13 3/4 in
- Boxed corner measurement: D/2 = 2 1/2 in
If your goal is to store tall bottles, aim for a finished height of 5 to 7 inches. For rolled washcloths or skincare tubes, 3 to 5 inches is usually perfect.
Sew the basket
1) Cut pieces
Cut these:
- Outer: 1 rectangle (W + D + 2SA) x (2H + D + 2SA)
- Lining: 1 rectangle (W + D + 2SA) x (2H + D + 2SA)
- Interfacing: 1 rectangle for the outer piece, same size as the outer rectangle
2) Fuse interfacing
Follow the interfacing instructions (they vary). In general: place the bumpy glue side against the wrong side of the outer fabric, then press with a hot iron and steady pressure.
Bathroom reality check: If your bathroom gets very steamy, a slightly stiffer interfacing helps the basket keep its shape over time.
3) Fold and sew the outer
Fold the outer rectangle right sides together so the two (2H + D + 2SA) ends meet. The fold becomes the bottom of the basket.
You will have a tall pouch shape with two open side seams and an open top. Stitch the two side seams with your seam allowance. Leave the top open. Backstitch at the start and end.
4) Box the outer corners
Keep the outer pouch inside out. At one bottom corner, pinch the fabric so the side seam and bottom fold line up, forming a triangle. Flatten it and clip.
Measure D/2 down from the tip of that triangle, then draw a line straight across. Your line should be perpendicular to the side seam and fold, not angled. Sew along that line. Repeat for the other bottom corner.
Seam allowance tip: Box your corners after your side seams are sewn. Measure from the true tip created by the seam and the fold, and press the corner flat before marking so both corners match.
When you turn it right side out, the bottom will pop into a basket shape.
Beginner tip: Your two boxed corners should be identical. That is what makes the basket sit level, even if your seams are not runway-perfect.
5) Sew the lining (leave a gap)
Repeat steps 3 and 4 for the lining, but leave a 3 to 4 inch opening in one side seam. This is your turning gap. Backstitch at the start and end of the gap so it does not rip when you turn the basket.
6) Join at the top
Turn the outer basket right side out. Keep the lining inside out.
Put the lining inside the outer so right sides are together (the pretty sides face each other). Match side seams, then clip around the top edge.
Sew all the way around the top edge with your seam allowance.
7) Turn and topstitch
Pull the basket right side out through the turning gap in the lining. Push the lining down inside the basket and poke out the corners.
- Fold the turning gap seam allowances inward and stitch it closed (machine stitch close to the edge or hand stitch for an invisible finish).
- Press the top edge so it is crisp, then topstitch around the top edge about 1/8 to 1/4 inch from the edge. This helps the lining stay put and makes the basket feel more professional.
Easy upgrades
Add a cuff
Make your lining 2 inches taller than the outer by adding 2 inches to the rectangle length (the 2H + D + 2SA measurement). After turning, fold the lining over the top like a cuff. This is my favorite trick for hiding the inevitable “not perfectly straight” top edge.
Add side handles
Cut two fabric strips 2 in x 8 in, fold into straps, stitch, and insert them into the side seams before sewing the top edge, with the raw ends aligned to the top edge and the handles pointing inward.
Make the inside wipeable
Use laminated cotton for the lining and skip interfacing on the lining. Keep pins out of laminated cotton if you can (clips are better) to avoid permanent holes.
Where to use it
- Under the sink: one basket for hair, one for backups. If your sink is a pedestal, these ideas help: Pedestal Sink Storage Ideas Renters Can Do.
- Over the toilet: make a basket sized to the shelf depth so it does not overhang. If you are styling that area, I have more options here: Over-the-Toilet Storage That Won’t Look Cluttered.
- Medicine cabinet overflow: use one shallow basket for daily skincare so counters stay clear. Then do a quick edit with: Declutter and Organize Your Medicine Cabinet.
Care and washing
- For normal cotton baskets: machine wash cold, gentle cycle. Reshape while damp and air dry for best structure.
- For laminated lining: wipe clean inside, and spot clean the exterior when possible. If you machine wash, keep it cold and skip high heat. Air dry to help prevent wrinkling or delamination.
- Avoid soggy-basket life: keep the basket away from direct shower spray and do not store dripping razors or wet sponges inside.
Fixes
It will not stand up
- Use a heavier outer fabric (canvas or cotton duck).
- Choose a stiffer interfacing, or double up interfacing on the outer panels.
- Add a removable base insert (plastic canvas) so the bottom stays flat.
The lining creeps up
- Topstitching helps a lot.
- Press the top edge well before topstitching.
- Sew a second row of topstitching about 3/8 inch down for extra control.
Corners look bulky
- Trim the boxed corner seam allowances slightly (do not cut through stitches).
- Press seam allowances open if your fabric allows, or press to one side consistently.
Make it look intentional
If you can see it from the doorway, treat it like decor. Pick one of these approaches:
- Match your textiles: basket fabric that echoes your shower curtain or towels instantly looks cohesive.
- Go calm and solid: linen-look canvas, ticking stripe, or a simple neutral reads clean even when stuffed with bottles.
- Thrifted towel vibe: use an old waffle towel as the outer fabric for a spa look. It is charming and forgiving.
If you are in renter mode and trying to add storage without drilling, pair these baskets with the tricks in 7 Damage-Free Wall Storage Hacks for Rented Bathrooms.