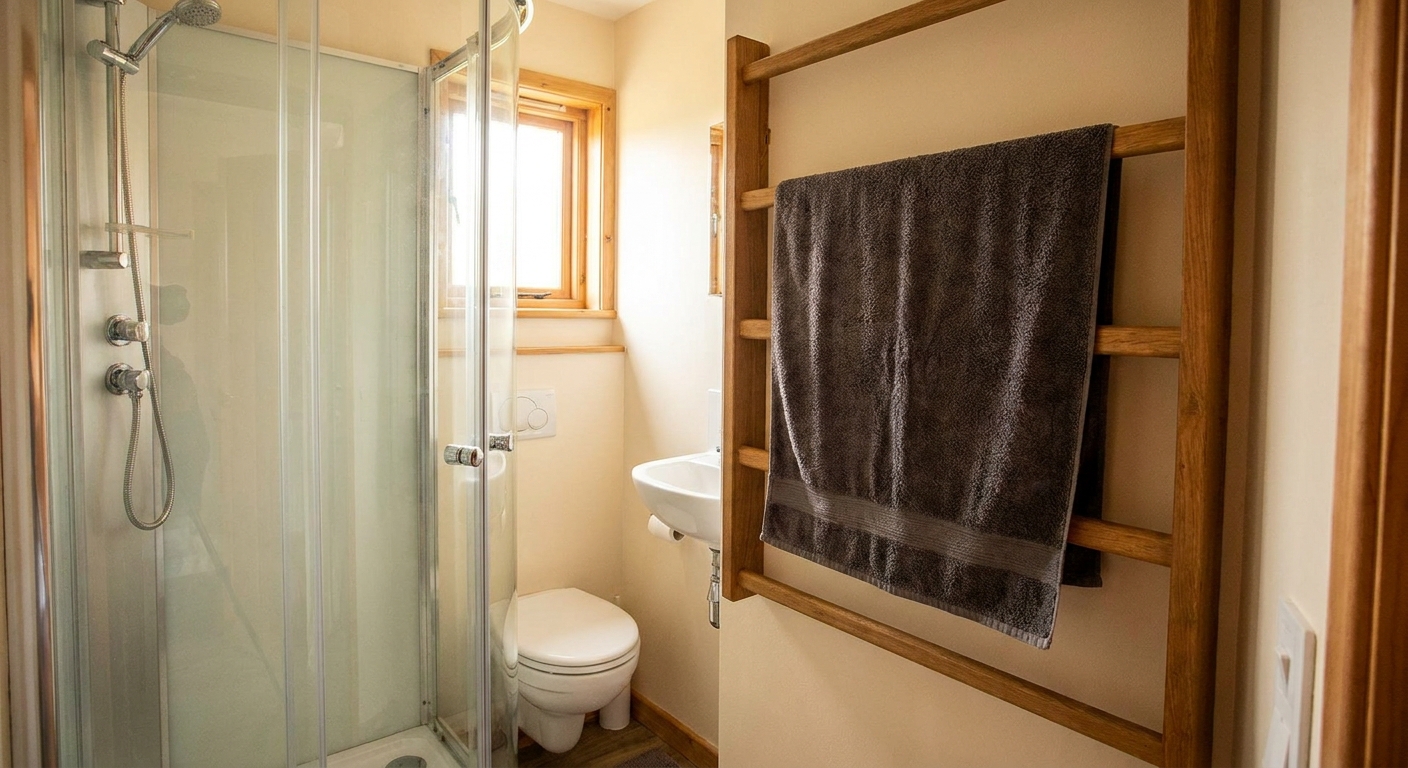
The first time I hung a cute thrifted print in my tiniest apartment bathroom, it lasted exactly two showers before it started to ripple like a sad lasagna noodle. Bathrooms are brutal on paper, but that does not mean you have to live with blank walls or random, warped art.
Here is the good news: you can source genuinely charming, budget-friendly artwork and make it more moisture-resistant with a few smart choices. No permanent renovation, no fancy custom framing, and no “why does it smell like a wet cardboard box in here?” regrets.
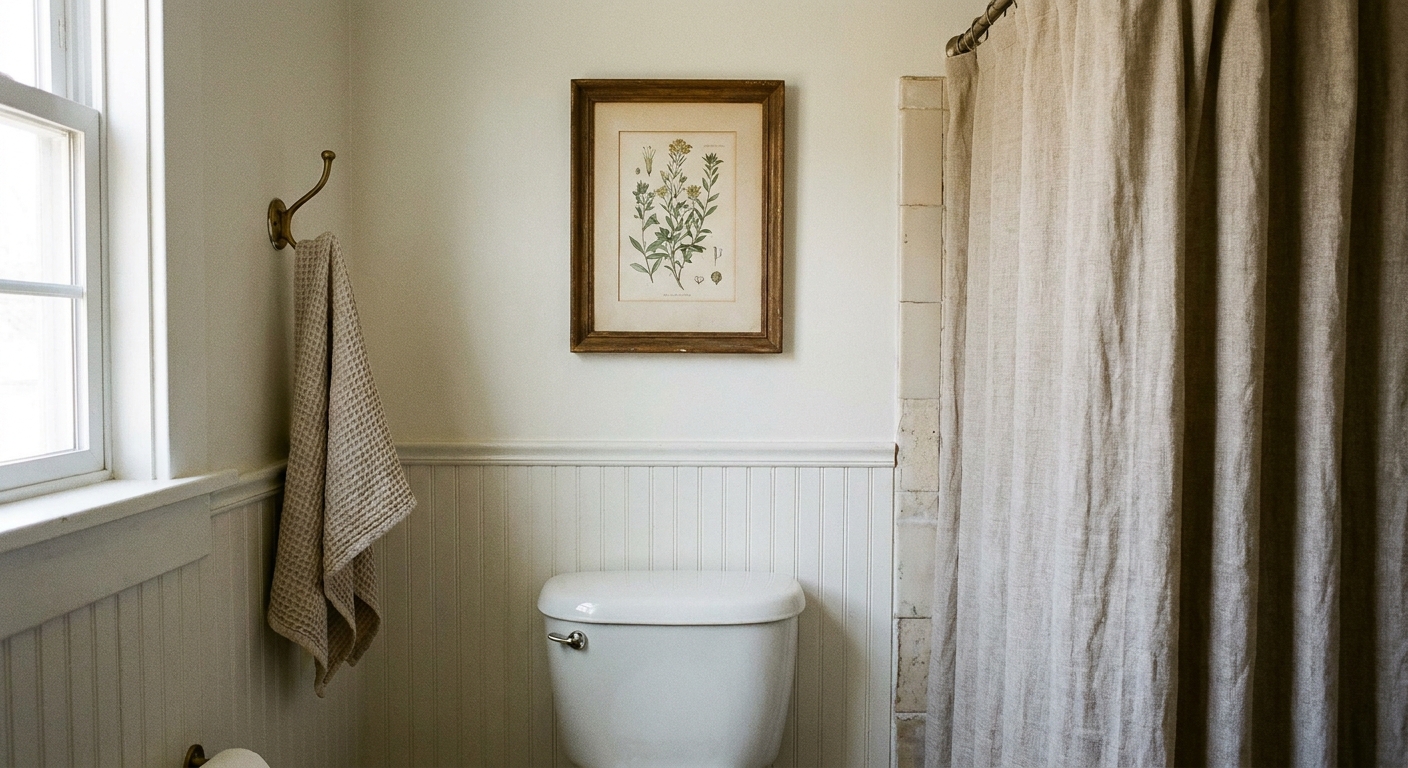
What bathroom humidity does to art
Humidity is not just “steam on the mirror.” It is moisture that sneaks into paper, backing boards, and frame joints. In a small bathroom, it builds fast, especially if your exhaust fan is weak or your shower runs hot.
- Paper can wave and buckle when it absorbs moisture.
- Ink can smear or bleed on some prints, especially home inkjet prints or anything that gets damp before it is fully dry or sealed.
- Backing boards can mold if they are the wrong material (many cheap frames use cardboard).
- Wood frames can swell and corners can separate over time.
The goal is not to make your bathroom art waterproof like a boat. The goal is to slow down moisture enough that normal day-to-day humidity does not ruin the print.
One tiny habit that helps more than people think: run the fan (or crack the door) during showers and for 20 minutes after. Less lingering steam means less drama inside frames.
Thrifty art sources that look elevated
Small bathrooms do not need big art budgets. They need art with the right scale, a cohesive vibe, and a little protection. These are my favorite low-cost sources, with notes on what holds up best.
1) Thrift store frames plus your own print
This is the fastest way to get that “curated” look for under the cost of one new frame. I buy the frame for the frame, not the art inside. Then I swap in a print that suits my bathroom’s palette.
- Look for: solid corners, glass or acrylic that is not scratched, and a back that closes tightly.
- Avoid: musty frames or anything that smells like a basement. Odors can linger.
2) Vintage book pages and sheet music
Old botanical plates, architecture sketches, and sheet music feel timeless in bathrooms. Bonus: if you protect them properly, they can do surprisingly well.
- Pro tip: pick pages with lighter ink coverage. Heavy ink areas can be more sensitive if humidity sneaks in.
3) Travel brochures, museum postcards, and calendars
Postcards and calendar pages are underrated. They are often printed on sturdier stock than flimsy copy paper, and the scale is perfect for narrow walls and awkward gaps.
- Easy upgrade: use a mat (even a DIY one) to make a small image look intentional.
4) Kids books and illustrated cookbooks (thrifted)
If your bathroom leans playful or maximal, look for bold illustrations. A single whimsical image can make a basic builder-grade bathroom feel designed.
If you are layering pattern in a tiny space, my approach is to keep the art palette tight and let other elements do the heavy lifting. This pairs beautifully with peel-and-stick wallpaper if you are already experimenting with it. If you are curious about humidity survival for wallpaper specifically, see Peel-and-Stick Wallpaper in Small Bathrooms: Will It Survive Humidity?.
5) Printable art you already own, upgraded with better paper
If you have digital art files or photos you love, print them on thicker matte paper (think presentation paper, not flimsy printer sheets). Better paper is not just prettier. It is less prone to waviness.
What to print on
You do not need specialty “bathroom paper,” but you do want paper that can hold its shape.
- Best budget choice: heavyweight matte paper. It looks expensive behind glass and resists light humidity better than thin paper.
- Good for photos: satin or luster photo paper. It is less likely to show water spots than high-gloss, and it feels more grown-up.
- Avoid: regular copier paper and anything labeled “economy.” It waves fast and looks limp even when it is dry.
The frame matters most
If you only upgrade one thing, upgrade the frame setup. In bathrooms, the weak points are usually the back and the gaps.
Choose glazing: glass vs acrylic
- Glass: more scratch-resistant and feels higher-end, but heavier. Great if your walls can handle it.
- Acrylic (plastic): lighter and less shatter-risk. Great for renters who rely on removable hanging strips, but it scratches more easily.
Replace the backing if it is cardboard
Many thrifted and budget frames use a cardboard backing that can absorb moisture and get musty. Swap it for something better:
- Most moisture-resistant: plastic backing sheets.
- More archival-friendly: acid-free foam board or mat board (not waterproof, but a nicer long-term option for the paper itself than mystery cardboard).
Mats create breathing room
A mat keeps the print from pressing directly against the glazing. That tiny air gap can help reduce condensation transferring to your paper. (Mats can also absorb humidity, so this works best when the frame is sealed well and the bathroom is reasonably ventilated.)
Make art more moisture-resistant
This is my renter-friendly routine when I want thrifted art to survive real life showers.
Step 1: Start dry
Do your framing on a day when the bathroom is dry, or run the fan for 20 to 30 minutes and wipe down any damp surfaces. Trapping humidity inside the frame on day one is a recipe for foggy glazing later.
Step 2: Seal the print (optional)
If you are using something irreplaceable (a vintage page, a photo you love), consider sealing the surface with a clear, archival spray sealer from a craft store. Do it outdoors or in a well-ventilated area and follow the product directions exactly.
- Tip: test on a scrap first. Some inks and papers can shift slightly with sealers.
Step 3: Add a moisture barrier behind the art
This is the quiet hero step. Before you close the frame, add a barrier layer behind the print and backing stack, like a thin sheet of plastic or a plastic frame backing.
- Important: keep the plastic behind the art, not pressed against the front of the print. Direct contact can stick or transfer if things warm up.
The idea is to slow moisture that sneaks in from the wall side.
Step 4: Close it tightly, then seal the seams
Once the print, mat (if using), and backing are in, close the frame and seal the back seams where the backing meets the frame. You are basically making a simple gasket.
- Use: frame sealing tape if you have it, or clear packing tape in a pinch.
- Quick caution: packing tape adhesive can yellow or loosen over time with heat and humidity, and it can pull finish off some frames. Use it only on a frame you are comfortable experimenting with, and only when everything is fully dry.
Step 5: Keep art out of splash zones
I know, the wall next to the shower looks empty. But if it gets hit with direct spray or constant condensation, even protected art will struggle. The best spots are:
- over the toilet
- above towel hooks (not directly behind wet towels)
- above a vanity backsplash zone, higher than sink splash range
If you need help finding space on walls that feel nonexistent, my go-to tricks are in 7 Damage-Free Wall Storage Hacks for Rented Bathrooms. A couple of those ideas double as “create a spot for art” solutions.
One more tiny tip: if the back of your frame sits flush on a wall that gets damp, add little felt or rubber bumpers to lift it a hair off the surface. Less direct contact means less trapped moisture.
Cheap upgrades that look custom
Paint the frame
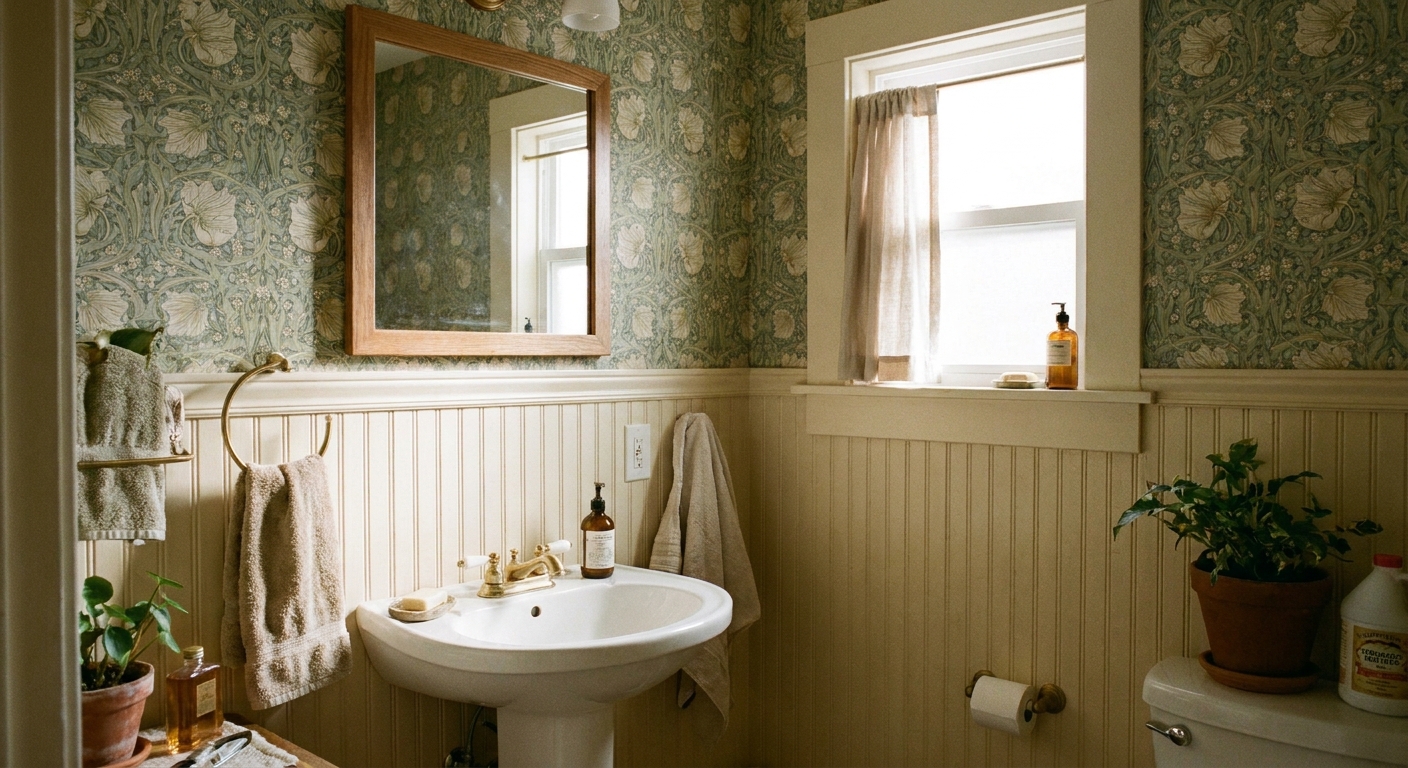
A $4 thrift frame becomes “gallery” when the color is intentional. In bathrooms, I love soft black, warm white, and muted brass tones. If you are mixing metals in the room, keep the frame finish aligned with your plan so it looks cohesive, not accidental. See Mixing Metal Finishes in a Small Bathroom if you are trying to make sense of chrome, brass, and black all in one tiny box.
DIY a mat from thick paper or poster board
You can cut a simple mat with a craft knife and ruler. A mat instantly makes bathroom art feel more high-end, and it also helps keep the print from touching the glazing.
Swap in better hanging hardware
If a frame has flimsy sawtooth hangers, consider switching to a more stable hanger so the frame sits flush and does not wobble. Less wobble means fewer gaps for humid air to sneak in.
Hang art in a rental
If you are renting, heavy frames plus tile walls can get stressful fast. I usually do one of these:
- Lightweight frame + removable hanging strips on painted drywall.
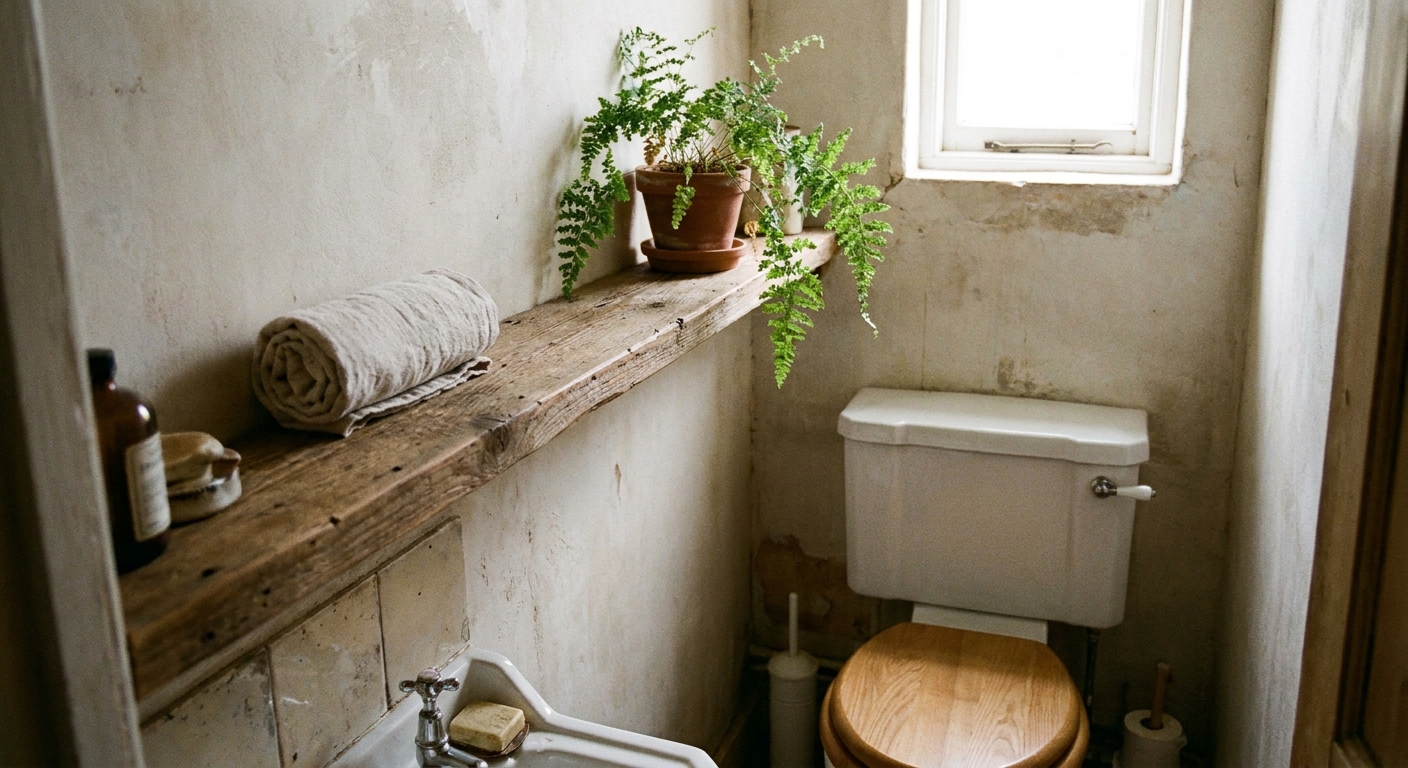
- Rest art on a small shelf if your bathroom can handle it. Floating shelves can look spa-like when styled simply. (My styling rules are here: How to Style Bathroom Floating Shelves for a Spa-Like Look.)
- Lean art on the back of the toilet tank for a casual look, as long as it is not in a splash zone and you are not blocking the flush components.
One more small-bathroom reality: if you hang art where towels constantly brush it, it will get humid. If towel placement is a struggle in your layout, I put ideas here: Where to Hang Wet Towels in a Small Bathroom With No Wall Space.
Fast styling formulas
If you are staring at your walls and feeling stuck, pick one of these formulas and commit. Tiny bathrooms look best when the choices feel intentional.
Option A: Calm spa set
- 2 matching frames (8x10 or 11x14)
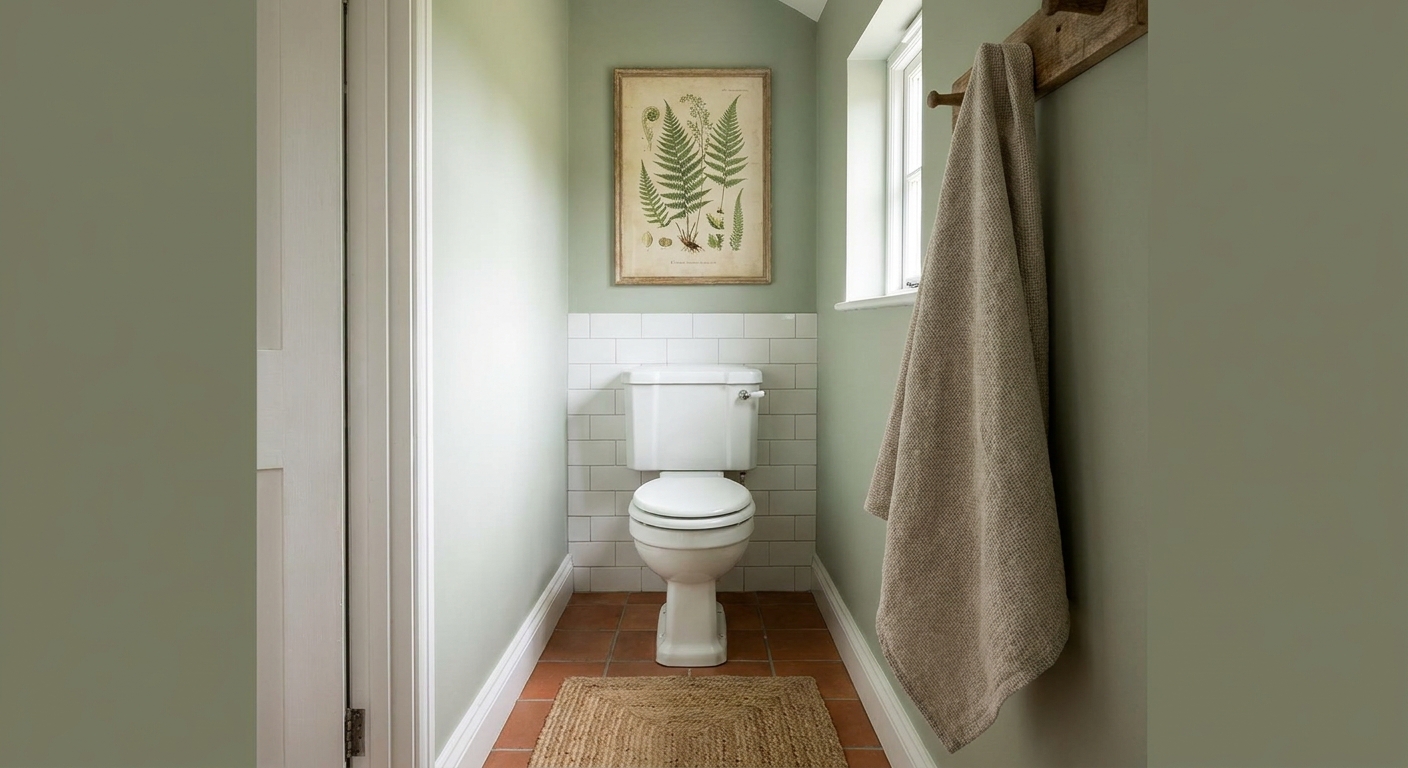
- simple line art or soft botanicals
- lots of white space and a light mat
Option B: Vintage gallery
- 3 smaller frames in a tight cluster
- book pages, vintage landscapes, or sepia photos
- all frames painted the same color for cohesion
Option C: One bold moment
- 1 larger statement piece
- a graphic print with high contrast
- repeat one color from your shower curtain or rug so it feels tied in
If your bathroom feels cramped, choose art that supports the illusion of space: lighter backgrounds, simpler compositions, and frames that are not visually heavy. Color helps too. My favorite small-space palettes are in 7 Paint Color Palettes That Make Tiny Bathrooms Feel Spacious.
Troubleshooting
Fog inside the frame
- Move it farther from the shower.
- Reframe with a mat to create an air gap.
- Check that the back seams are sealed and the backing is not cardboard.
- Double-check your habits: run the fan longer, or crack the door after showers.
Wavy paper behind glass
- Upgrade to heavier paper.
- Use a mat and make sure the print is not pressed tight to the glazing.
- Consider a light spray sealer if appropriate for the print.
Musty smell
- Remove the art and dry everything completely.
- Replace the backing.
- If the frame itself smells and you cannot get rid of it, thrift another frame. Your bathroom is not the place to power through a mildew scent.
Frame corners separating
- Wood frames can swell in humidity. Tighten corner hardware if it has any.
- If it is a cheap MDF frame, consider swapping to a plastic or metal frame for bathrooms.
A small rule I swear by
In small bathrooms, art should do one of two jobs: calm the space (spa vibes) or give it personality (a little wink). It does not need to be expensive. It just needs to look cared for.
If you thrift smart, seal the back like you mean it, and keep pieces out of the steam blast zone, you can have bathroom art that looks elevated for years, not weeks.