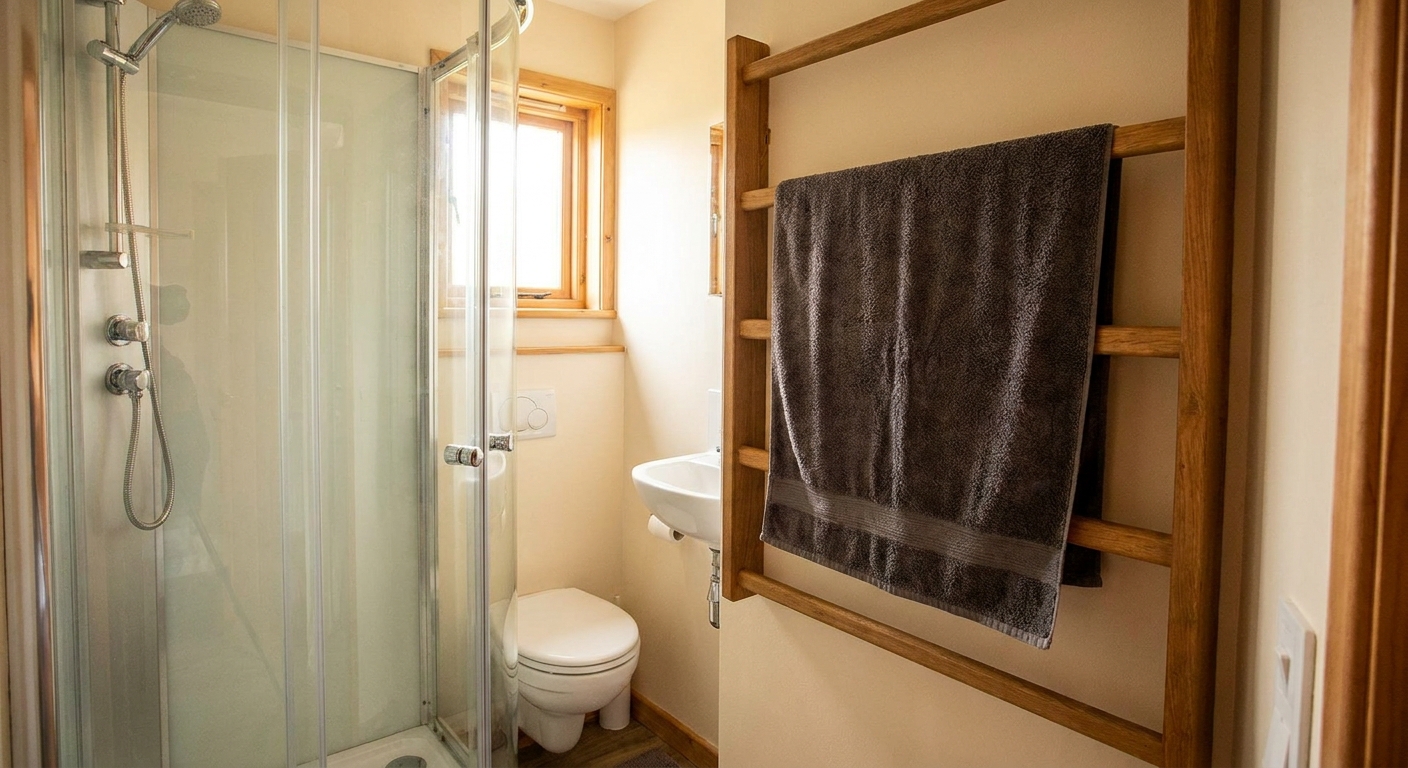
The fastest way I know to make a tiny bathroom feel less “apartment standard” is swapping the towel hardware. Builder-grade towel bars and wiggly towel rings are usually the first things to look tired, even if the rest of the room is clean. The good news is you can upgrade them in one afternoon with basic tools and a little drywall patching, no contractor energy required.
Before you start: replace or relocate
There are two paths here, and they affect how much patching you will do.
- Replace in the same spot: easiest. If the new bar’s mounting plates cover the old holes, you may not need to patch at all.
- Move it to a better spot: often worth it in small bathrooms, especially if the current bar is jammed behind the door swing. You will patch old holes and drill new ones.
If you are renting and plan to reinstall the original hardware later, take a few phone photos of how it’s mounted, then put the old set (with screws) in a labeled zip bag. Also, double-check your lease rules on holes before you relocate anything.
Need a towel strategy for a cramped layout? I keep a running list of realistic options here: Where to Hang Wet Towels in a Small Bathroom With No Wall Space.
What you’ll need (budget-friendly list)
- Flathead screwdriver (or a small hex key, depending on your hardware)
- Phillips screwdriver or drill/driver
- Utility knife
- Needle-nose pliers (helpful for stubborn anchors)
- Spackle or lightweight joint compound
- Putty knife (small, 2 to 4 inches)
- Sanding sponge (fine grit)
- Primer (small container is fine)
- Paint to match the wall
- Tape measure and pencil
- Level (a small torpedo level works great)
- Appropriate wall anchors (more on this below)
Budget note: If you do not own a level, a free phone level app can work well for towel bars. Calibrate it per the app instructions on a known level surface (like a countertop you trust or a properly hung shelf) before you mark holes.
Quick safety checks before drilling
Bathrooms hide a lot behind a small amount of drywall. Before you commit to a new location, do a quick reality check:
- Watch for pipes and wiring: be extra cautious near the sink wall and shared shower plumbing walls. If something feels off when drilling, stop and reassess.
- Know your wall type: these steps assume standard painted drywall. Plaster, tile, masonry, and some moisture-resistant panels need different anchors and drilling methods.
- Use your stud finder carefully: it helps, but it is not magic in bathrooms. Confirm with a small pilot hole if you are unsure.
Remove the old towel bar or ring cleanly
Step 1: Find the tiny set screw
Most builder-grade bars and rings slide onto a mounting bracket and lock with a small set screw underneath. Look under the end caps for a tiny screw head.
- If it’s a flathead or Phillips, loosen it a few turns.
- If it’s a hex set screw, use an Allen key.
Step 2: Slide the hardware off the brackets
Once the set screws are loose, the bar ends or ring base should come off the bracket. Depending on the style, it may lift up or slide down and off. If it feels stuck, do not pry hard. Wiggle gently while pulling straight out.
Step 3: Remove the mounting brackets
Unscrew the bracket screws. If the bracket was mounted into drywall anchors, you will see plastic (or metal) anchors in the holes.
If you see plastic expanding anchors
- Try backing the screw out a few turns, then pull the anchor out with pliers.
- If it will not come out cleanly, you can sometimes push it slightly into the wall cavity with the end of a screwdriver and patch over it. This is only for hollow drywall where it moves easily. If you feel resistance, stop. Do not force it on plaster, masonry, or any wall where you are not sure what is behind the surface.
If you see metal toggle anchors
Toggles are strong but annoying to remove. Often the cleanest option is to unscrew until the toggle drops behind the wall, then patch the opening. If you choose to cut a metal piece, use the right tool (like tin snips or a hacksaw), protect the wall with a putty knife or thin scrap, and wear eye protection. If you are not comfortable with any of that, patching around the toggle opening with compound is still doable, it just takes an extra coat.
Pro tip from too many tiny bathrooms: Score the paint line around the bracket with a utility knife before pulling it off. This helps prevent peeling a larger skin of paint off the wall.
Patch and paint
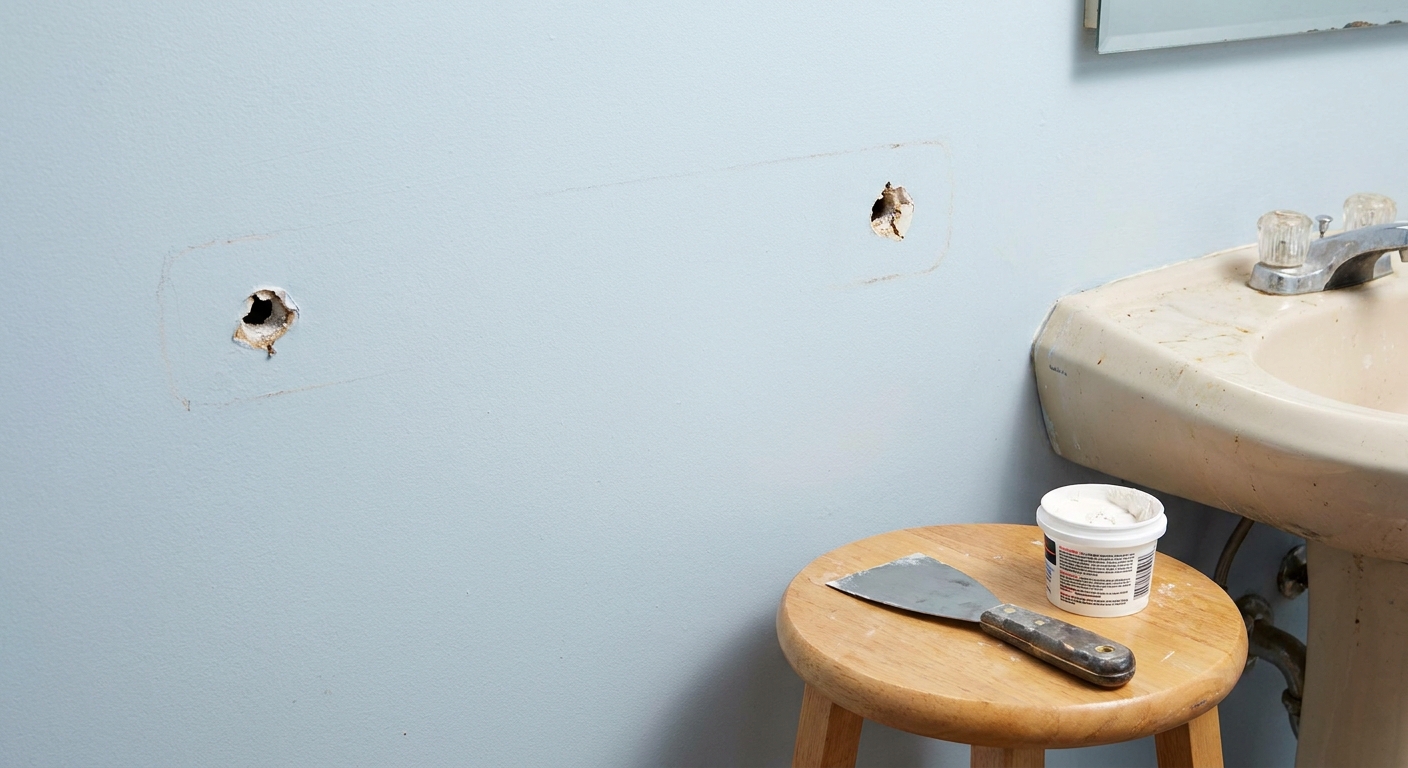
If you have small screw holes, this is straightforward. If you have larger anchor holes (often around 1/4 to 3/8 inch and up), you may need a couple of thin coats of spackle instead of one thick blob.
Step 1: Clean up the hole edges
Knock off any loose paper fuzz around the hole. If the drywall paper is torn, trim ragged edges with a utility knife so the patch lays flat.
Step 2: Fill in thin layers
- Press spackle into the hole with your putty knife.
- Scrape it smooth, feathering the edges out 1 to 2 inches beyond the hole.
- Let it dry completely. Dry time depends on product and thickness.
Step 3: Sand lightly
Use a fine sanding sponge and a light touch. You are aiming for flush and invisible, not down to bare drywall. Bathrooms are small, so crack a window or run the fan if you can, and wipe dust with a damp cloth when you are done.
Step 4: Prime, then paint
This is the step people skip, then wonder why the patch flashes through the paint. Primer seals the patched area so your topcoat matches the wall sheen.
- Spot-prime the patched area.
- Paint, feathering the edges. Two light coats usually look better than one heavy coat.
If your bathroom paint is old and you do not have the exact color, take a small paint chip (even a quarter-sized flake from behind the old bracket) to color-match. In a small bathroom, even tiny mismatches can show because the light is harsh and close.
Pick hardware that looks expensive
In small bathrooms, hardware reads like jewelry. You only have a few pieces, so upgrading them makes a bigger visual impact than you’d expect.
Budget-luxe finishes I like
- Brushed nickel: forgiving with water spots and pairs with most faucets.
- Matte black: modern and graphic, but choose a finish that feels solid and not chalky.
- Champagne bronze or warm brass: makes even basic white tile feel more styled.
Details that keep it from feeling flimsy
- Mounting plates that sit flush to the wall
- Thicker bar diameter (it looks more substantial)
- Metal set screw and metal bracket if possible
- A bar length that fits the space, not the catalog photo
Small bathroom rule I live by: match finishes within the room, but do not panic about being perfectly identical. Warm metals together can look intentional, especially when the space is tight and everything is within arm’s reach.
If you are also touching your cabinet pulls, this quick list pairs well with a towel hardware swap: 5 Reversible Ways to Upgrade Cheap Bathroom Cabinet Hardware.
Install the new towel bar or ring
Step 1: Mark your placement
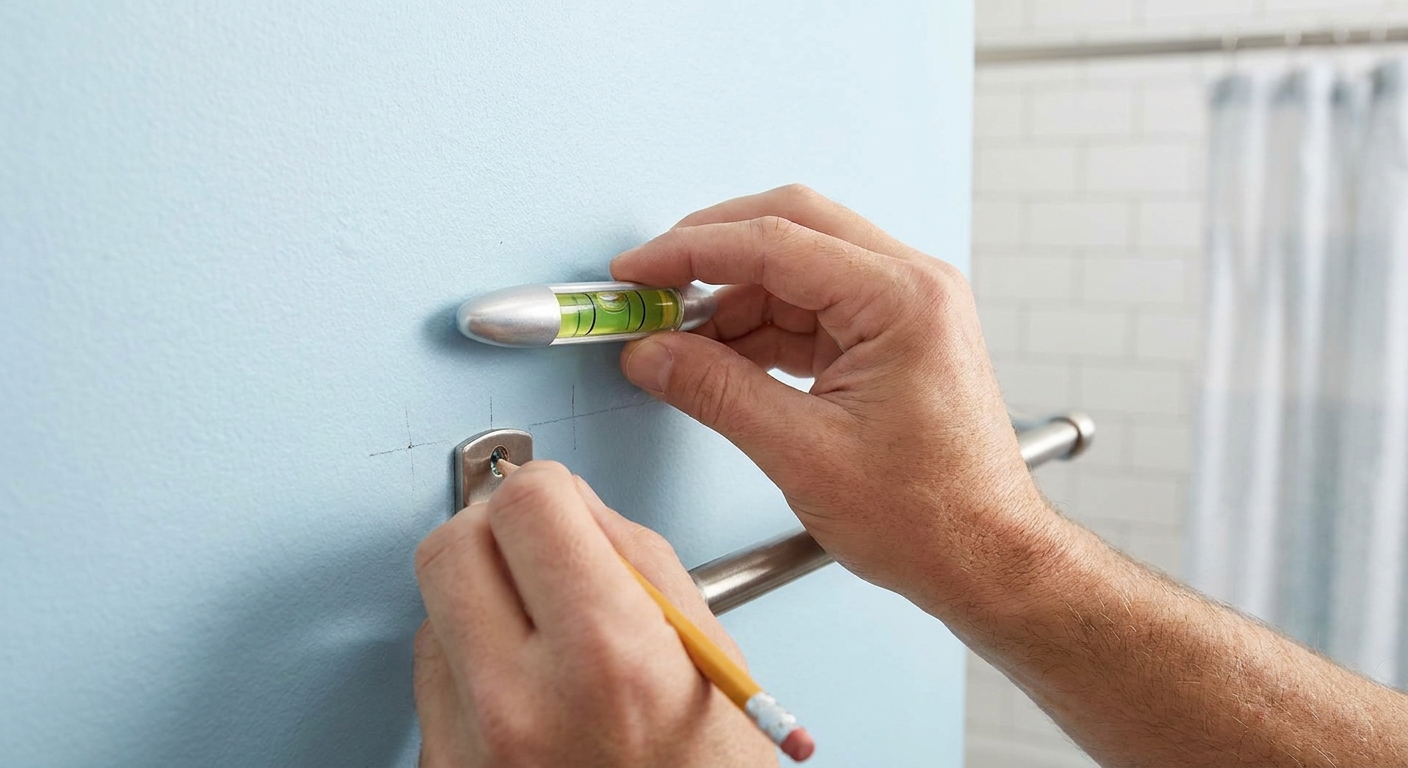
Hold the new mounting plates to the wall and mark screw holes with pencil. Use a level. Then step back and check the placement from the doorway. In a small bathroom, an inch too high or low can make the whole wall feel off.
Optional: common height starting points
If you are relocating and want a starting point, many towel bars land somewhere in the mid-40s to high-40s inches from the floor. Hand towel rings are often placed so the towel hangs clear of the counter and does not drag. Treat these as guidelines, not rules. Your layout, door swing, and who uses the bathroom matter more than any standard.
Step 2: Pick the right anchor
Here’s the honest breakdown:
- If you can hit a stud: do it. Use the provided screws or upgrade to slightly longer ones. A stud-mounted towel bar is the most solid, especially for kids and heavy bath towels.
- If you cannot hit a stud: use a drywall anchor rated for the load and for towel pulling. Standard cheap plastic anchors often loosen over time on towel bars.
My go-to anchor choices for towel hardware
- Toggle bolts: among the strongest options for hollow drywall. Great for bars that get tugged.
- Flip toggles or strap toggles: very secure and often easier than old-school toggles.
- Self-drilling anchors: convenient, but choose heavy-duty versions and avoid overtightening.
Important: Use the anchor type recommended by your towel bar manufacturer if it’s included, unless it is clearly flimsy for your wall. The goal is to keep your pretty new hardware from slowly loosening and chewing up the drywall.
Step 3: Mount the brackets, then attach the hardware
- Drill pilot holes if required for your anchors.
- Install anchors flush with the wall.
- Screw the mounting brackets in place and check level again.
- Slide the towel bar or ring onto the brackets.
- Tighten the set screw snugly. Do not crank it so hard you strip it.
Placement tips for small bathrooms
Keep towels off the door swing
If the towel bar is behind the door, the towel never dries and the bar takes constant hits. Consider moving it a few inches forward on the same wall, or switching to a ring or hook near the sink and a bar near the shower.
Go shorter than you think
A 24-inch towel bar can look squeezed on a narrow wall. In many small baths, a 18-inch bar looks more proportional and still holds a folded bath towel or a hand towel spread wide.
Ring for hands, bar for baths
In tight spaces, a hand towel ring near the sink reduces visual clutter and keeps the bath towel zone separate.
Hide the utility stuff
When your towel hardware looks elevated, the next thing your eye notices is the unglamorous bathroom tools. If you want the whole room to feel more pulled together, this is a good companion project: How to Hide Toilet Paper and Plungers in a Small Bathroom.
If you’re renting and cannot drill
If drilling is not allowed, you still have options, just with a few compromises:
- Swap the hardware only if it reuses the same mounting holes: This is the cleanest approved upgrade in many rentals.
- Use removable adhesive hooks for light towels only: Great for hand towels, risky for bath towels. Humidity and towel pulling can cause hooks to fail.
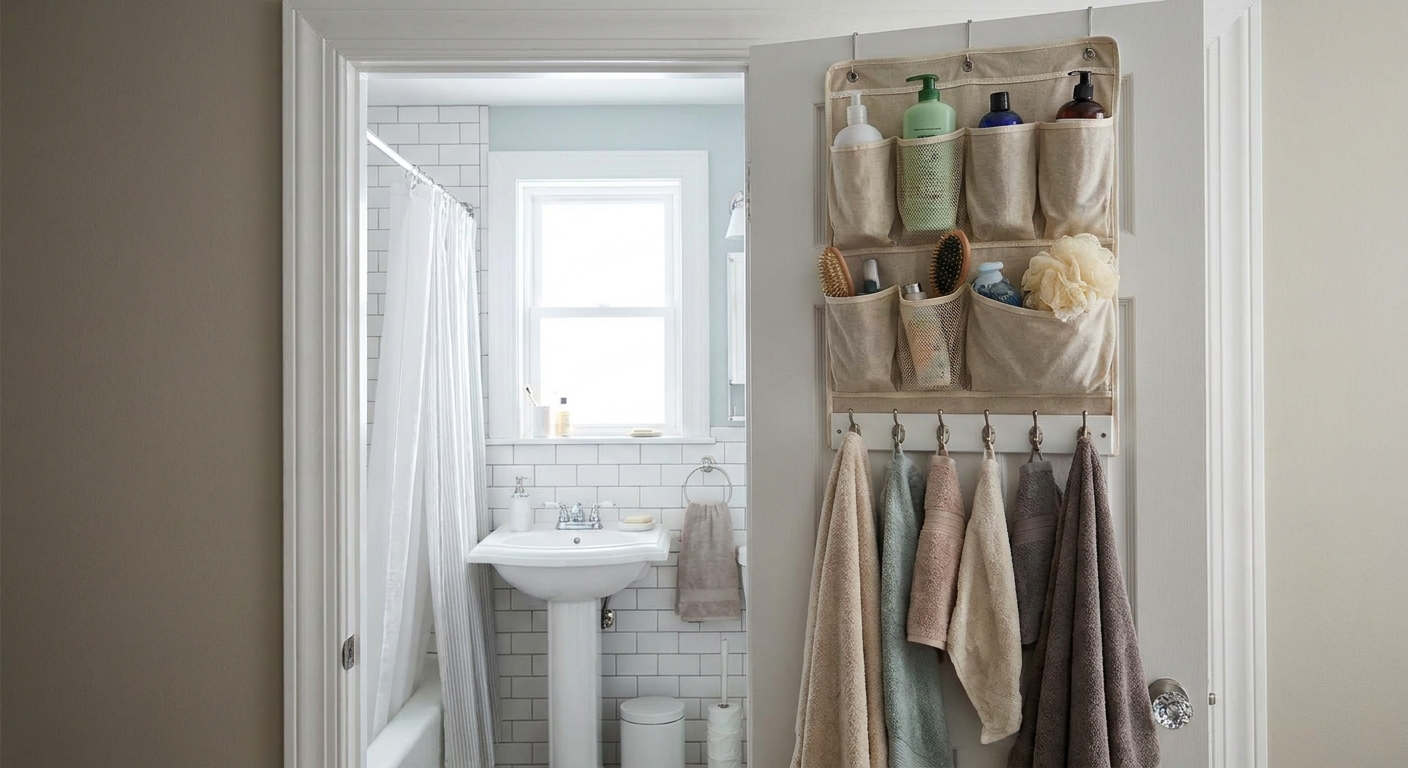
- Over-the-door towel solutions: They can look bulky, but they are useful if you choose a slim profile and keep the door swing in mind.
I keep renter-friendly wall ideas here, including damage-free storage options that play nicely with small bathrooms: 7 Damage-Free Wall Storage Hacks for Rented Bathrooms.
Troubleshooting
The old bar will not come off
- Double-check the set screw location and loosen more than you think.
- Try lifting slightly or sliding downward, depending on how the bracket is shaped.
- If paint has sealed the seam, score around the base with a utility knife.
The new towel bar feels loose
- The bracket screws may be spinning in a stripped anchor. Replace the anchors with a stronger type.
- The set screw may not be tightened onto the bracket properly. Loosen, reseat, and retighten.
- If the wall is soft or crumbly, you may need a larger anchor size or a toggle-style anchor.
The patch shows through the paint
- Prime the patch, then repaint.
- Match sheen as well as color. A flat patch under eggshell paint will flash in bathroom lighting.
I uncovered huge holes
If the holes are too large for simple spackle, you may need a patch kit or a hot patch (a small drywall square) to rebuild the area before skimming with compound. It is still a DIY-friendly fix, just a longer drying time.
Make it feel cohesive
Once the new towel hardware is up, I like to finish the story with one more small, high-impact swap so the room does not feel half-updated. Two that make a big difference in a small bathroom:
- Lighting: even one renter-friendly change can make finishes look more expensive. See Renter-Friendly Bathroom Lighting: No-Wire Sconces and Plug-In Alternatives.
- Mirror upgrade: if your mirror screams builder-grade, you can upgrade the look without removing it. See Upgrade a Builder-Grade Mirror Without Removing It.
Towel bars are small, but in a tiny bathroom they sit right at eye level. When you choose a finish you love and mount it straight and solid, the whole room reads calmer, cleaner, and more intentional.